
Free 
Speed loader for Global Ordinance USA made Stribog 9mm mag
Printables
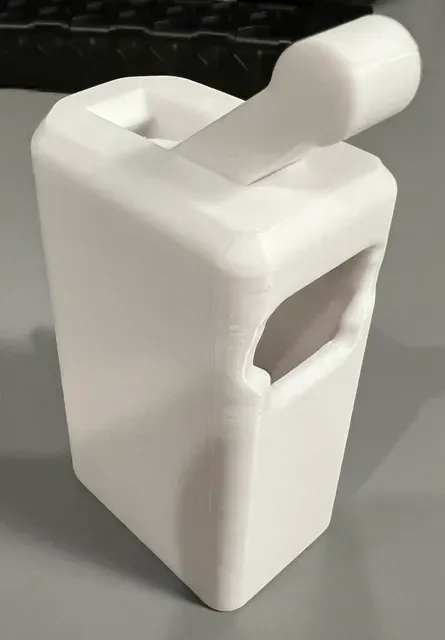


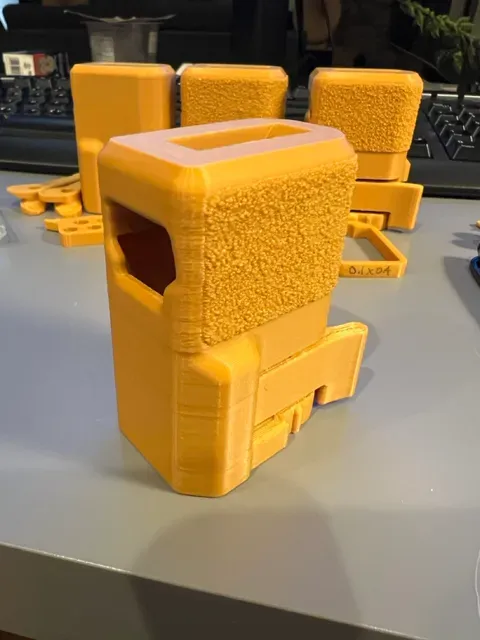

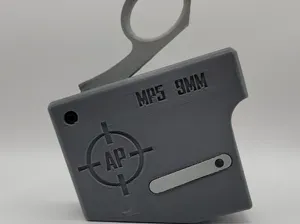
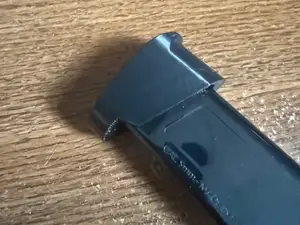
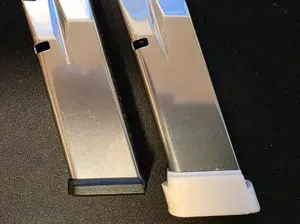
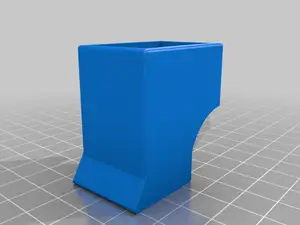
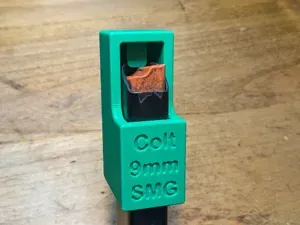
This is a mag loader for the Grand Power Stribog 9mm, specifically the SP9A3 although I imagine it will work on the 9A3s and the 9A1 as well. It does not work with the newer Grand Power solid black mags with red followers. The feed lips on those are longer. The loader is patterned after the Maglula loaders, but Maglula doesn't make a loader to fit the Stribog mags so here we are. The loader snaps onto the mag using a flexible tab to lock into the cut out in the mag. There's a loader arm with two cams on it that pivots on a 0.25" diameter shaft. The cams are spaced 90 degrees apart so as you rotate the arm forward, one cam pushes down one side of the mag leaving the other side open to drop a round in, and when you rotate the arm back the other cam pushes down on the other side leaving the other side open for a round. I designed the cams to try to avoid scraping the cam across the front edge of the case while also not pushing the rounds on one side towards the front of the mag. The arm is easily removable by pushing the arm down out of the body of the loader. During usage it's held in place by the spring tension of the mag spring but on mine the shaft snaps into the housing and stays there, but this depends on exactly what size your printer prints the parts at. I used a 0.9" long piece of 0.250" diameter stainless steel rod for the pivot for the loader arm, but there's a shaft in the model that you can also print. There is also a tab to reinforce the locking arm by taking up the space in the lower groove that forms the locking arm. I couldn't figure out a way to print this with the loader body while still making it reasonably easy to remove the supports for the locking arm, so I settled on this extra piece that I glued in place using an alignment tab to locate it. This is probably not strictly necessary with the current design, but an earlier design had a locking arm that flexed more vertically and this helped to reinforce it. I think it should spread out the load on the loader body as well so it's less likely to fail along a layer line. The loader arm has some cutouts on the inside surfaces of the cams to provide more clearance when loading and unloading. These clearance cuts should face towards the opening in the front of the loader body when you put the arm in.
To use the loader, snap it onto a mag, rotate the loader arm to depress the follower, drop in a round, rotate the loader arm the opposite way, load another round, repeat. To unload, point the opening in the loader body downwards and cycle the loader arm back and forth. To remove the mag, push the tab on the locking arm outwards and slide the loader off. There's also a tab on the back of the loader that will let you push a round forward out of the top of mag, but usually I don't have to use this, and it doesn't always work great anyways.
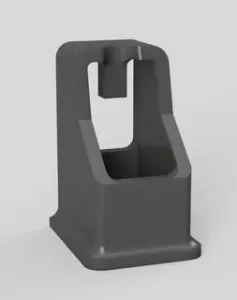
Printing - I included an assembled step file and a 3mf file with the parts separated and oriented for printing (made using Orca slicer v2.3). My cad software was having issues creating a STL due to some of the compound curves. I also added a step file with the parts oriented as I would print them. I printed this in Voxel PLA+ HS. I think this will be fine for the body, but the cams on the loader arm will be a wear item that might need to be replaced periodically (so maybe print some extras). Other materials might be better for the loader arm, but I'll probably just print a few extra to have on hand. I used 5 wall loops and 5 top/bottom layers with 45% cubic infill. This makes a lot of the loader solid. I didn't experience any warping in my X1 if I stuck to just the parts in the step file, but when I added a bunch of extra arms to the build plate as shown in one of the images I included, then some of the arms and the body warped pretty significantly. I guess that threw off the cooling. If you do that you might want to throw in some brims or mouse ears. I designed the loader body to print oriented upside down. I used auto tree supports for the edge of the loader opening and to support the locking arm. Removing the locking arm supports is a bit of a pain, but pushing and pulling on them with the tips of some small needle nose pliers works for me. I printed the loading arm laying on its side to get a smooth surface on the cam lobes, but this does leave the lobes prone to separating along the layer lines. I used normal snug supports to support the overhanging cam and placed my seams away from the working surfaces of the cams to keep them smooth. I had some problems with the wall of the overhanging cam having some chatter in it due to my slicer settings slowing down the print speed to 10mm/s for the overhang and then ramping back to 200mm/s. I adjusted the steepest overhang speed to be 50mm/s for just the loader arm and this fixed the chatter issues without drastically increasing print time. I also used variable layer height on the sections of the loader arm with the bevels in the cams to get smoother surfaces there which should help rounds slide past easier. All this is in the 3mf file if that works with your slicer.
I also added a step file with cad for a modifier for fuzzy skin. I did have some issues with fuzzy skin - it made the loader body fit tighter on the mag as did switching to a different color of Voxel PLA+ HS, so I added some extra clearance inside. For the fuzzy skin settings, I used 0.1mm point distance and 0.4mm skin thickness only on the outside surface of the modifier. I also added a 3mf file with all my settings for this.
Update - I added a new step file, v9-1, with some chamfers around the latch area that makes removing supports easier. The loader also has a slightly looser fit to the mags.
Thanks for reading my novel. Enjoy!


Names are used only to indicate the source of a result. Polyzon is not affiliated with the listed sites.