
Free 
Ambient Lights Bulbs E27 - monitor vesa mount
Printables

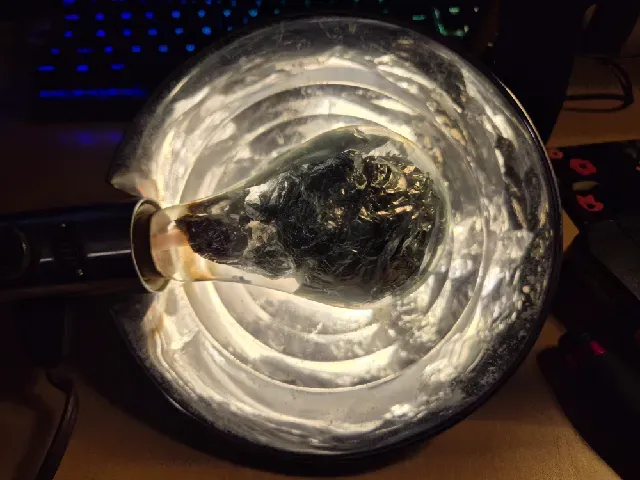



Background:
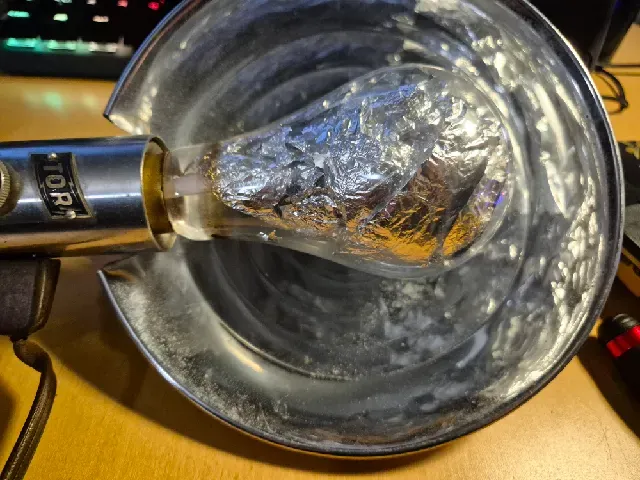
Ever had an old Osram Vacublitz bulb filled with aluminum foil and thought "I want that as a bedside reading lamp!"? No? Well, I did.
I got a load of old photography stuff and among them were a beautiful old TOR Flash with some Osram Vacublitz bulbs, and the aluminum foil inside them (used as the actual flash by igniting with 24V DC) had a great old timey feel to them. The Osram Vacublitz are basically large E27 Bulbs and the TOR Flash has a push fitting for the E27 screw base.
I wanted to keep the vintage look as much as possible so I immediately ignored Copilots suggestion to put a modern (vintage looking) e27 LED bulb in there, as the external terminal is attached to the chassis, which of course is made out of stainless steel. So, putting a modern bulb in there and feeding AC would basically make it a live… trap? a giant metal contraption with live AC going through the entire surface. As tempting as it sounds, I'd rather not!
Compatibility:
I can guarantee this will work with an Osram Vacublitz flash bulb with aluminum foil. I'm sure it will work just as well with any E27 bulb which is large enough, the neck can be modified to accommodate smaller bulbs, if desired.
Needed hardware:
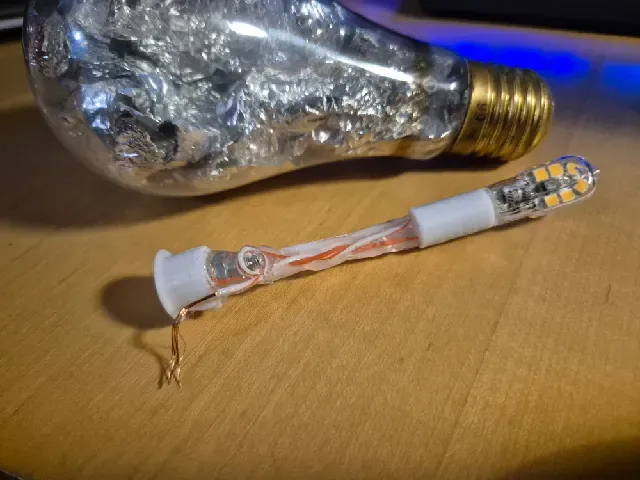
- 2x ~100 mm AWG24 wire - 1x M3x14 SHCS (Button head will work as well, and longer screws) - 2x M3 washers - 1x M3 nut - 1x 3pin female dupont connector (with 2x female crimps) - 1x G4 LED (I'm using a 12 V AC/DC 1.2 W bulb) - 1x Osram Vacublitz flash bulb (Or similar E27 light bulb) - CA glue - (Optional) Hot glue gun - (Optional) Soldering iron and solder Tools:
- 2.5 mm hex key - Utility knife - Tweezers - Needle nosed pliers - Old Screwdriver - File or drill bit - Safety gloves - Safety glasses - Large sheet of paper or something to work on which can be thrown away Pre-processing:
Before you do anything, the bulb needs to be prepared. There are lots of videos on youtube of crafts people showing how to do this, I recommend you do not watch those as 19/20 of them had no concern for safety at all.
- Use a utility knife to pry the tip of the e27 screw connector off, it's rather pliable so it shouldn't be that hard. - Put on safety glasses and gloves. - Put the bulb on the sheet of paper you can throw away and break the black glass isolating the tip from the screw connector, yes, you need to break it. I can't tell you the best way of doing this, just be careful that you don't grip the bulb too hard or hack on the glass body of the bulb and you should be fine. - Make sure you are over the sheet of paper and keep the bulb as up-right as possible so broken glass falls out, not in. - Take the old screwdriver, the longer the better, and poke it inside as long as you can, then give it a hard (once again, make sure you don't grip the bulb overly hard, it's tough but not unbreakable) bend. You can brace it against the connector body in the opening probably, I believe this will differ from case to case. You may also want to twist or wiggle the screwdriver, what you want is to break the glass as far down as possible. - See if you can get the broken off piece of glass (and metal wires and such) out with the tweezers or pilers, if not; go in with the screwdriver and rub it around and/or hack to widen the hole until you can get the electronics out (In the Vacublitz there is also a cardboard collet which also can be removed). Try and leave as much of the aluminum foil left inside if you like the look of it (and have it), and try not to break it as it is very thin and will flake off and out easily. - Now you need to widen the hole you just made in the glass enough that the G4 LED bulb (and G4 socket) will fit through it. You may use the screwdriver, a drill bit (carefully) or just some files. If all else fails you can most likely go outside and find a thin but long rock to do this. Printing:
I used white PLA with any old settings.
- Nozzle size: 0.4 mm - Layer height: 0.2 mm - Wall count: 3 - Top/Bottom layers: 5 - Supports: Not required - Optional: Use a brim if necessary All parts are provided in the recommended printing orientation. If printing from the 3MF file, supports may be required. Ensure settings do not fill small holes.
Post processing:
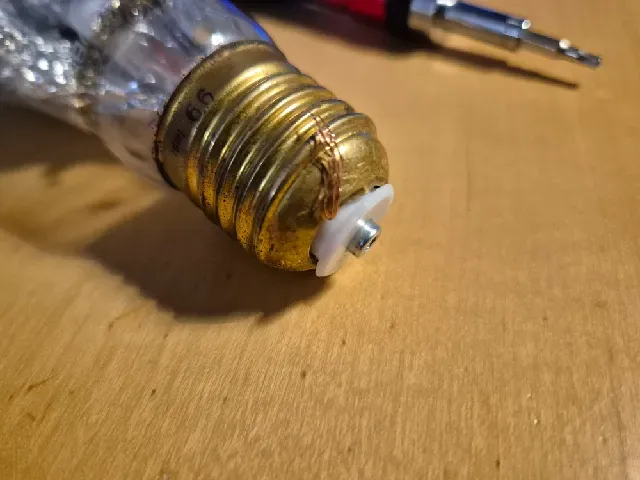
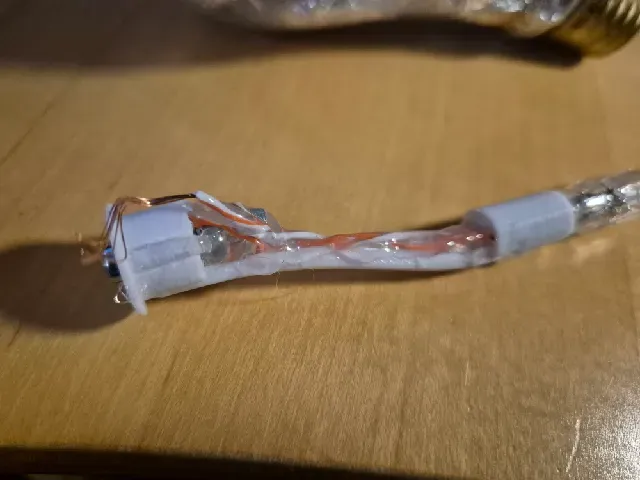
- Perhaps some sanding on the neck to make it fit depending on your printer. - Crimp the cables and place in the outermost pins of the dupont connector. - Press the dupont connector into the G4 socket part, it should be a rather loose press fit. - Hold the dupont connector in place and slide the G4 LED bulb in from the top (which was the bottom when printing). If it doesn't fit straight away, you may need to slightly bend the legs out on the G4 LED bulb, as it is just a tad less wide as the dupont 3 pin connector. - Glue the neck in place with CA glue. - Place the M3 screw inside the E27 Adapter from the bottom - Place two washers on the top / inside and screw the nut down a little bit but not all the way. - Strip the wires, one lead you want long enough that you can bend it around the screw, in between the washers and the other you want to strip around 20mm. It should run in the small channel on the outside of the E27 adapter part and stick out and can be stripped all the way from the start of the channel - Bend the shorter wire around the screw in between the washers and tighten the screw so the leads are pressed between the washers - At this point it's good to make sure your G4 LED is working, just use a suitable power adapter and touch the wires to + and -. My G4 LED could use either 12V AC or DC, and was agnostic to the polarity, but if yours is not, make sure you put + to + and - to -. - If all is working, you can seal the wires and all in hot glue, but I don't think this is necessary. - Use a long screwdriver or similar to press the aluminum foil (if you have it, you could probably add aluminum foil to a more modern bulb if you want, it looks cool) to one side of the bulb so you make room for the G4 LED. - Wiggle the assembly inside the bulb and seat it in a way you find aesthetically pleasing - Make sure the loose leads stick out when you press the E27 adapter into place, it will not fit super snugly, but should stay in place well enough. - If you want, you can now solder the external leads to the bottom of the E27 screw base, I did not, but my TOR flash used a push fitting, I don't know exactly how it would react to being screwed in place but I would probably solder it if I were to use a screw socket. This should not have to be said but: this is now a 12V G4 LED bulb inside a E27 housing, do NOT connect this to mains power.
Enjoy your new 12V LED E27 light bulb with very specific use cases!



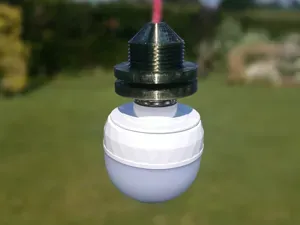
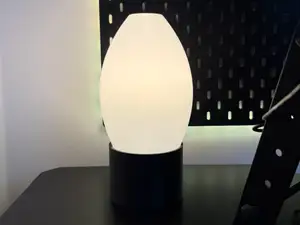


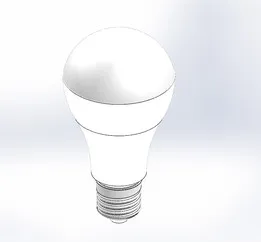
Names are used only to indicate the source of a result. Polyzon is not affiliated with the listed sites.
Comments