
Free 
Prusa MK3S+ Frame Brace - Replaces Einsy Door
Printables
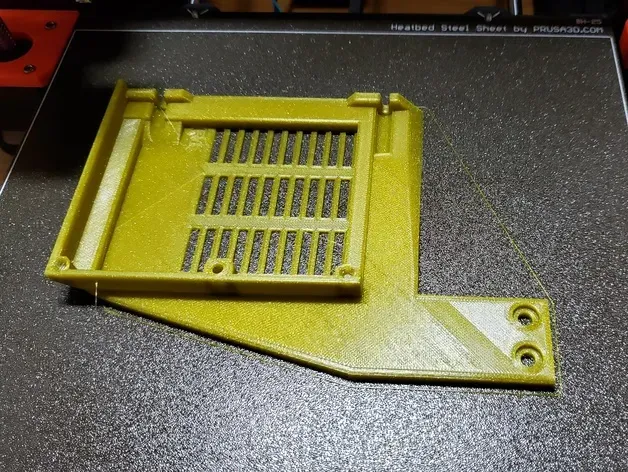
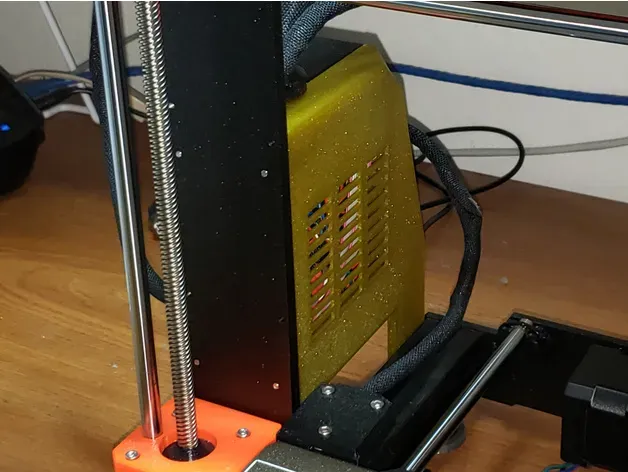
This is a remix of plaidbear's reinforced braced Einsy door mod to brace the Z axis to the Y axis, using the stock Einsy base, to prevent the Z axis from wiggling.
The original design uses M3 screws with printed nuts and requires you to remove the rear frame of the printer. This remix modifies the brace holes to accommodate standard M5 drop-in T-nuts with M5 screws (10 or 12 mm), so you don't need to remove the rear frame.
Update (April 2020): This remix now includes a small cutout at the top to accommodate the MMU2S cable if you have an MMU2S. If you don't, the cutout doesn't matter and doesn't hurt anything.
You will need:
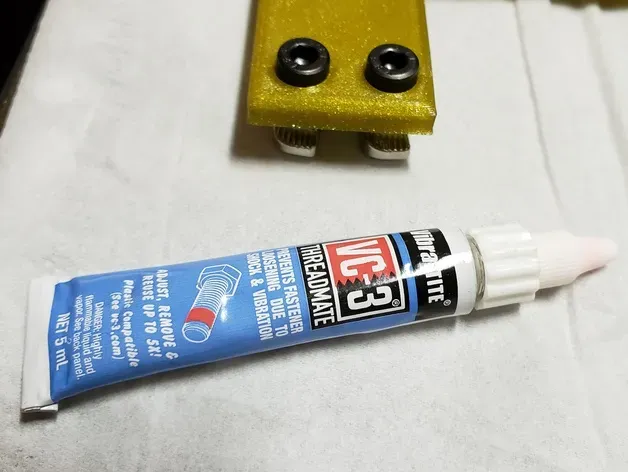
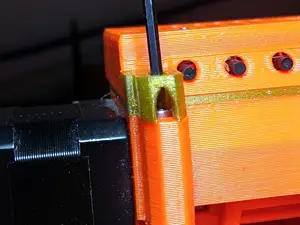
- 2 m5 10mm screws (12mm should work too) - 2 m5 drop-in T-nuts (if you don't want to buy them, you can print them to use with standard M5 nuts (avoid the temptation to use plastic threads) - Re-usable threadlocker; I recommend Vibra-TITE VC-3 Threadlocker (liquid or tape) to control the T-nuts The photo shows an early version of this remix with the M5 holes perfectly centered on the original holes, which put them too close together for the T-nuts to rotate past one another. This remix STL has them farther apart. If the T-nuts overlap, you can offset them by screwing one on all the way and the other just a couple of turns before inserting them into the 3030 aluminum slot.
Print settings
Printer: Prusa MK3S
Supports: No
Resolution: 0.4mm nozzle, 0.2mm layers
Infill: 30% gyroid
Filament: Prusament PETG
Notes:
Used plaidbear's settings of 232/247 temp, no speed above 45.
Post-printing
For assembly, follow plaidbear's directions , ignoring the parts about removing and reattaching the rear frame.
To work with the T-nuts:
- Insert the M5 screws into the printed part. The holes may be tight. Screw them in all the way so the screw heads sink into the indentations. - Apply the threadlocker around the circumference of the screws, covering at least 3 threads. If you have to offset the nuts to get them to fit around each other, you may need to cover one screw almost completely. - Let them sit for about 10 minutes. - Screw a T-nut partway down each screw. There should be a gap of about a millimeter between the plastic part and the flat surface of the nut. You may be able to do this with one nut and the other nut might need to be on the end of the screw. Ultimately you need to be able to get both nuts into the 3030 slot. - Align the T-nuts so they are inline, to slide into the 3030 aluminum extrusion slot. - Gently turn each screw so that the T-nut rotates. - Gently tighten. The T-nuts generally over-rotate, so the "nut" side pulled into the slot doesn't get seated in the slot (unless you managed to seat them properly using exactly the right amount of gap when you inserted the nuts). To ensure good seating, turn the screw a little backward (rotating the nut backward) and re-tighten (rotating it forward). You may notice now that you can turn the screw a few more times. This means the nut is seated properly in the 3030 extrusion slot. - Once seated, loosen the screws slightly to allow you to slide the part into its correct position. How I designed this
Remixed using OpenSCAD. The OpenSCAD file is included here.
Category: 3D Printer Parts




Names are used only to indicate the source of a result. Polyzon is not affiliated with the listed sites.