
Free 
Blades for Ryobi Grass Trimmer RAC158
Printables
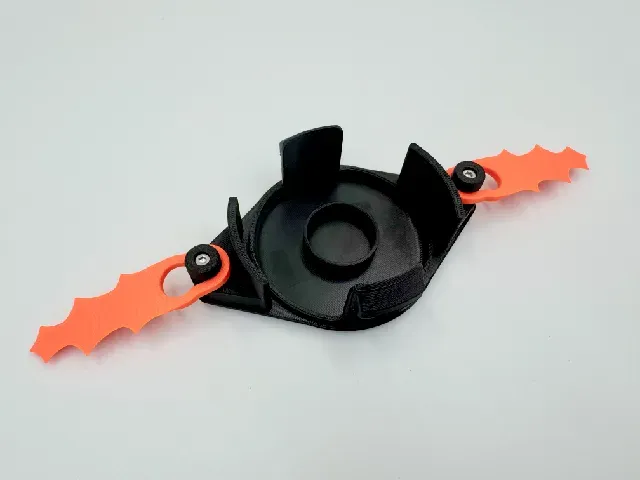

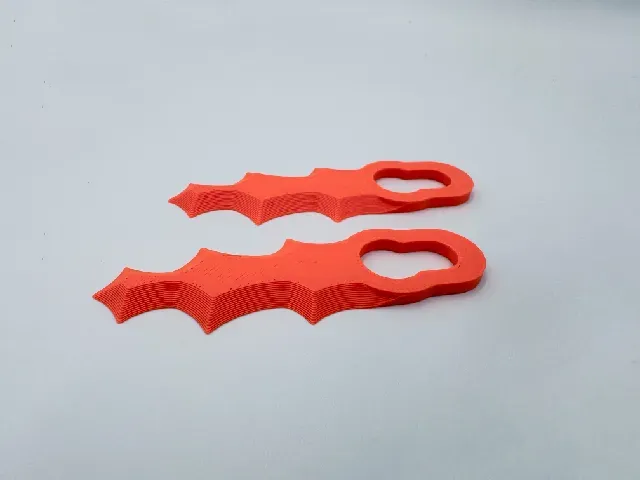

🟩 🟦 🟦 🟪 🟥 🟧 🟨
This model is dangerous. It has only ever come apart at high speed, throwing bits of plastic everywhere in my limited testing. It is published in case someone has more luck with more exotic plastics with it. Take appropriate safety measures, wear protection, and do not use it near anyone or anything, or probably even at all.
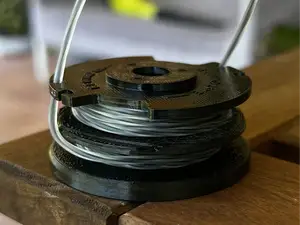
Here is a set of aftermarket disc and heavy duty blades for Ryobi grass trimmers. The blades for this will not fit existing Ryobi RAC158 discs, for that use this model.
Please note that obviously there is a safety aspect to using something 3D printed on a tool that spins at a high speed, so use this at your own risk. Wear protective equipment and do not put others around you at risk.
Required for assembly:
- 2x M3 heat inserts (Ruthex & CNC kitchen or same sized)
- 2x M3x8 screws
- Ideally some Loctite thread locking glue
Printing & Usage Notes
Please note the main body should be printing out of something that can bend a bit, due to the need to insert it into the trimmer itself. Some plastics will snap. I have been using PETG for this.
I didn't come to a decision on what to use for the posts and blades. I wanted to try PPS blades out but had issues trying to print this and didn't try other things out yet.
I used PETG in testing and it cut organic things great and a blade exploded when I tapped concrete with it. There may be better choices more resilient to high speed collisions with hard things. More info as testing happens.
When inserting the body into the trimmer it needs a bit of a wiggle to get in, and is sometimes fun to get out as it is a good fit, so it is less likely to pop out at speed.
Build Guide
- Put two M3 inserts into the holes in the head
- Screw the posts in
- Done.
The blades should be rotated 90 degrees for mounting as that is where the edge is thin enough to go over the posts.
If you like my designs or find them useful it would be great if you can support me by joining my club on Printables for at least a month, which gives you access to various extra models for the duration of membership. Another alternative is to buy me a coffee over at ko-fi via this link . Thank you!
🟩 🟦 🟦 🟪 🟥 🟧 🟨





Names are used only to indicate the source of a result. Polyzon is not affiliated with the listed sites.