
Free ![[WORK IN PROGRESS] WHY2025 Badge](https://cache.polyzon.org/api/img?url=https%3A%2F%2Fmedia.printables.com%2Fmedia%2Fprints%2F13a2a17b-fd6f-4ebc-a12e-7452f92ccd15%2Fimages%2F10374457_719eb7c2-5c7b-4579-96ad-346f397cf016_a8821565-9f00-4700-96c9-0b4aae23639c%2Fimg_20250803_205230.jpg&w=300)
[WORK IN PROGRESS] WHY2025 Badge
Printables
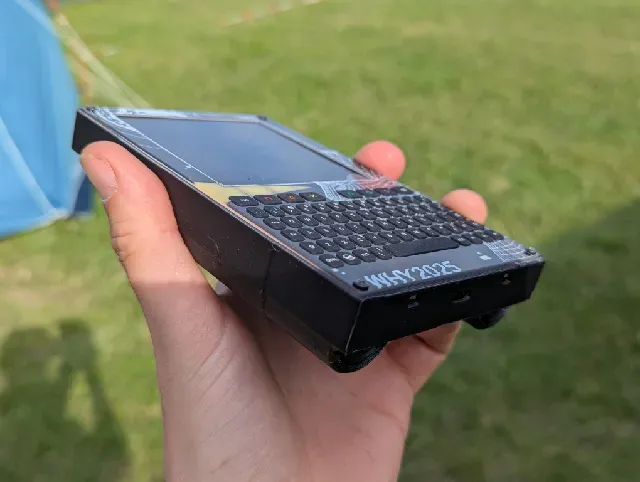


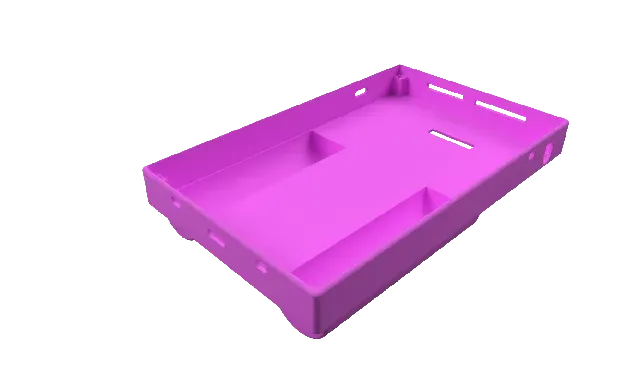


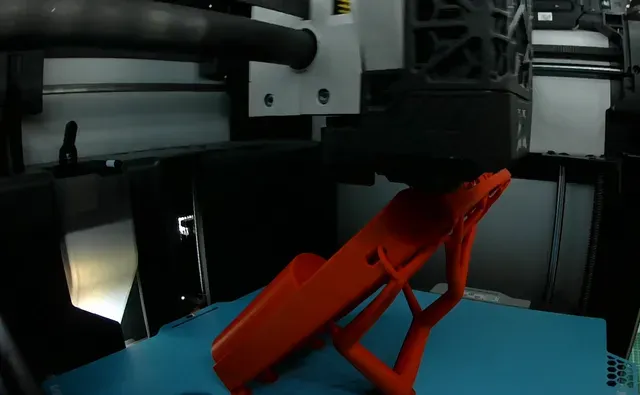
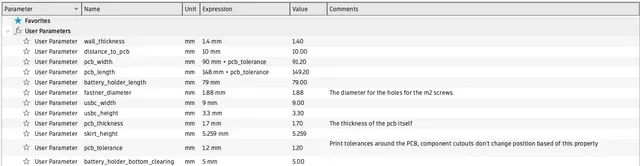
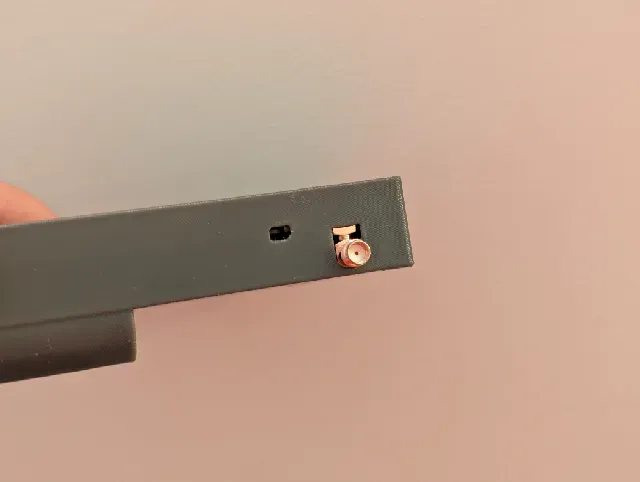

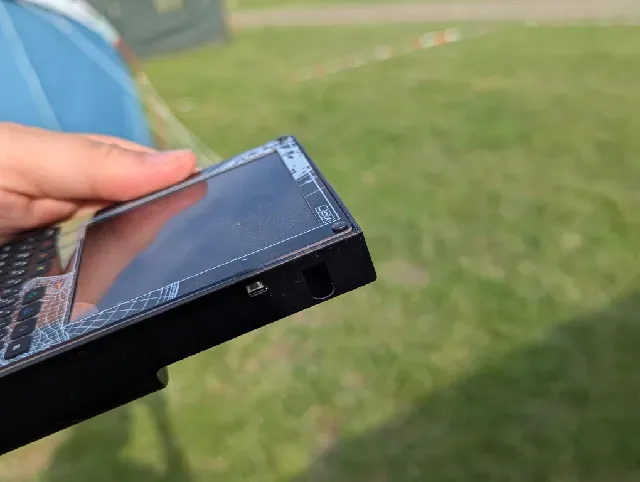

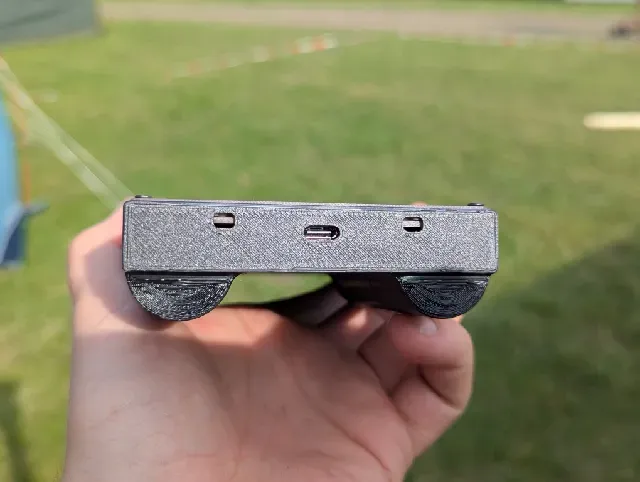


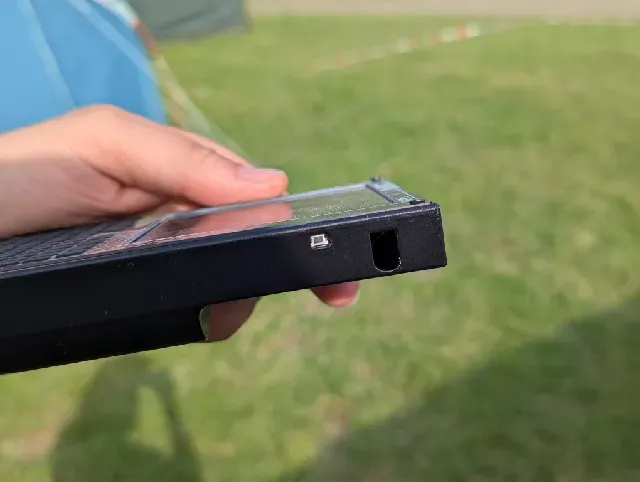
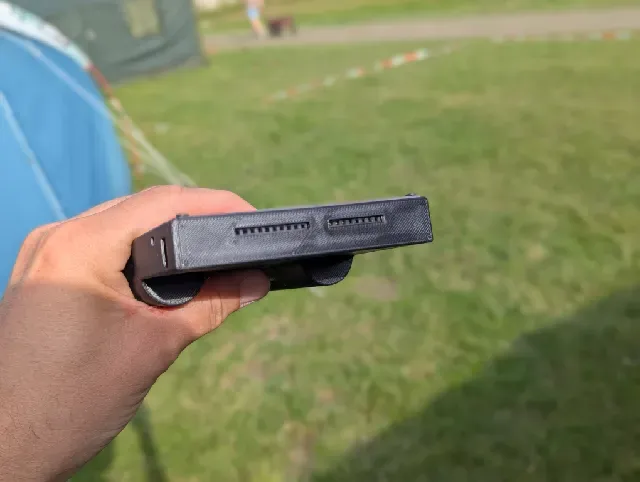
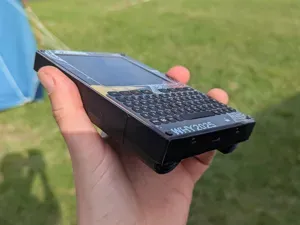
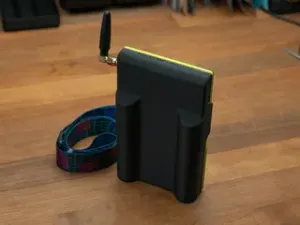
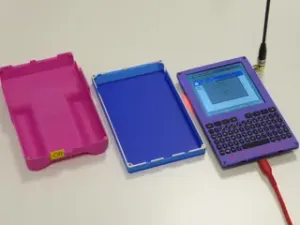
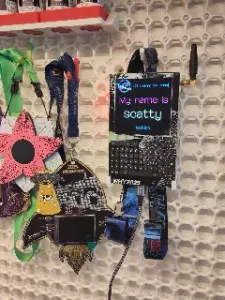
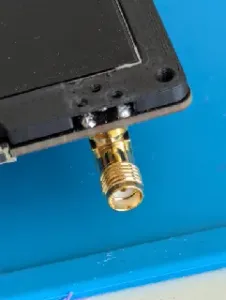
I've re-made the original model, with a few minor improvements, such as thicker walls, a cut out for the antenna and mounting struts.
Thanks to Illya for the original starting point!
Warning: Please print a test model and check your tolerances. Please make sure that your print has the following actual inner dimensions: WxL = 90.1 x 148.4 (the extra here is to accommodate for sagging)
The badge WxL dimensions are: 90 x 148
Updates:
- August 17th 2025 - Revision 45, A version with pushable button has been added. This makes pressing the on/off button much easier, it has a nice clicky feel. I've also closed the cam-hole and added a version for a Pin Button (i.e: Personal Flair ). I've also added 30° chamfers at the bottom, inspired by @goBrrr , to allow support-less prints. - August 3rd 2025 – Revision 35, I consider this case stable, based on all info I have now. No more revisions planned until I get to test it with a fully assembled badge - August 2nd 2025 – holes are now slots, to hopefully have a good fastening with respect to printer differences and the PCB. Please use M2 bolts/screws, not the default 2.5! Also slightly more wiggle-room for the 18650 holders. - ..
Model information
- There should be enough clearance for the ports accessible from the sides (include the antenna), however the speaker / M.2 and programmer through-holes are hidden in this design. - Walls are 1.4mm thick - Clearance between the PCB and the model is 10mm - M2 holes in the case for through-and-through mounting. From the front-facing (where the screen and keyboard are) until into the case requires M2 screws of 10-14mm length. Up to the case is about 5.2mm, so 12 mm screws have about 6.8 mm of bite into the case. - The USB-c ports have enough clearance and fit. 6.5 mm is required for a good fit and most USB-c plugs are longer than that. - The sides are long enough! (Edited) --I've estimated the skirt height (sides) based on the model in the repository of the Badge team, I'm assuming it's closing the entire badge up until the edge of the front panel, but since i don't have a fully assembled badge yet, I cant know for sure. - Heated inserts are not recommended because a) there is very little room to add them, but perhaps more importantly: b) lining them up perfectly with respect to the front cover and pcb will be very challenging. Pin model
This model has a socket to put a pin-button, and a button flex-point to use the button of the badge.
Button model
This model has a flex-point to use the button of the case.
Printing tips
- Printing the case under a 45º angle (check the photos), with Organic supports, will have the least amount of material waste and gives the best finish, however it'll consume a lot of build-plate real-estate - The new model can be printed at 30°, steeper overhangs on some sides, but with plenty cooling/slowdown, it still comes out nice, without supports. Adding supports costs more material, but will result in a nicer finish. - Printers have different tolerances. I recommend cutting off the outer rim only for a quick print to check if it fits (assuming you print after you received your badge) - Print with a translucent material, for extra shininess - The model has a bit more space at the top, to accommodate for line-sagging, keep the orientation with the bulges below. - Add plenty of brim if you print support-less.
When printing vertical
If you're printing the model vertical, you'll need a bit of extra clearance at the top because of slightly sagging lines due to bridging. This model currently allows for 0.2-0.3mm and has proven to be working quite well. The mount holes are slots to allow for this extra wiggle-room and not add unnecessary stress to the PCB. Print orientation: battery holders down.
When printing under an angle
When printing under an angle, it might give a better finish and a bit more strength, however it does take up much more build-plate real-estate. Overhangs are typically very doable at 45º angles, so tilting it over a bit looks weird, but works quite well, with Organic supports.
The new model also supports printing without supports, if you pick a decent brim size.
Badge information
- Primary source with a lot of info: https://why2025.org/post/697 - Podcast episode with more information: https://why2025.org/post/604 - Spacer 3D model: https://gitlab.com/why2025/team-badge/Hardware/-/blob/main/Spacer/3d_print/Full_Spacer_with_LoRa_Antenna_WHY2025.stl
FAQ
- Will the usb-c connectors fit ? – Yes.. they will. I've tested it with several different plugs, even the shorter Apple one's will sit snug and nice. - How is this different from the model in the repository? – It's the same, except that this page is easier to update, so it's likely more up-to-date than the files in the repository . Remakes / other models
- Really great design with easier extension options from: momakemore – https://momakemore.com/micropages/why2025/ - Adapters to fit 18500 batteries in the case by MattGrayYes – https://www.printables.com/model/1394070-spacer-to-fit-18500-in-18650-battery-holder - Slim case design by @flummer – https://www.printables.com/model/1387194-slim-case-for-why2025-event-badge



![[WORK IN PROGRESS] WHY2025 Badge](https://cache.polyzon.org/api/img?url=https%3A%2F%2Fmakerworld.bblmw.com%2Fmakerworld%2Fmodel%2FDSM00000002716296%2Fdesign%2F2026-04-25_typ529v0ghrqj_img_20250803_205230.jpg&w=300)
Names are used only to indicate the source of a result. Polyzon is not affiliated with the listed sites.