
Free 
Ender 3 pro X axis PLAIN no design QR code cover
Printables
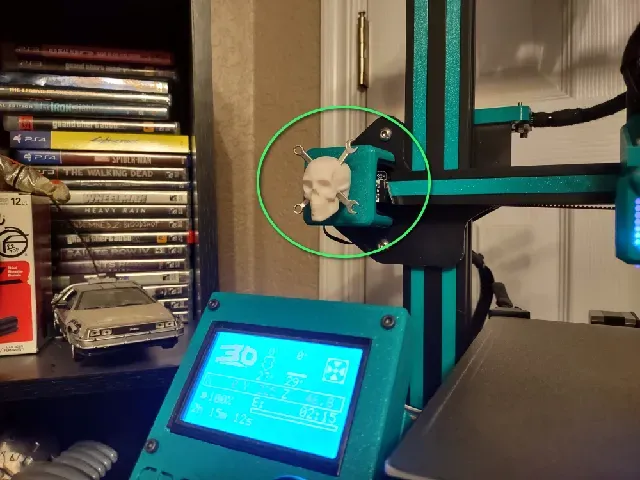
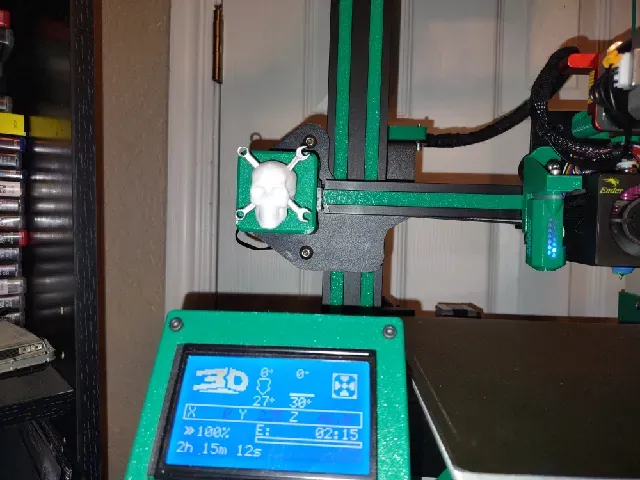
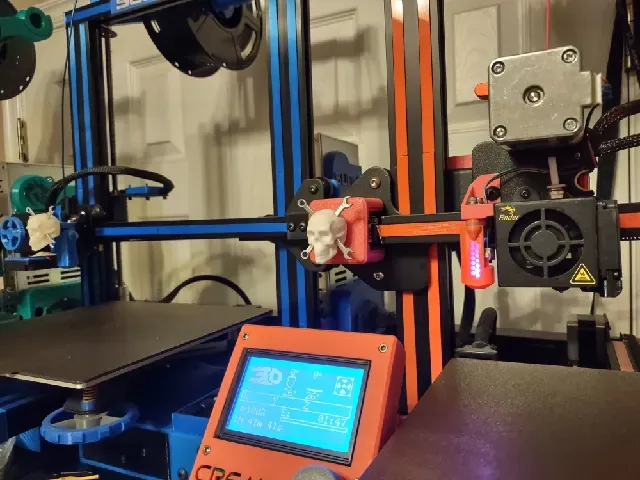
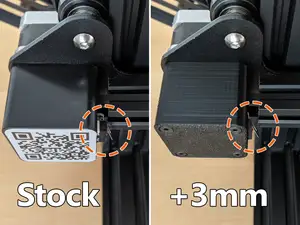
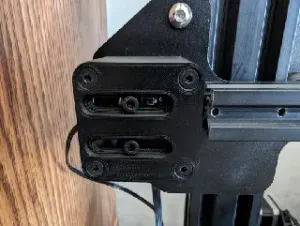
Most of my QR Code labeled X Axis stepper motor mounts have already been replaced for color matching my themed printers with this model: https://www.printables.com/model/1267209-x-axis-mount-for-creality-ender-3-cr-10-etc
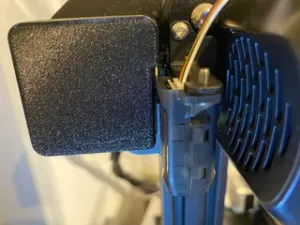
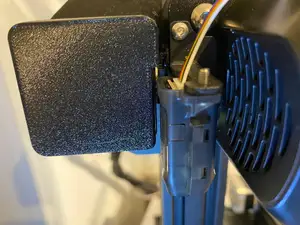
One of my “UNREPAIRED” aquisitions, my green Ender 3 Pro still has the factory QR Code sticker on the stock mount, and I don't much care for it, so I printed hiroken55555's “Ender 3 pro X axis PLAIN no design QR code cover” in green Kingroon PETG to match the other printable modifications on that machine.
I've been adorning my printers with a skull & wrench ornament, usually on fan grills or bed level sensor mounts. Having recently installed a Creality direct drive kit on my Green Ender 3, I never got around to selecting a mount position for the skull & wrenches. After seeing hiroken55555's model installed on that machine, I started thinking a slip on cover for the X axis motor mount might be a really good position for it.
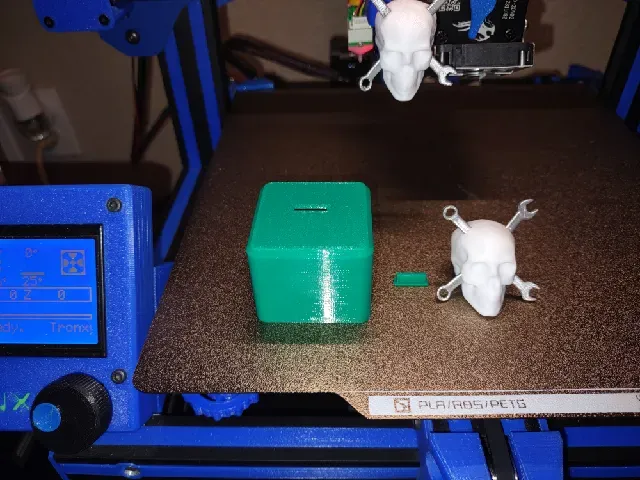
I print the QR Code cover and ornament connector piece, both as oriented in their respective STL files without supports.
I print the skull model as oriented in the STL but add supports “Touching Buildplate”.
I print the wrench set as oriented in the STL without supports, but I add a brim that extends 10mm on all sides. The brim serves two purposes. Since the wrench pieces are so tiny, there's very little buildplate contact, so the brim helps to keep those pieces up right. I remove the brim with the wrench parts as a single piece then spray paint that single piece with a silver shaker can. I don't separate the wrench pieces until the paint has dried, then I file the tips that insert into the skull and glue them in place.
I glue the ornament connector piece into the cover from the inside, then glue the assembled skull wrench ornament onto both the connector piece and face of the cover to make it solid.
I've included a second ornament with this package, the 5015_Dragon_Head.stl. Before modeling the skull with wrenches, I was using the Dragon Head design by Greco1970, which pairs nicely with an Ender 3 Dragon motif. Greco1970's “Ender 3v2 Dragon head V Slot Cover”, the model from which the dragon head ornament was originally derived is available at: https://www.printables.com/model/223106-ender-3v2-dragon-head-v-slot-cover
The DragonHead ornament is a bit finicky to print. I print it with “tree” supports, and again, “Touching Buildplate”.




%2Fhttps%3A%2F%2Ffbi.cults3d.com%2Fuploaders%2F14453108%2Fillustration-file%2F881516a7-db3e-49f7-9626-a9b1ee586095%2FIMG_20200114_210748.jpg&w=300)
Names are used only to indicate the source of a result. Polyzon is not affiliated with the listed sites.
Comments