
Free 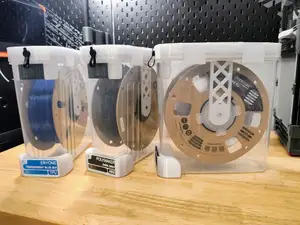
Filament Storage 2026
Printables
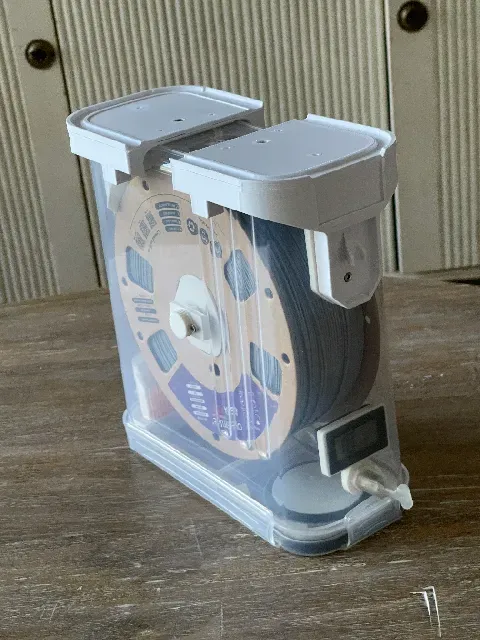
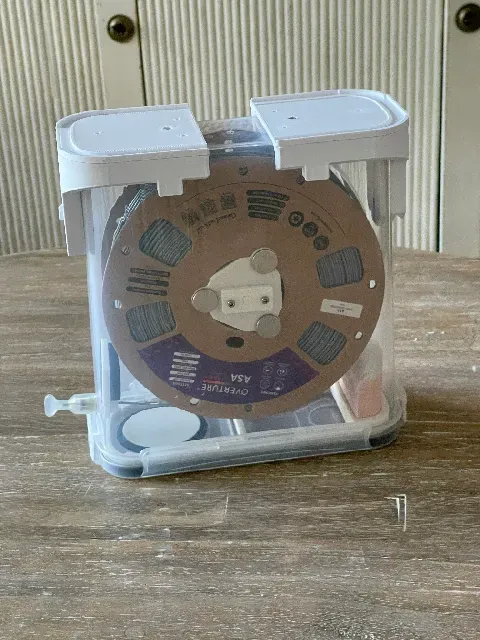

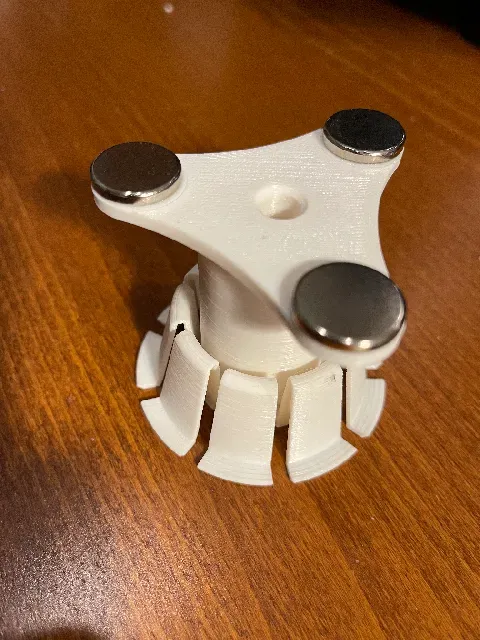

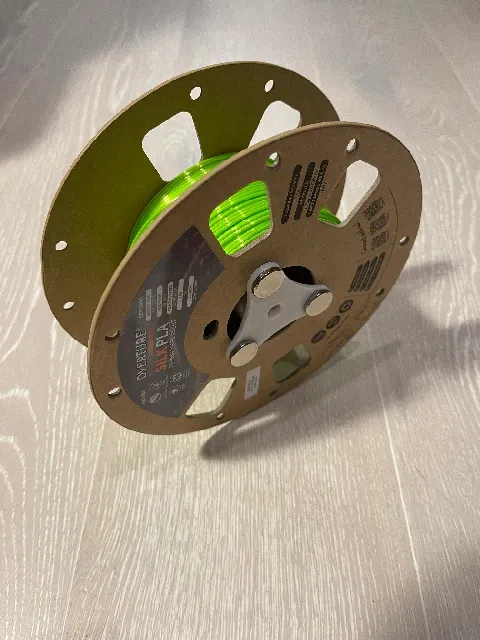


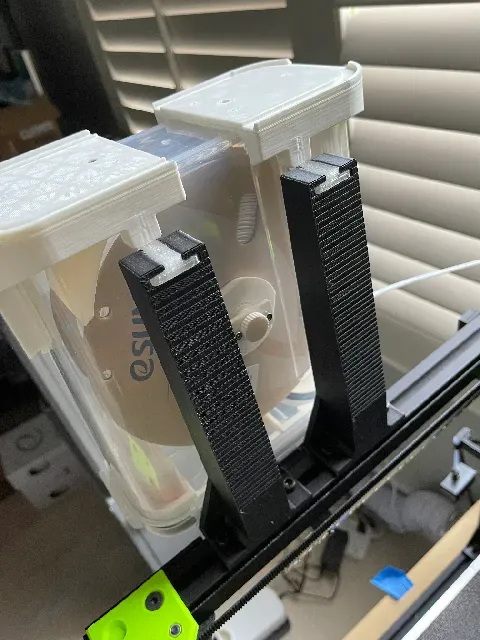


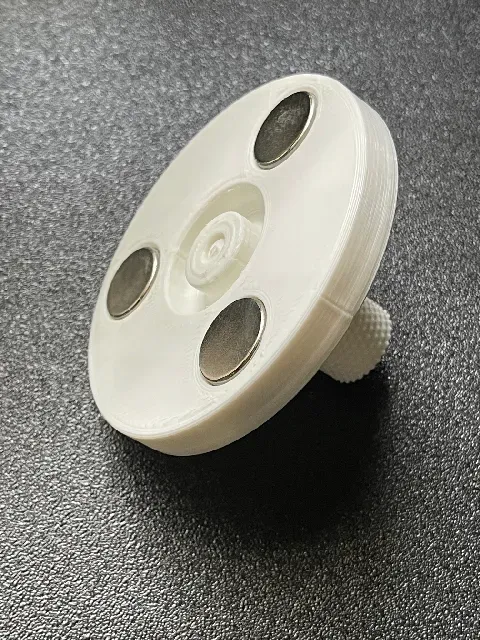


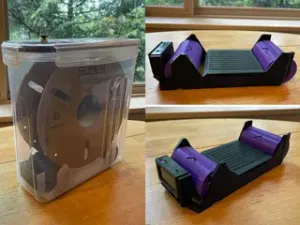
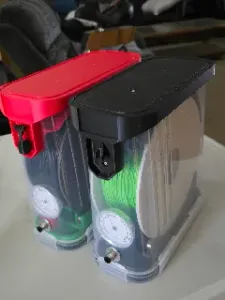
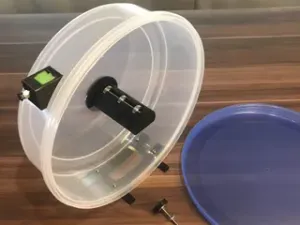
I was very impressed with the Ultimate Cereal Container Filament Drybox by @GunplaMark . I owe him a great debt of gratitude for all the work he put in designing, testing, and publishing the original project which I have remixed. There were a few things about it that I wanted to improve. The main thing was I wanted some way to rewind filament onto the spool after unloading from the printer without opening the drybox. I also found some of the parts difficult to print and wanted to see if I could tweak them to avoid supports, warping and other issues. The project got a little out of hand and I ended up modifying almost all of the original parts. The main feature I added was to suspend the filament spool by its central hole with a spool holder and adding magnets to the holder so that a rewinding tool with matching magnets could spin the spool. I originally used ball bearings on the spool holder axle and removed the drag flaps on the edge of the spool but found that I had made the system have way too little friction and removed the ball bearings and put back in a modified drag flap. I found the back and front corner pieces to be very hard to print since they had features on both the “top” and “bottom”. I ended up splitting the parts such that both the “top” and “bottom” could print as the last layers and used a hinge to connect them so that they can be folded and glued for easy assembly. The original corner pieces allowed for mounting the drybox by a slot on the back corner. I wanted to be able to mount the drybox to the side of a printer, so added 4 holes on the corner pieces on the side to mate with side mounting posts. My original spool holder design uses a tapered disk to clamp into the spool from each side. Unfortunately this does mean that since the spool hole size varies widely (please, please standardize this!) you need a lot of different size spool holders to accommodate all the different spools you may have. I subsequently designed what I call “Springy Spool Holders” that use plastic springs on one side of the spool to fit the hole and a flat clamping piece on the other side of the hole. This has the advantage of fitting a wider range of hole sizes with a single part. It does have a down side however--the springs are fragile and I am not sure how long they will last. I broke off a spring piece if I dropped the part on the floor. I consider the "springy" version a beta at this time -- I have been having problems with them loosening while printing and causing jams so I would stick with the rigid holders. I am including both designs here.
Bill of Materials
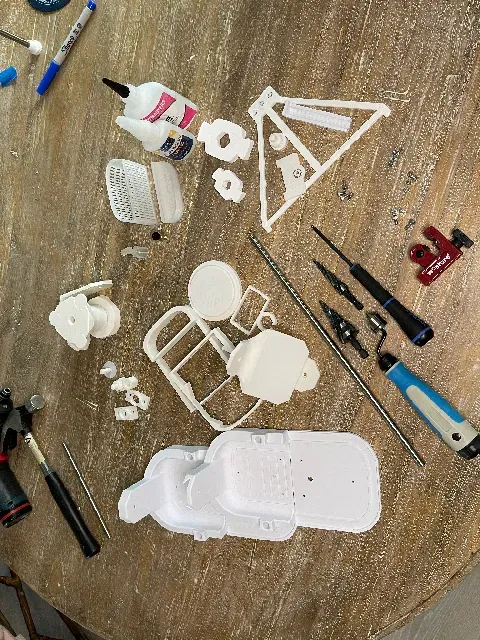
You need some hardware to make a drybox. This is a list of all the hardware you will need for one drybox. It does not include things such as tools and the rewinder. In include links to Amazon (USA site) that I used to order things at the time I published this.
- 4x M3x8 SHCS
- 4x M3x6 SHCS
- 8x M3 Nuts
- 300mm stainless steel tube, 8mm OD 0.5mm wall thickness, cut to length ( Amazon link )
- 1x PC4-M10 Pneumatic Connector Fiting/Bowden Tube Coupler, 4mm, 6mm threads ( Amazon Link )
- 3x N52 Mini Neodymium,18mm x 3mm Round Super Strong Premium Neodymium Fridge Magnet ( Amazon Link )
- 1x Mini Hygrometer Indoor Humidity Meter 1.12" x 0.57" ( Amazon Link )
- 1x Cereal Drybox (the type with three vertical indentations at the front) ( Amazon Link )
You will need some tools and glue to assemble the drybox and magnets for the rewinder. If you have the tools already, you are good to go, but I include Amazon links for things that I used that worked.
- 6x N52 Mini Neodymium,18mm x 3mm Round Super Strong Premium Neodymium Fridge Magnet ( Amazon Link ) – for the rewinder
- Small tubing cutter to but the 8mm stainless steel tube ( Amazon Link )
- Step drill set that includes a drill for the range 4mm-22mm (in 2mm steps) and a drill for the range 4mm-12mm (in 1mm steps) ( Amazon Link )
- 3.4mm drill
- Cordless drill
- Deburring tool
- M3 Hex head driver
- Thick superglue ( Amazon Link )
- Thick superglue for plastic ( Amazon Link )
Printed Parts
First note that the folder “Original Parts” are copies of what GunplaMark created--I have not modified those parts. The system as designed by GunplaMark includes the ability to use an adaptor to put it onto a polymaker polydryer filament dryer. Assuming you want to use the drybox with a dryer, the parts inside the container should be heat resistant. These are the filament types I used with the specific brand in parenthesis--obviously, choose the brand you like best:
- ASA (ERYONE High Speed Filament) – all the internal parts except for the desiccant bin
- Clear ABS (SUNLU) – for the desiccant bin and lid
- TPU (Polymaker High Flow TPU Filament Clear) – for the filament exit cap
- PLA (eSUN PLA+ Filament) - the top corner pieces and the printed tools
I have organized the printed parts in folders. I have tried to orient the parts so they will go into your slicer in the printable orientation. You will need to print out these parts in the tools folder for use during assembly: drilling jig, axle length gauge, outer wrench, inner wrench. I used PLA for these parts. And you will need the hole-jig part in the Original Parts folder (also used PLA).
You will need to print out the parts for the rewinder to rewind filament back into the box using the magnets. You need only one of these for all your dryboxes. There are two parts to it, again in the tools folder: Rewinder and Handle. I printed these in PLA. And if you want to use the polymaker polydryer you will need to print out the polydryer-adapter part from the Original Parts folder in a heat resistant material.
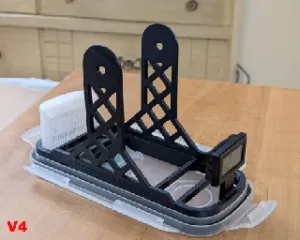
For each drybox you will need to print all the parts in folders PLA and High Temp with the appropriate filament type. You will need the desiccant-bin and hygrometer-holder from the Original Parts folder. You will need one of the TPU coupler caps--there are 2 versions, one is “extended” so that there is a cavity in which a flexible filament like TPU can sort of coil since it is hard to insert it into the capture hole.
I created a new version of the desiccant bin that is easier to print. It uses more filament, but should provide better airflow in addition to the ease of printing. The original bin had all of these narrow vertical elements that were a bit of a nightmare to print. It is named "Desiccant Bin Redux". Clear ABS is a good material for it.
As mentioned before there are two different designs for the spool holder pieces: “springy” and “rigid”. There are two folders with the two variants. Because the rigid version only handles at most 3mm of variance in spool hole size I published a range of sizes in 1mm increments so that you should be able to find one to fit any spool you own. The springy version fits a wider range of hole sizes so it has parts in 5mm increments. Note that the springy version has one side that has the “springs” and the other holds the magnets and has no springs. There are just two sizes of the part with the magnet, a large and small as they can cover a large range spool hole sizes. I consider the springy version a work-in-progress as I have been having problems with them unscrewing while printing and jamming -- stick with the rigid for now.
The only part that will need supports is the “Base Back” part that has to straddle the hexagonal feature in the drybox lid. I used old-school supports for it and it prints very cleanly and removes easily (at least with my Qidi Q2). You will need brim on the Axle Tip and hygrometer-holder parts.
I printed the parts with a 2mm layer height. There are some threaded parts that need good vertical resolution. You could probably get away with 3mm layer height for many of the parts. I used a 0.4mm nozzle for the ASA parts and a 0.6mm nozzle for the PLA parts.
Assembly
I have created a video that I published on Youtube that goes through all the steps to assemble a drybox. I went into a lot of detail so hopefully it will be clear what to do. After doing a few of them it goes pretty quickly.
You will have to decide which type of spool holder you want to use: the “springy” one or the standard rigid one. The build video is using the standard, rigid one, but the springy version is very similar to build.
Spool Hole Diameter and Spool Holder Size
For the rigid spool holders, you will want to choose the size to print based on the measured hole diameter of the spool. As an example for an Overture PLA spool, the spool hole diameter is approximately 55.6mm. The best fitting spool holder is labeled “53mm”. The 52mm holder fits also. The 54mm fits but is getting near the too large size. So generally you want to pick a spool holder that is labeled 2mm-3mm smaller than the hole diameter. Note that the spool holder labeled number is the diameter of the inner-most (smallest) part of the taper. The taper flares out from this by about 4mm so the largest diameter for the 53mm holder would be 57mm.
Spring Loaded Spool Holders (WIP)




Names are used only to indicate the source of a result. Polyzon is not affiliated with the listed sites.