
Free 
Qidi X-Max Spool Holder & Filament Guide
Printables
SUMMARY
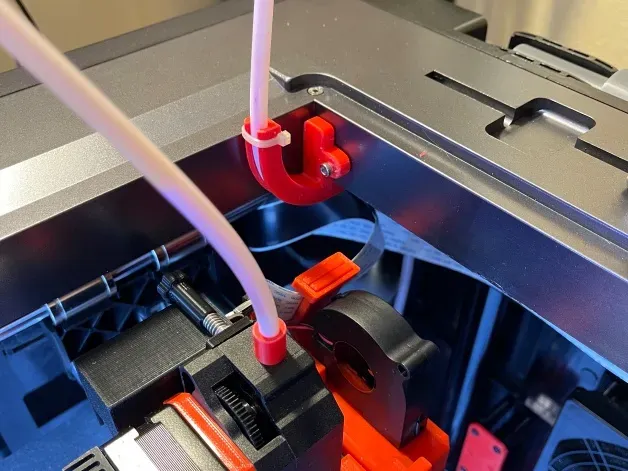
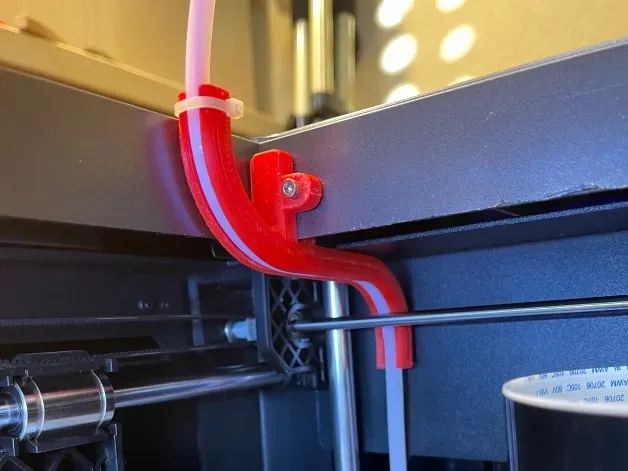
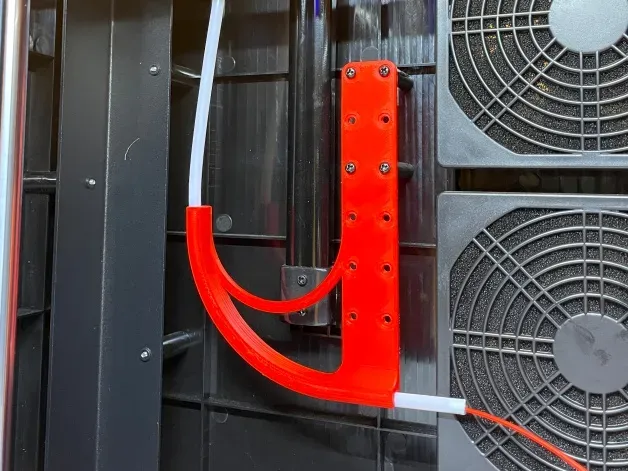
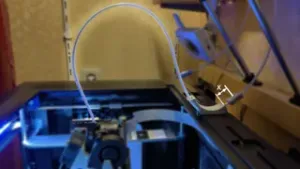
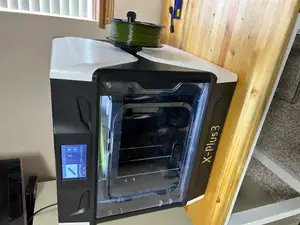
This internal filament guide set works with X-Max and probably the X-Plus. It replaces the simple OEM vertical guide with a 4mm ID X 6mm OD PTFE tube that runs from the spool to the extruder. There are four parts: Upper Guide, Lower Guide, Lower Guide Standoff, and PTFE Tube connector for BMG type extruders.
The setup uses about 1.5 meters of PTFE Teflon tubing 6mm OD X 4mm ID:
https://a.co/d/6MR22F3
REQUIRES
A free spinning internal spool holder such as this one: Qidi X-Max (X-Plus) Internal Spool Holder: https://www.prusaprinters.org/prints/155518-qidi-x-max-x-plus-internal-spool-holder
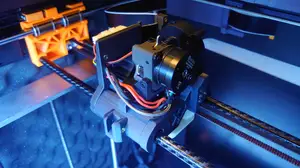
Because the upper guide occupies the back / left corner, it will interfere with Qidi's carriage cover on the X-Axis. There are a couple of options:
- Adjust the print area: use NotePad or other text editor to create a gcode file with the following then copy it to your USB Flash drive and run it like any other print file. ; Set XY distance M8024 I270; X M8025 I242; Y
- Or upgrade to the Icarus carriage from Humebeam PRINTING
- Resolution: 0.2 - Infill: 20% - Filament brand: Any - Filament color: Any - Filament material: PLA works fine - Refer to the file notes for supports, adhesion and other guidance POST PRINTING
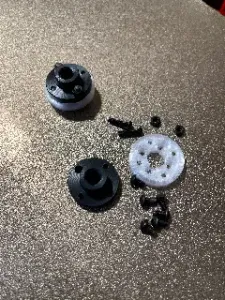
Use a soldering iron to press in threaded brass inserts to fit M3 hex-head bolts in the upper guide and in the standoff.
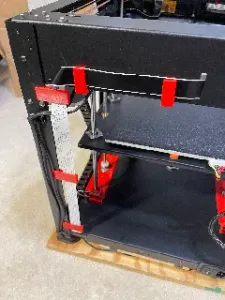
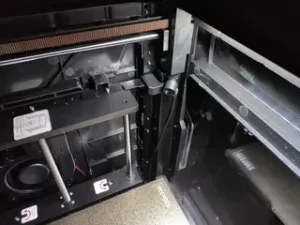
Hold the upper guide on its side and slip it over the Y-Axis drive rod. Then rotate the upper guide into place such that the back of the guide goes behind the Y-Axis drive rod and the top-opening frame slips into the notch. Position the guide fully to the left. Use a 2mm drill to mark the location for a 3.5mm or 4mm hole through which a 3M bolt can pass. Move the guide out of the way to drill the hole. This will allow securing the upper guide to the top-opening frame with a short 3M hex-head bolt.
Install the standoff reusing the screws from Qidi's guide, then install the lower guide to the standoff with 3M hex-head bolts. There are multiple holes to choose from so that the height can be adjusted as needed.
Thread 1.5 meters of PTFE Teflon tubing (4mm ID X 6mm OD). Trim to fit at both ends. A small zip tie to secure the tubing at the upper end of the upper guide may be needed. I used one of the metal grommets that came with the black OEM tubes at the spool end of the PTFE tubing to minimize ware.
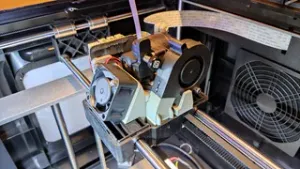
If using the OEM style carriage and cover, then:
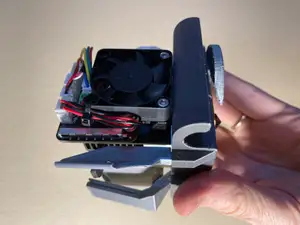
- Use this Bowden Tube Connector from Hume Beam: https://www.prusaprinters.org/prints/82256-qidi-x-max-x-plus-i-mate-s-bowden-tube-connector - Adjust the print area as noted above.



Names are used only to indicate the source of a result. Polyzon is not affiliated with the listed sites.