
$ 5.00 
ASRock AMD BC-250 Console Case | SteamOS / Bazzite DIY Gaming PC Build (STL + 3MF)
Printables


Description
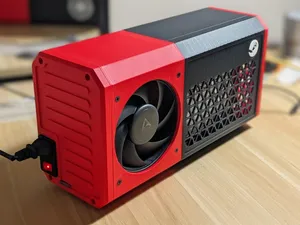
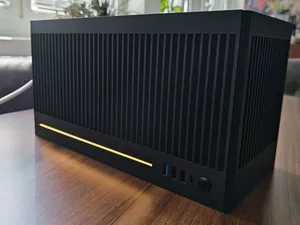
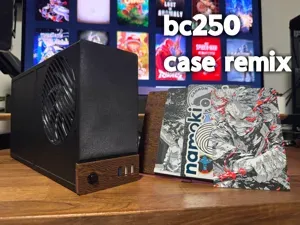
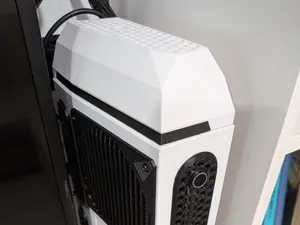
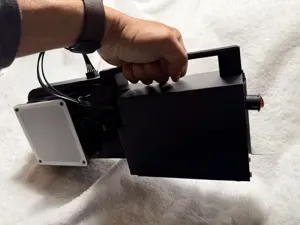
Hi everyone! This is my custom 3D printed enclosure for the BC-250 mining card / Bazzite gaming pc.
I designed this because I wanted a case that fully encloses the board along with the PSU, rather than having parts hanging out. My main goal was airflow, unlike some other models out there, this case ensures air is forced through all the components, including the backplate which often gets neglected.
Key Features:
- Full Enclosure: Fits the BC-250 and a Meanwell LOP-400-12 PSU inside.
- High Airflow: Designed for two 140mm fans (push/pull config) to keep temps down.
- Backplate Cooling: The design allows for a 120mm heatsink on the back, and the airflow path actually covers the backplate area.
- Cable Management: There’s a dedicated hole on the top for clean cable routing or for using 180-degree adapters.
A Note on My Setup: To get the best performance, I repasted my BC-250 with PTM7950 and used UTP-6 putty, now heats is getting transfered more easily.
Disclaimer: The photos show an earlier prototype. The files included here are slightly updated versions with better fitment, so don't worry if a small detail looks slightly different from the picture. Bill of Materials
- PSU: Meanwell LOP-400-12
- Fans: 2x 140mm fans (max 27mm thick)
- Inserts: M4 and M3 Threaded Inserts
- Screws: M4 and M3 screws (various lengths)
- Power: 10A 250V IEC C14 Socket with Single Fuseholder
- Glue: Superglue or CA glue for body assembly
- Optional: 120x120x20mm Heatsink for the backplate + thermal glue
- Material : PETG - or materials with better heat resistance
Assembly Instructions
Step 1: Prepare the BC-250 Board
- Remove the two existing screws and the metal bracket on the front of your BC-250.
- Replace them with two long M4 screws and the printed [BC-250_locking_clip] .
Step 2: Prepare the PSU
- Use M3 screws and inserts to mount your Meanwell PSU to the [BC-250_LOP-400-12_clip] .
- Slide the [BC-250_LOP-400-12_clip] onto the backplate of the BC-250.
- Connect your AC wiring and the 12V 8-pin plug now.
- Optional but recommended: Use thermal glue to attach a 120x120x20mm heatsink to the backplate.
Step 3: Assemble the Main Body
- Install M4 heat-set inserts into [BC-250_Main_body] .
- If you are using a front button, install it into the [BC-250_Front_plate] now.
- Glue the [BC-250_Front_plate] and [BC-250_Main_body] together.
- Install M4 inserts into the back of [BC-250_Back_body] .
- Glue the Front assembly and Back assembly together. Let it dry completely!
Step 4: Final Assembly
- Once the glue is dry, slide the BC-250 board (with the PSU and Clip already attached) into the case from the rear. NOTE: its best to remove top parts of the heatsink for better cooling.
- Secure the card to the body using the locking clip and long M4 screws you installed in Step 1.
- Install the M4 insert on the tail of [BC-250_Back_plate] .
- Mount your two 140mm fans.
- Front Fan: Intake (blowing in).
- Back Fan: Exhaust (blowing out).






Names are used only to indicate the source of a result. Polyzon is not affiliated with the listed sites.
Comments