
Free 
Fish feeder for aquarium
Printables


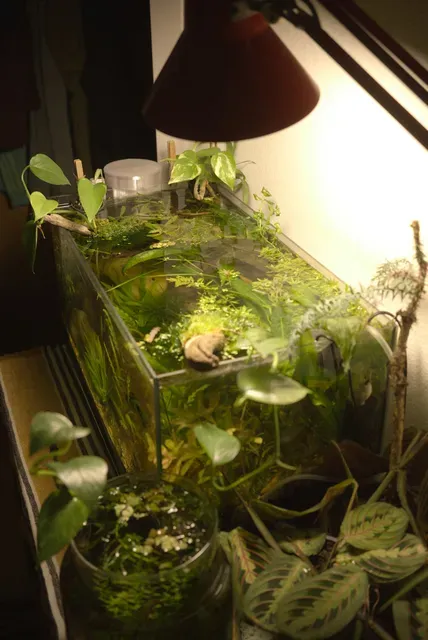

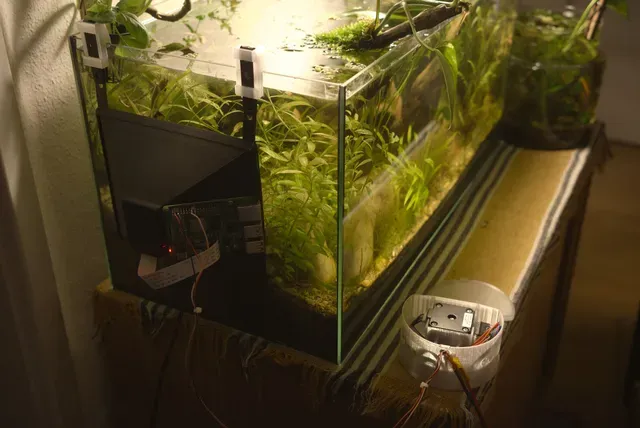
I'm planning on leaving for a week but since I recently got an aquarium, a simple trip presents me with an unexpected problem: My fish might starve.
So a primitive autofeeder is the solution.
HARDWARE:
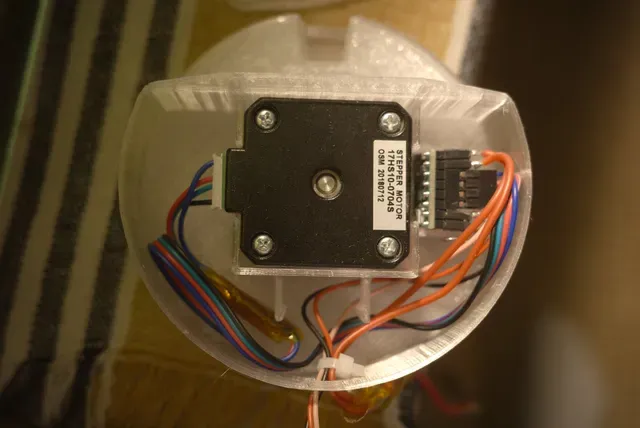
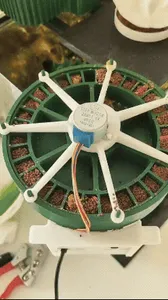
With garbage from various 3D printer experiments I luckily had all the parts necessary at my disposal. The motor is a slightly overpowered NEMA17 from an unused extruder (25mm pancake with 5mm O-shaft; there's space for 28mm) and for driving it I use a A4988 driver PCB. All powered by a 24V PSU. Apart from the obligatory wires you'll also need 4x M3x6 and 2x 3x6 plastite screws, 2x 2k2 resistors and some zip ties for organizing wires and strain relief. Or similar. Oh: and a Raspberry Pi. Don't forget the raspberry! Never said it'd be cheap.
As for the wiring of the driver PCB and tuning the driver current there's plenty of instructions on the web. Don't do it like I did! Which is as follows: connect everything according to some random datasheet (don't forget some resistors to engage the motor and give it a direction) and set the trim-pot to some position where the motor wouldn't make an annoying noise while still having the minimum required torque. Then I observed everything for some time (while engaged), touching motor and driver to make sure it's not getting hot.
SOFTWARE:
I don't need an elaborate app for feeding my little critters. It's just for occasional use, so a lazy python script via SSH must do (VPN server recommended). Feel free to make something android-based with... GUIs... and... AI! At least something that'd run on an arduino might be helpful.
Anyway, here's the code for my "feed.py" script:
#!/usr/bin/python
from time import sleep
import RPi.GPIO as GPIO
GPIO.setmode(GPIO.BOARD)
GPIO.setup(16, GPIO.OUT)
schritte = 0
while schritte < 20:
schritte+=1
GPIO.output(16, 1)
sleep(0.01)
GPIO.output(16, 0)
sleep(0.01)
So each time I execute the script, the motor will rotate 10 steps. Which is also why I made 20 feeding compartments: to make everything easier for my rodent-brain to comprehend (no homing necessary; full steps). If your motor has anything else but a 1,8° step angle or you're not using pin 16 of the GPIO then you'll probably want to adapt these parameters. For auto-feeding you can simply start the script via crontab.
PLASTICS
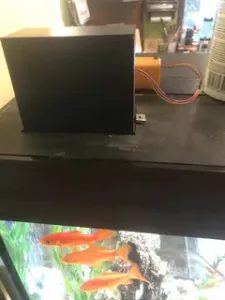
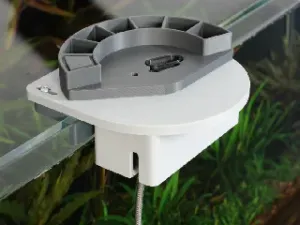
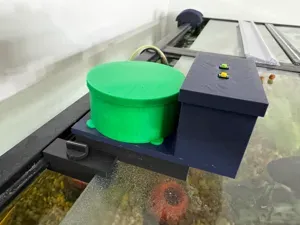
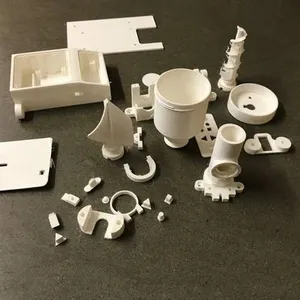
As for the printable parts there's not a lot to say. The bottom part is the hardest to print clean, with some support necessary for the bottom surfaces of the motor chamber. Support interface is your friend here to get it as flat as possible. Have fun removing the mess!
I made the bottom part for 4mm and 6mm glass thickness. So choose whatever fits your tank. If you need to use a longer stepper just send me a message and I can adapt the part to whatever fits your motor.
The rotating part might benefit from drilling up the hole with an M5 drill bit to make it fit the shaft perfectly (and to make it removable - just in case).
BTW, here's a short demonstration of the feeder in action:
http://unwohlpol.at/owalona/fishfeeder.mp4




Names are used only to indicate the source of a result. Polyzon is not affiliated with the listed sites.