
Free 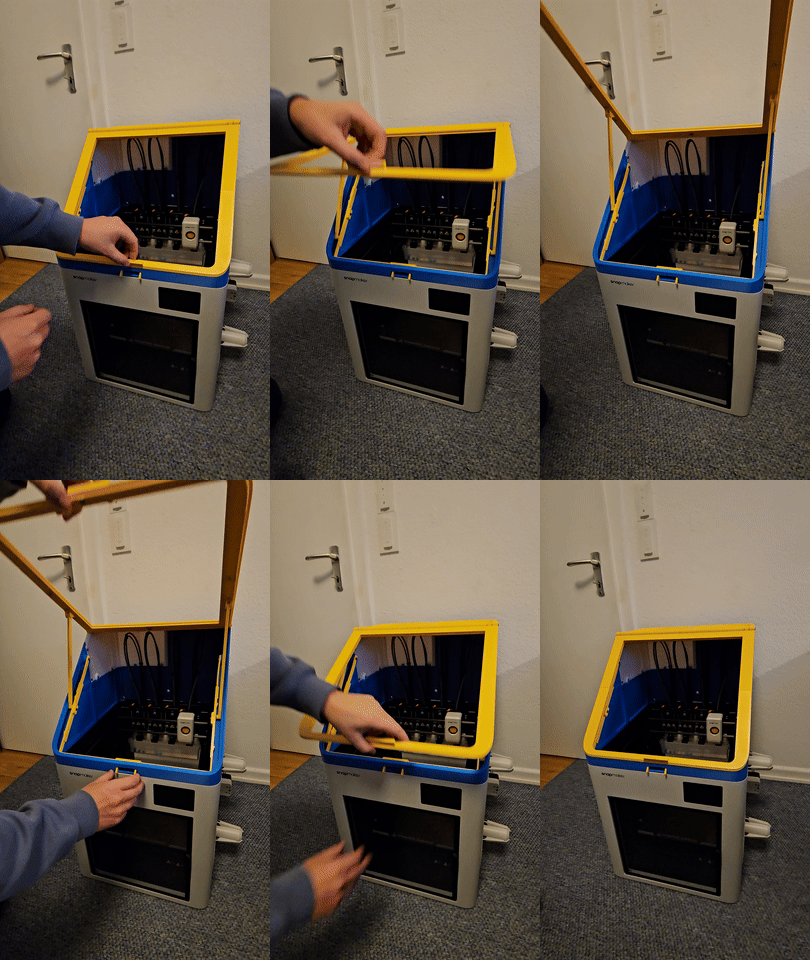
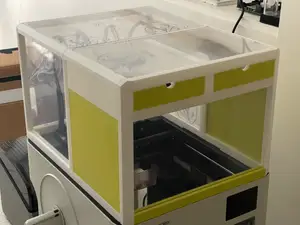
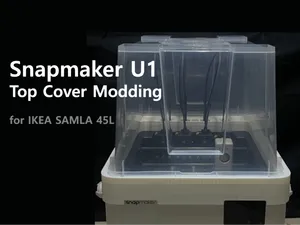
Snapmaker U1 Slant-Flap Hinged Top Cover
MakerWorld






IKEALLER cover (v2.3)
Snapmaker U1 enclosure by @AMelo
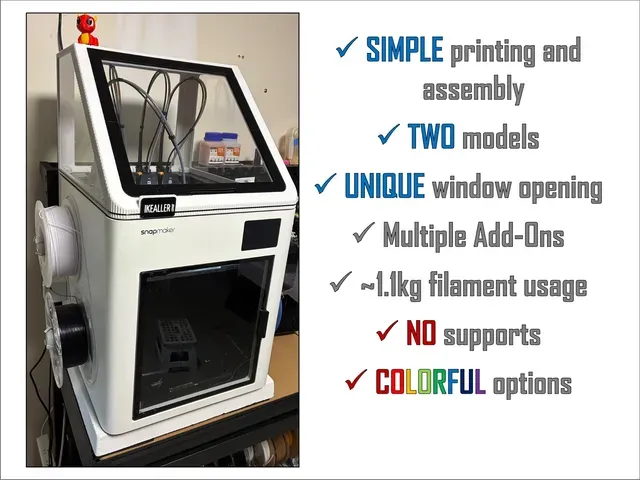
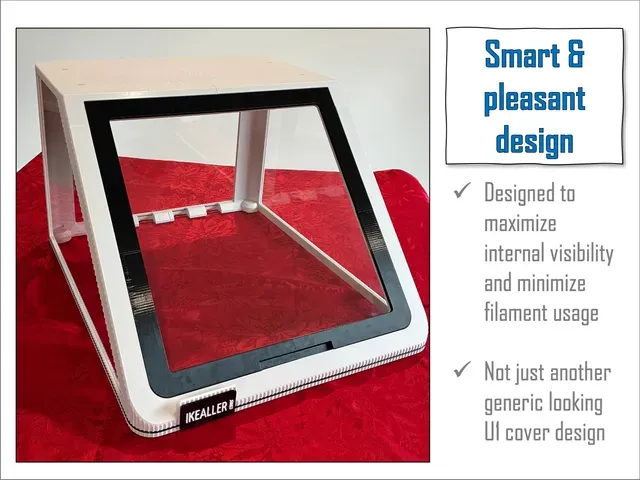
BEST Snapmaker U1 enclosure design. Similar filament usage, printing time and hardware cost of IKEA bulky adaptor solution BUT with much more functionalities and style. Designed to maximize build usage of acrylic panels (3mm thickness or thinner) and to minimize filament usage and printing time/hassle.
PLEASE READ ALL TOPICS BEFORE COMMITING TO THE PROJECT.
HIGHLIGHTS
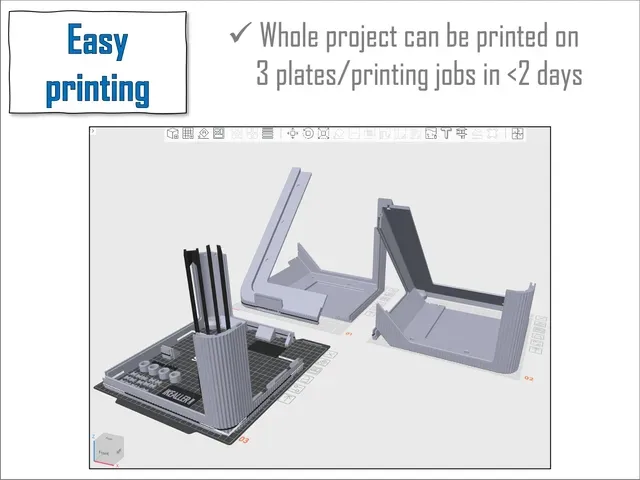
- Easy printing: NO supports required for main model;
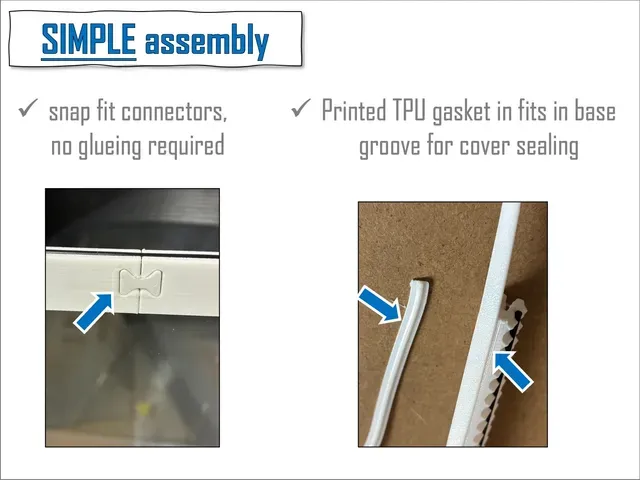
- SIMPLE assembly: SIX main parts with simple joints make assembly quick and intuitive ;
- Acessible: NO extra hardware required (other than 1 acrylic sheet and 28 10x2mm magnets );
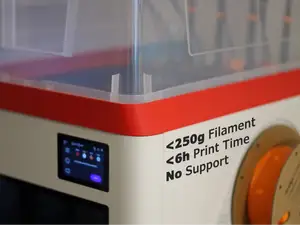
- Single spool project: ~900g filament usage for main body color , ~200g for window frame and front label.
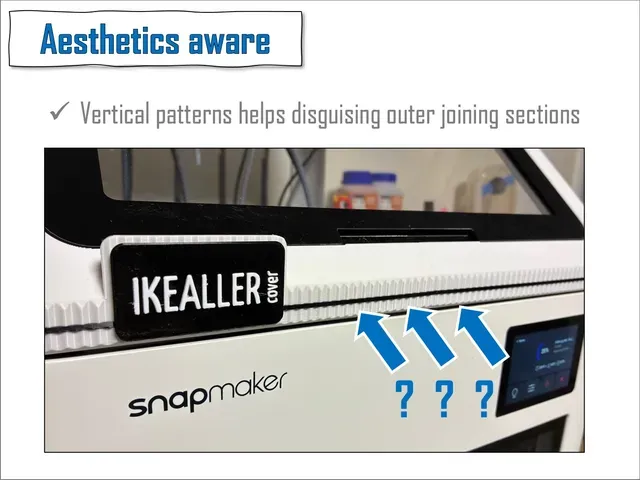
- Refined exterior design - not just a cheap looking cover;
- UNIQUE and SMART window mechansim - Magnets allow 3 different opening positions!
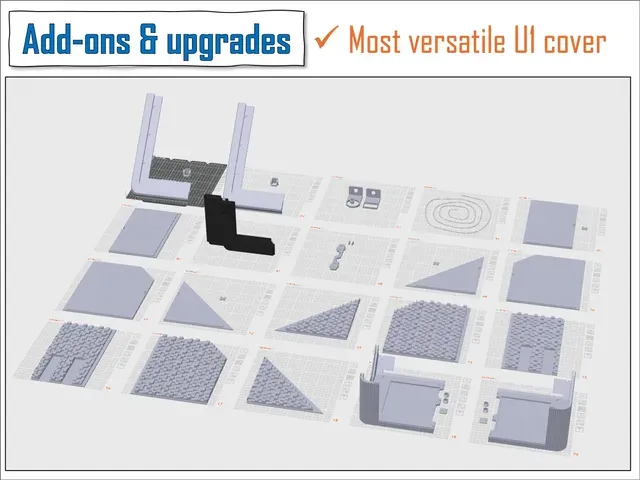
- most VERSATILE cover: multiple Add-ons and upgrade available - listed in ASSEMBLY ;
- Three models:
- 600x600mm acrylic sheet, ~1.1kg ( 24x24 in 1/8' compatible , see further)
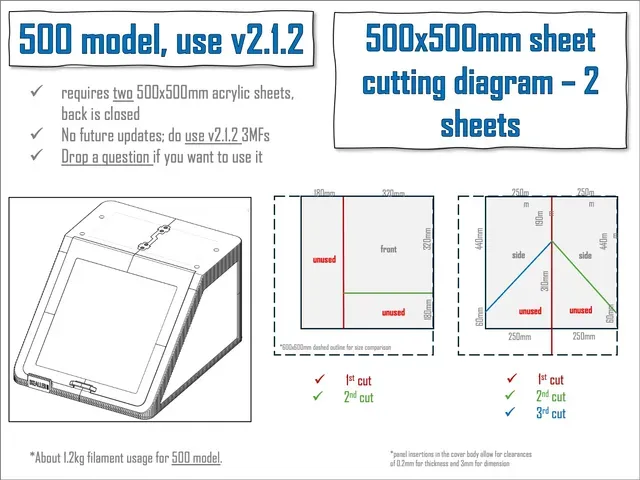
- 500x500mm acrylic sheet (uses 2), ~1.3kg (use v2.1.2)
- CLOSED (sides and back), ~1.6kg
PRINTING
- dried PETG is recommended.
- Get in CURRENT_version folder (i) 3MF with main frame for your favourite model ( 600 , 500 or CLOSED ) + (ii) 3MF parts , containing all the remaining parts;
- 3MFs already contain recommended printing parameters including brim to the parts that need ;
- to minimize warping issues 3MFs for 600 include 0.0mm brim distance and NO FAN cooling for first 100 slices ;
- Above settings were not tested and not included for CLOSED model but I recommend adding them + increasing your bed temp by 10C if you are getting warping issues with it.
- Although the arragement provided is very effective - Please rearrange parts on bed and printing jobs as you wish if you frequently have bed adhesion issues;
- Supports are ONLY needed for the back parts for the 500 and CLOSED versions - already painted where required on these parts in the 3MFs.
- Floating parts warning in slicer relates to the connectors slots, you can print them without supports that the minor deformation does not affect their efficiency, but you are free to activate auto supports for these parts.
- I reduced speed for window frame to minimize VFAs, you should use your calibrated speeds and part orientation if you want to have a cleaner surface finish for these parts.
- Easiest and best solution for window frame is using fuzzy skin at the outward surface .
- The black horizontal line is removable in the slicer.
- Label should be printed flat then glued afterwards - editable label also provided;
- There is a front_left option with cleaner design - without the label slot ;
ASSEMBLY
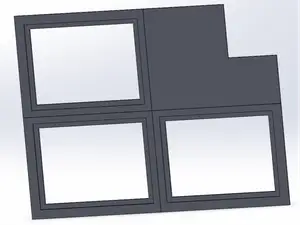
- Cutting diagram for acrylic sheets in model pictures .
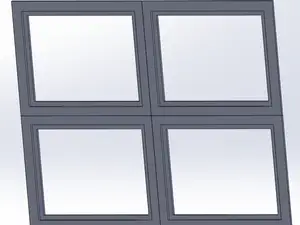
- A version of window frame for 300x300mm uncut panel is also available - more suitable for CLOSED model.
- A 24x24in 1/8' acrylic panel IS compatible with the 600 model as long as you first cut off 9mm of 2 sides of the panel;
- Panels slide into the frame, NO glueing NOR taping of any sort is required.
- There are 3mm clearances for panel dimensions and 0.3mm for thickness;
- Assemble front and back around side panel - top goes after;
- Do the same for the other side and join both sides with the back panel in;
- Top join slides down to hold both halves tightly;
- For window cut four 15mm long filament portions for frame alignment then snap on the connectors;




Names are used only to indicate the source of a result. Polyzon is not affiliated with the listed sites.