
Free 
Fume Extractor 120 mm Fan
Printables
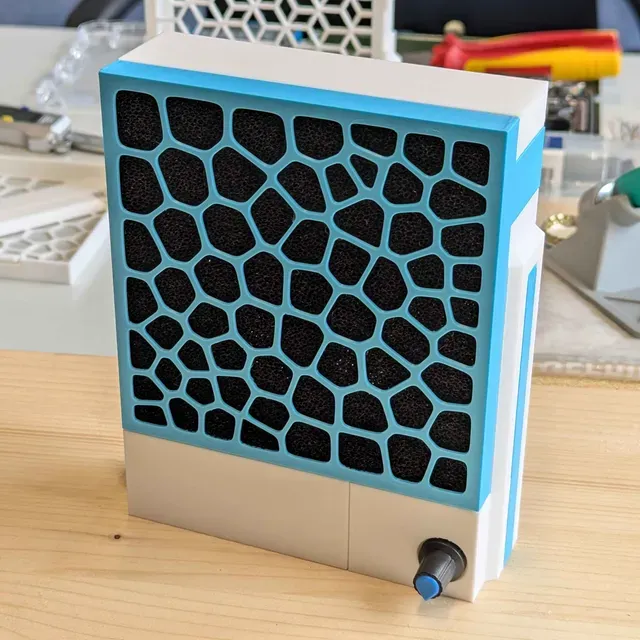
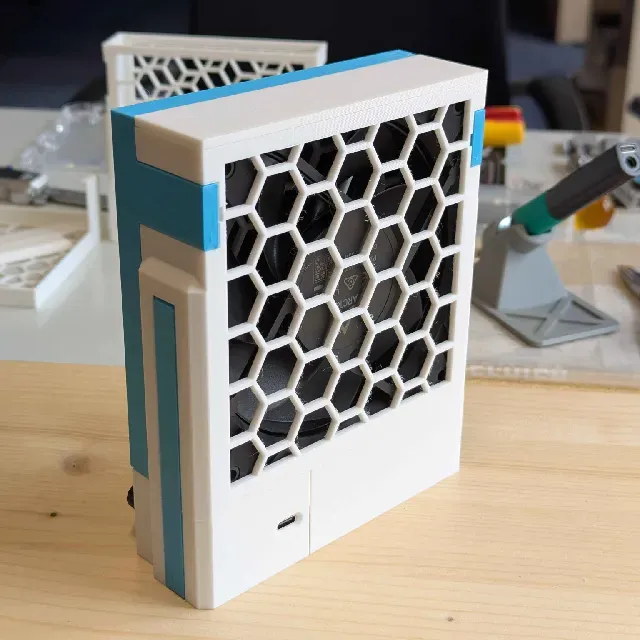
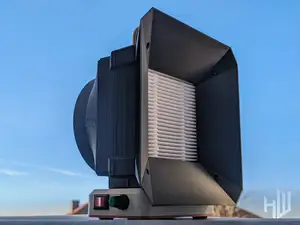
This is a simple modular solder fume extractor using readily available parts and minimal soldering. It is powered via USB-C and has a speed controller.
BOM
I got my parts from Amazon Germany, but they should be available everywhere on AliExpress.
Part
Amazon DE link
120mm PWM-controlled fan
https://www.amazon.de/-/en/gp/product/B0DJDDCG4M
USB-C 12V PD trigger module
https://www.amazon.de/-/en/gp/product/B0D9NSC3QP
PWM fan speed controller
https://www.amazon.de/-/en/gp/product/B0D8PRTCV7
Activated carbon filter
https://www.amazon.de/-/en/gp/product/B0DSP7FR11
PWM fan extension cable (optional)
https://www.amazon.de/-/en/gp/product/B09SKYRB3V
Additionally, you'll need a USB-C charger capable of delivering 12V, a soldering iron, two short wires, and solder wire.
Printing
- Parts have been oriented for printing
- 30% Gyroid infill
- 0.3 layer height
- Supports recommended. Omitting them for the honeycomb pattern specifically should be fine
Assembly
- Soldering first. Diagram:
- Optionally, plug in the fan and test if everything works
- Insert electronics into PSU box. Remember to screw down the potentiometer of the speed controller
- Plug the PWM extension cable into the speed controller
- Put the PSU lid onto the PSU box. Inserting the side with the long clipper first helps. Make sure to route the extension cable through the hole on the left side
- Insert the fan into the fan box. Make sure to pull the fan's PWM cable through the rectangular hole on the right side first
- Connect the fan's PWM cable with the PWM extension cable sticking out of the PSU box
- Slide the cable box onto the left side of the PSU box
- Cram the excess cable into the cable box. Route the cable over the notch on the PSU lid
- Place the fan box on top of the bottom assembly. Make sure not to accidentally squish the PWM cable
- Slide the sliders into the grooves on the sides. Make sure you use the slider with the cutout on the side with the cable
- Put the fan box lid on top of the fan box
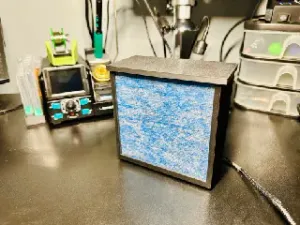
- Insert the activated carbon filter into the filter cover. If your filters are too large, you might need to squish them. If they are too small, you might want to print shims to hold them in place
- Clip the filter cover onto the fan box
- Congrats, you're done
Upgrades
While a PC fan is usually good enough, it's worth considering replacing it with a more capable fan, like the Noctua NF-F12 iPPC. I haven't personally tested this, but it should fit into the fan box without any modifications.
Modularity
![FtFE "Fresh the Fume Extractor" - 120mm Soldering Fume Extractor with USB-C PD [no supports]](https://cache.polyzon.org/api/img?url=https%3A%2F%2Fmedia.printables.com%2Fmedia%2Fprints%2F736230%2Fimages%2F5781873_d6f1f6bc-d55b-47c0-8af0-365e900747cc_a47cb3de-7a7e-4893-988a-d6ad689041ea%2Fimg_5850.jpeg&w=300)


Names are used only to indicate the source of a result. Polyzon is not affiliated with the listed sites.