
Free 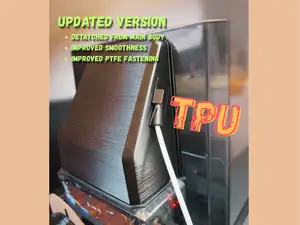
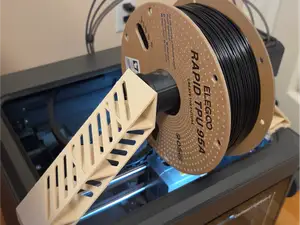
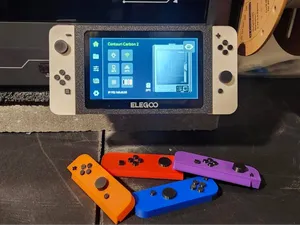
Centauri Carbon 2 TPU Adapter – Canvas Compatible
MakerWorld


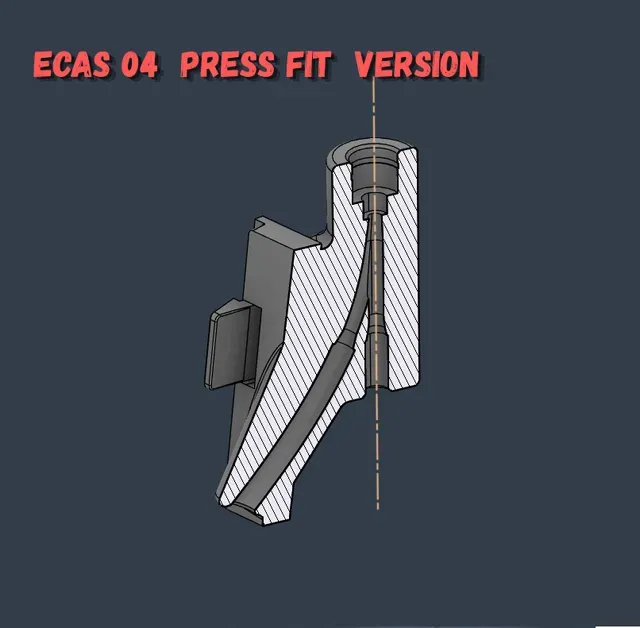

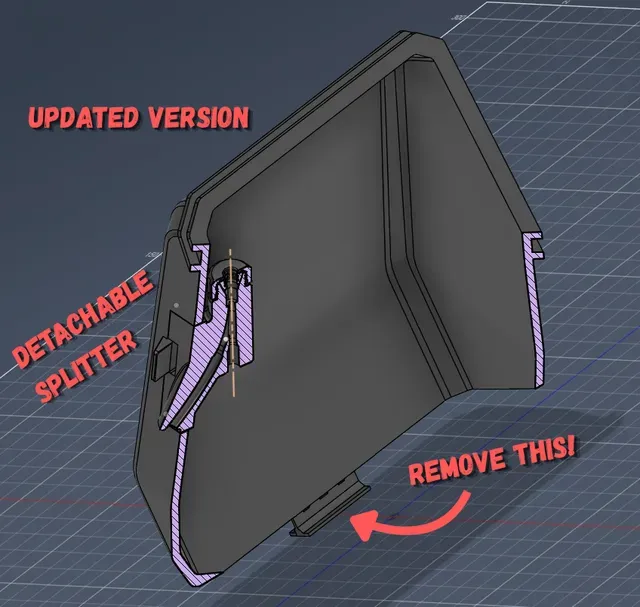

- UPDATE 04-15-2026 -
I have updated the model based on your feedback and reported issues:
- the splitter is now detachable from the main cover body, using a snap-fit system. To insert it, slightly pry from the left edge and snap the tab into the cover;
- internal filament path has been slightly improved for smoother feeding;
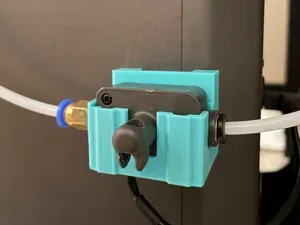
- added two versions: a fully printed one and one with a push-fit ECAS 04 adapter (I’m not a fan of PC4-M10 fittings);
Please follow the instructions from the original version below (PTFE tube cutting length has been updated). I did not find it necessary to add locking systems on the lower splitter inlets, as this does not cause issues regardless of printing tolerances.
Files to download for FULLY PRINTED version:
- COVER TPU CC2_v2
- SPLITTER FULLY PRINTED
- COLLET
- CAP
Files to download for ECAS 04 version:
- COVER TPU CC2_v2
- SPLITTER ECAS 04
Happy printing!!
_________._________._________._________ -
Original version
I designed this adapter to enable reliable TPU printing on Centauri Carbon 2, completely avoiding the inconvenient operations required by the STL provided by Elegoo.
The adapter provided by Elegoo requires, every time it is used, removing some of the PTFE tubes, disassembling the top cover, inserting the tubes into the adapter and fixing it onto the printer. Additionally, it does not allow the top cover to remain installed during printing.
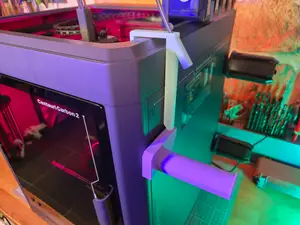
This modification replaces the outer part of the original top cover with a printed component.
Inside, a splitter is integrated:
internal input → connected to CANVAS port #4, preserving its functionality
external input → dedicated to TPU (manual insertion)
Tested with TPU 95A: excellent performance
Likely compatible with softer TPU (e.g. 85A), thanks to optimized and low-friction paths. Tests were carried out using PTFE with 2 mm inner diameter. A 2.5 mm inner diameter is recommended if available. It is possible to reuse the original tubes by modifying them.
I printed it in PETG and had no issues (PLA not recommended if you print ASA or similar with heated chamber)
BOM (optional - see notes)
PTFE 46.0 cm
PTFE 11.7 cm
PTFE 18.0 cm (non-critical length)
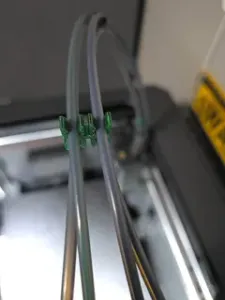
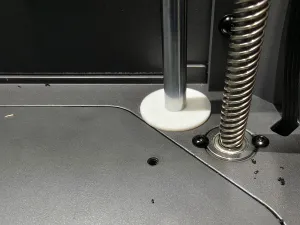
Assembly instructions (see photos)
- Remove the outer part of the top cover
- Install the new component (same mounting system as the original)
- Remove the PTFE from CANVAS port #4
- Remove the corresponding PTFE from the extruder multi-input (using the STL tool provided by Elegoo for release: bit.ly/4t0Rz8w)
- Connect the 11.7 cm PTFE between CANVAS (port #4) and the internal input of the new component
- Connect the 46.0 cm PTFE between the extruder hub and the top output of the new component
- Connect the 18.0 cm PTFE to the external input (optional). Insert TPU manually from here
- Turn off the printer, disconnect the connector going to the CANVAS and turn the printer back on. The firmware will automatically switch to single filament mode with manual feed. Repeat the operation in reverse to return to multi-material mode.
Notes:




Names are used only to indicate the source of a result. Polyzon is not affiliated with the listed sites.