
Free 
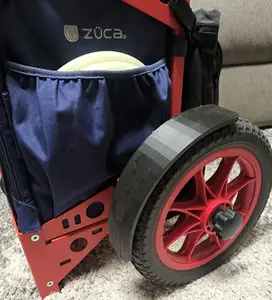
Zuca Trekker Cart Fender
Printables


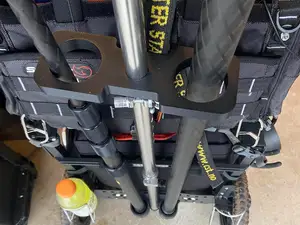
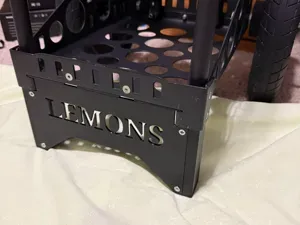
I designed these fenders to fit a Zuca EZ-cart though they should also fit Zuca's LG backpack and Transit carts.
Notes:
- All printed parts were printed in PETG with organic supports on over 30 degrees overhang and 25% infill.
- I designed parts to be printed with the largest face flat on the build plate. I used supports for outer over hang but they may not be necessary.
Components:
- 1 Left fender
- 1 Right Fender
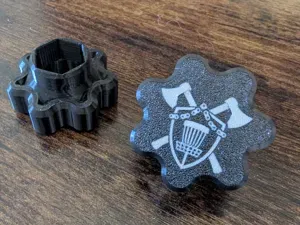
- 2 Fender plugs
- 2 1/4-20 x 1" countersunk bolts ( Example Bolts )
- 2 1/4-20 nylock nuts ( Example Nuts )
Tools:
- 4mm allen wrench
- screwdriver/wrench that will fit addition hardware (nuts and bolts)
Assembly:
- Print all Components
- Remove axle nuts from cart's axle (on newer models one of the 2 axle nuts will be secured to the axle with red Loctite if this is the case remove the entire axle from the cart. it shout slide out fairly easily with on axle nut removed)
- Remove wheels from cart (If you have just removed the axle, this step may already be done)
- Use allen key to remove frame bolt on the right side of the cart (See image 6).
- Align the rear hole on the right fender with the hole left by the recently removed frame screw and loosely reinstall the screw (do not tighten it down all the way, the fender should still be able to move)
- Rotate the fender so that the remaining screw hole aligns with the center of one of the large holes in the cart's frame(See image 6).
- Install the plug into this frame hole from the inside of the cart.
- Install a 1/4-20 x 1" screw through both the fender and plug from the outside of the cart, the countersunk screw head should seat into the fender.
- Install the nylock nut onto the bolt from the inside of the cart.
- Tighten both the nylock nut and the reinstalled frame screw so that they are snug. be careful not to over tighten or strip the hardware.
- Repeat steps 4-10 for the left side of the cart.
- Reinstall axle/wheels/axle nuts in the reverse order that they were removed.
Commercial License Available This model is for personal use only . If you want to sell physical prints, you can purchase a Commercial License . Contact me at: your email / Etsy shop / Gumroad link / PayPal link .





Names are used only to indicate the source of a result. Polyzon is not affiliated with the listed sites.
Comments