
Free 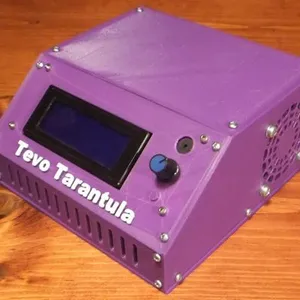
Tevo Tarantula Control Box
MyMiniFactory


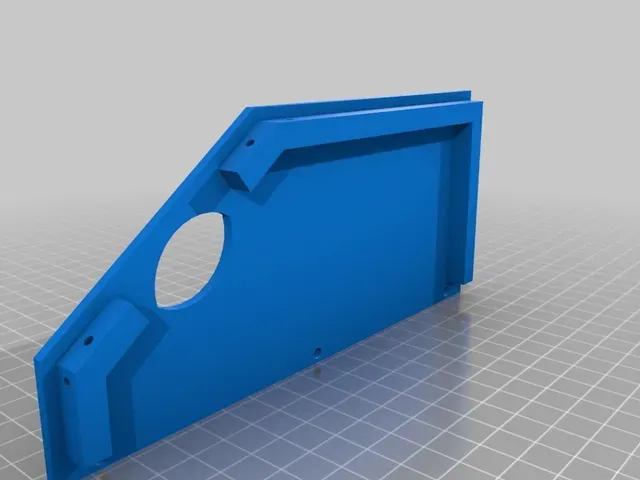


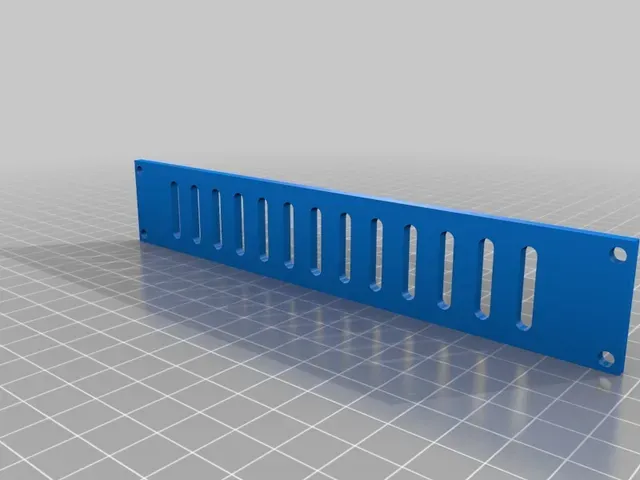


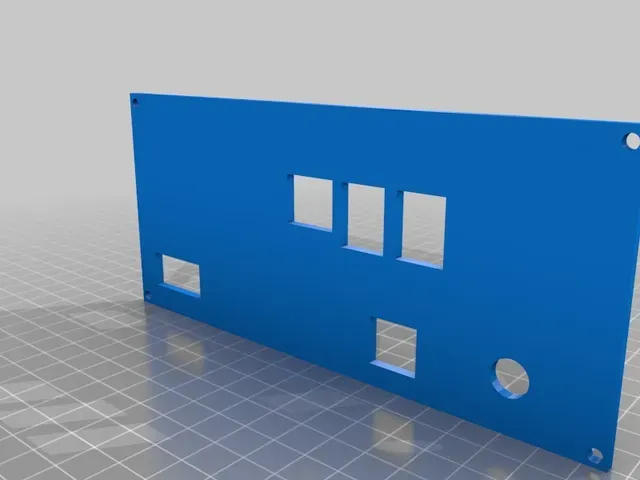
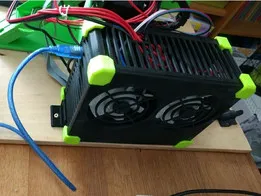
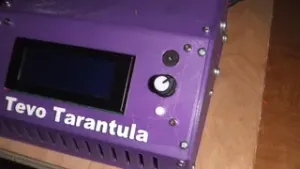
The control boxes on Thingiverse for the Tevo Tarantula were all too big and tried to incorporate everything into one case. I like the power supply sitting there all naked, and I'd already designed a case for the MOSFET expansion board so I didn't need room for that either. This case was originally designed to house the original mainboard, the control panel, a 6015 fan, a 6x2 barrier strip and a Raspberry Pi Model B Revision 2, but in response to several requests, now allows for more options (see updates below for details).
The Pi is mounted by itself, upside down on the top plate, so if you need a different model Pi, that would be an easy enough piece to customize. The back plate has holes for the USB connectors on both the mainboard as well as the Pi. This allows easy connection of a USB wireless dongle to the Pi. You connect the Pi and the mainboard with a short USB cable externally, making it easy to connect a computer to the mainboard for firmware updates. There are also holes for inserting the various input/output connections to the board. On the left hand side is a football shaped cutout to aid in accessing the SD card. On the right side, the fan is covered with a web-style grill to fit in with the Tarantula theme. The front panel features a grill for air circulation. I have my fan sucking air out, but you can blow air inwards if you prefer.
One thing to note... the Pi is already a tight fit. To get the power connector to fit, I had to trim the plastic away almost to the metal connector. If you have access to a 90° adapter, that might work better. Or solder the power wires directly to the Pi? Currently, my Pi is running off an AC power adapter, but if I can find/design a regulated 12vdc-5vdc converter, I plan on powering the Pi internally from the main power supply.
To put this together, you will need:
3mmx5mm screws x32
4mmx25 screws x4
4mm nuts x4
4 washers x8
6x2 barrier strip x1 (optional)
UPDATE (11/07/17)
As per request, I have added a back panel and a top panel set up for a Raspberry Pi 3. I do not have this version of the Pi, so this was created using http://www.thingiverse.com/thing:2106235 as a model. If you print this, and it works, please post an [I Made One] so I can see it. If it doesn't work... oh well... no, no, no... I'm kidding. Just let me know what needs to be modified so that it will work and I'll fix it.
UPDATE (04/23/18)
As requested, I have uploaded addition pieces (a base and a back panel) so that this can be used with the MKS Gen L v1.0 board. As with the Raspberry Pi 3 upgrade, I do not have this board from which to take measurements, so I used a CAD rendering that I found on grabcad. If there is any trouble with it, just let me know what needs to be moved where and I will take care of it.
Additionally, I have enlarged the rectangular wiring access hole on all of the back plates to that it is now 12mm high instead of 7mm. This should give a little more room to work with when inserting wires.
UPDATE (4/25/18)
So... I finally got a Raspberry Pi 3, and it turns out that the holes in the back plate were about 1mm too small on either side. The CAD model I went by didn't show the metal lips around the USB connectors. I have uploaded the latest, corrected file and I have ensured that it prints correctly. Please redownload this if you downloaded this before. I apologize for this...
UPDATE (10/10/18)
As requested, I have uploaded a back plate for both the MKS Gen L v1.0 board in conjunction with the Raspberry Pi 3. This is getting confusing, so... if there are any issues with this, please by all means let me know and I will fix it!
NOTE Due to either a Thingiverse bug or (more likely) shadowbanning, my models no longer show up under the [ Newest ] listings. If you want to see more of my models, please be sure to 'follow' me.
Another Sketchup Model - Debunking the Myth that Sketchup is Useless in 3D Printing
Print Settings
Printer:
Tevo Tarantula
Rafts:
No
Supports:
No
Resolution:
0.2
Infill:
20%
Notes:
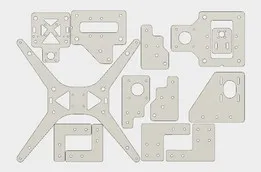
This was designed to fit, one piece at a time, on a Tarantula with the standard bed. When printing, just rotate each piece until it is flat against the bed. No supports will be necessary.
How I Designed This
This was designed in Sketchup 2014. As per request, I have uploaded the original case_h.skp model file for modifications. If you are just printing this, you can ignore that file.
Category: 3D Printer Accessories





Names are used only to indicate the source of a result. Polyzon is not affiliated with the listed sites.