
Free 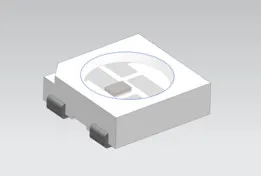
WS2812B RGB LED (Adafruit Neopixel)
GrabCAD
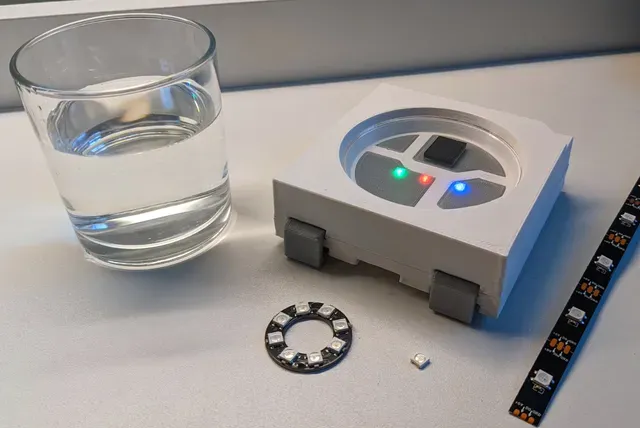
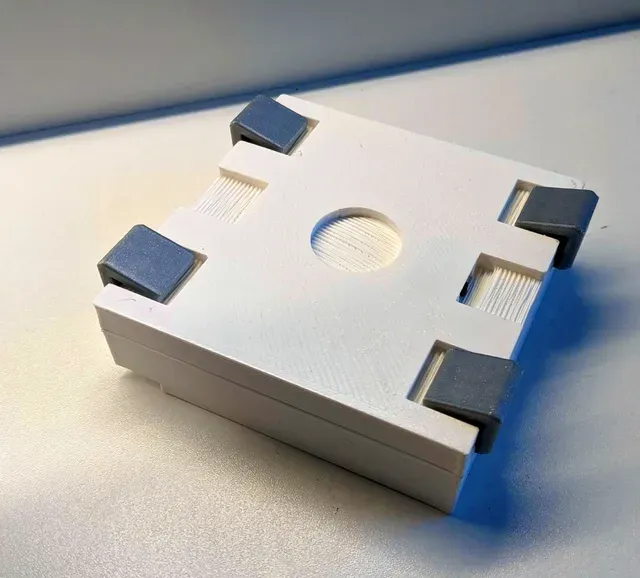
WS2812B 10001000
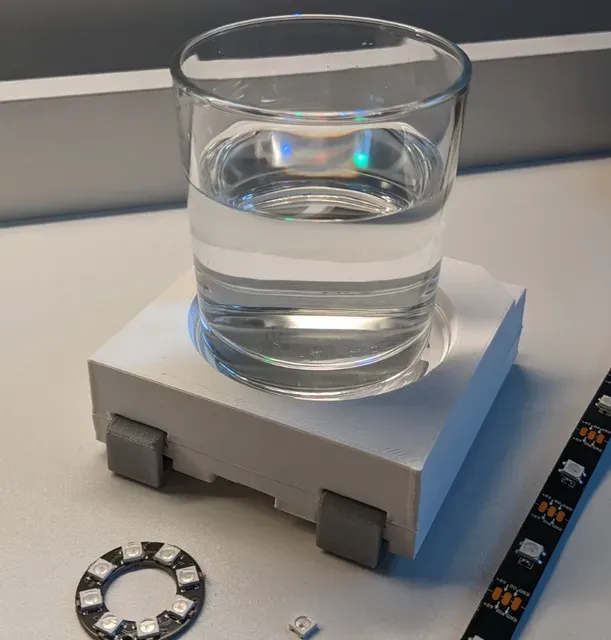
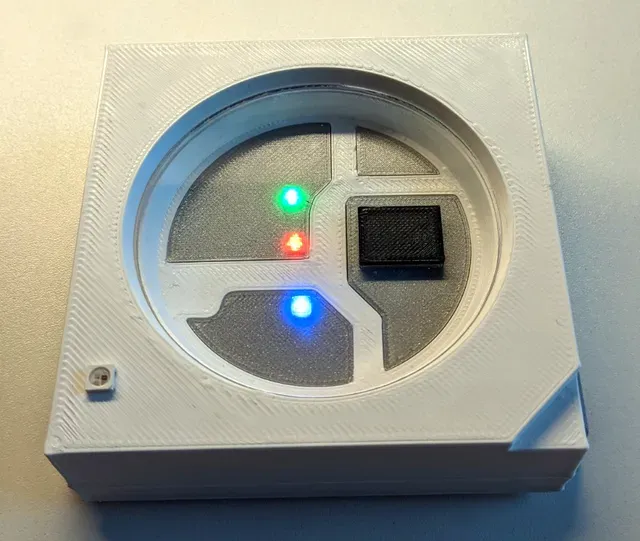
You are heavily addicted to addressable LEDs? Then this is the right coaster for you. Or use it as a deco object on your workbench. The package is 10001000, so 20 times larger than the original 5050 WS2812B. Equipped with 3 LEDs and a coin cell, it can light up and bring some colors to your beverage. There are two version available, one with a acrylic cover to use it as a coaster, the other one without the acrylic for deco use or if you do not have access to a laser cutter.
Top and bottom are held it place by the “SMD” pads, which slide in from the side. The contact pads on the top can be easily glued in with super glue or double-sided tape.
Diameter of the top acrylic should be 76.5 mm, 3mm thickness.
Print orientation
Suggested orientation on the bed for printing without support:
Bridging
If you print without support, please check the bridging areas and if necessary modify the bridging angle to minimize the length of the bridges. You can also enable “Thick bridges” ( Layers and perimeters tab) in PrusaSlicer to get the long bridges more reliable. For the top, the bridges are inside and not visible after assembly.
Insert LED lights
You need:
- 3 LEDs 3mm though-hole (red, green, blue) - 3 resistors - CR2032 battery holder or similar coin cell - a switch - some wires Top part
The top has 3 holes for 3mm wired LEDs (red, green, blue).
Insert the three LEDs from the back into the holes, all in the same orientation (cathode on the same side).
Bend the wires like shown:
Solder the top wires together and cut the ends.
Add resistors based on your LEDs and intended brightness/current. Solder them to the LEDs and connect them at the bottom.
Add wires and some hot glue:
Bottom part
On the bottom part there is a small hole it the bottom to insert a simple switch.
Connect the cables from the top to the switch and battery holder. Use hot glue for fixation.
Insert the pads:
Top and bottom part are connected by sliding in the 4 pads.
Top contacts
The 4 contact pads on the top can be printed together with a double color change for the clear LEDs (transparent filament) and the black “silicon”.
Insert the contacts, the acrylic top and you are done!
Changelog:
Update 21.04.2022:
There was a small artifact in the ws2812b_1k1k_top file messing up the first layer. This is fixed now. Sorry if this caused issues during printing! Also slightly changed the pad for a better pressfit.




Names are used only to indicate the source of a result. Polyzon is not affiliated with the listed sites.