
Free 
1/8" x 3/8" Magnet INDX Tool Dock Core ONE/+
Printables
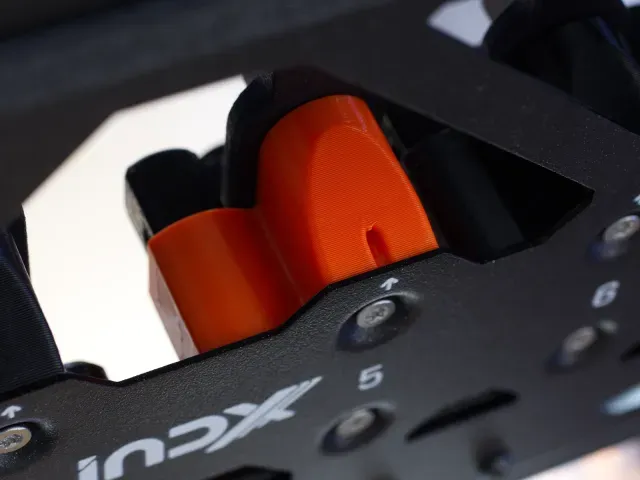
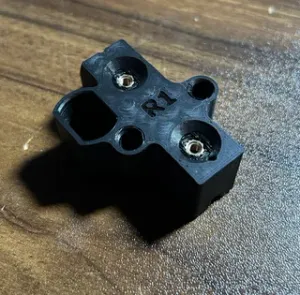
This is a reverse engineered variant of the INDX Tool Dock. The difference to the original is that it adds pockets for square nuts, so the screws thread into a metal nut instead of being driven directly into the plastic — The screws still lock, as they're also driven into the plastic. This mod is still easier to assembly, as the screws get grip on the threaded nut first which then gives leverage for forming the threads.
Beware, this won't get you anywhere if you don't happen to have a bunch of square nuts laying around. If you don't, you're probably better off with one of the other remixes that take heat-set inserts.
Features
Square nut pockets — the nuts drop in from the side and are captured by the surrounding geometry, so they can't rotate or fall out once the screw is tightened.
Dimensionally almost identical to the original dock. All critical interfaces are the same.
Added accessiblity to the tool-magnet pockets — To allow iterating on this design with the same magnets, I added holes to push them out. Getting the magnets out of the original parts will be your first challenge!
Additionally Required Hardware
Item
Quantity*
M3nS Square Nuts
2
* Per tool holder
Print Instructions
Print in the same orientation as the original. PETG or ASA at 0.2mm layer height.
Assembly Instructions
As a prerequisite you need to get the magnets out of the original parts. To do that I tossed them into the oven at 150°C (~300°F) until they were heat-soaked. with a pair of pliers and a bit of persuasion, it went quite smoothly. Be careful, don't break them.
The tool holder magnets interfaces with another two magnets on the tool itself. You need to get the polarity right! In order to do that simply put the magnets onto a tool and use that to carefully insert them a few millimeters into the printed part.
I then used parallel pliers to push them flush. After that, a short M3 screw from the spare parts works as push pin. Drive the magnet down until it's flush with the pocket
Finally check the placement by docking a tool, there shouldn't be any visible gap. After that insert the square nuts, smaller springs and the big one with the thimble.
Customization
I kept this deliberately close to the original, since the only thing I wanted to change was the fastener strategy. If you need a different nut size or a another variation your best bet is adjusting the provided STEP file. I might also add the F3D file it just needs a clean up first.
Changelog
- 2026-07-20 Increased Pocket height, loosened the fit on the hole above the square nuts and added a through hole to easier remove at least one of the square nuts.




Names are used only to indicate the source of a result. Polyzon is not affiliated with the listed sites.