
Free 
Press-Fit Piston Air Engine
Printables


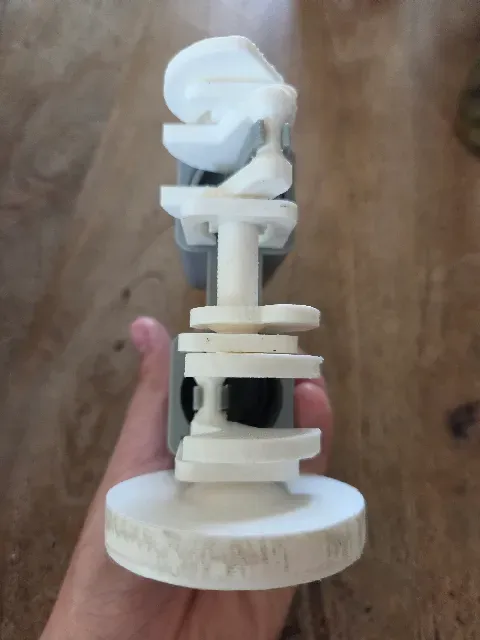
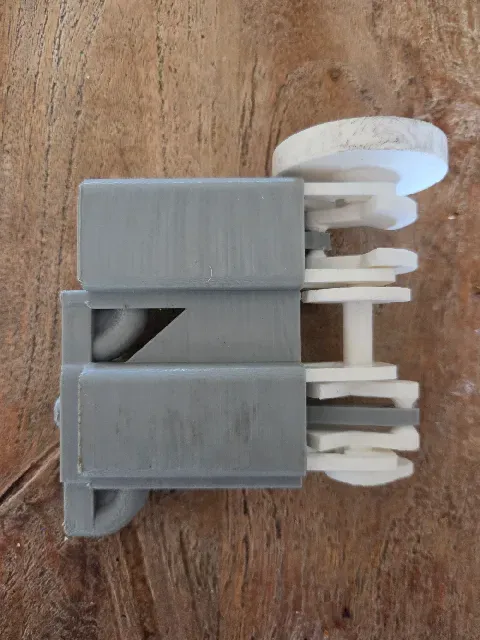
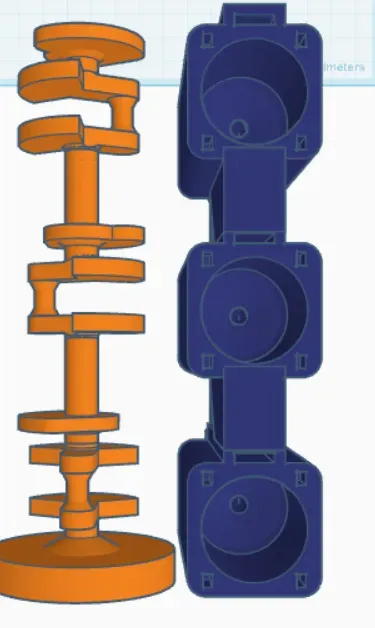


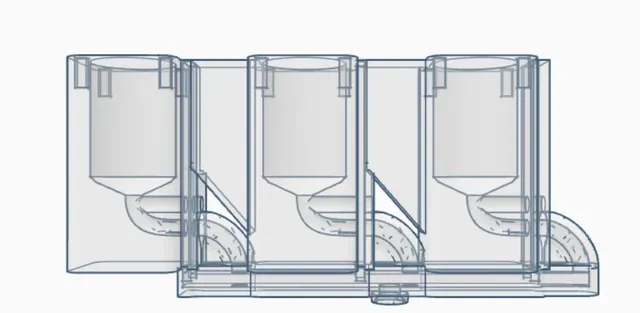
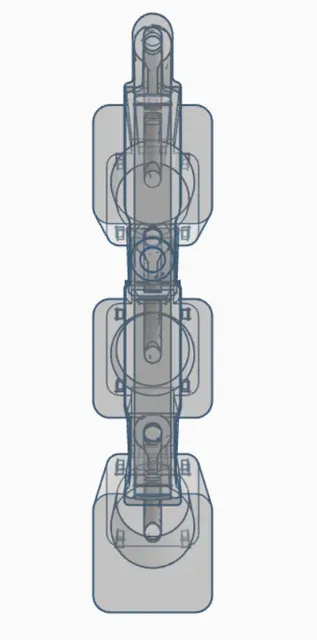


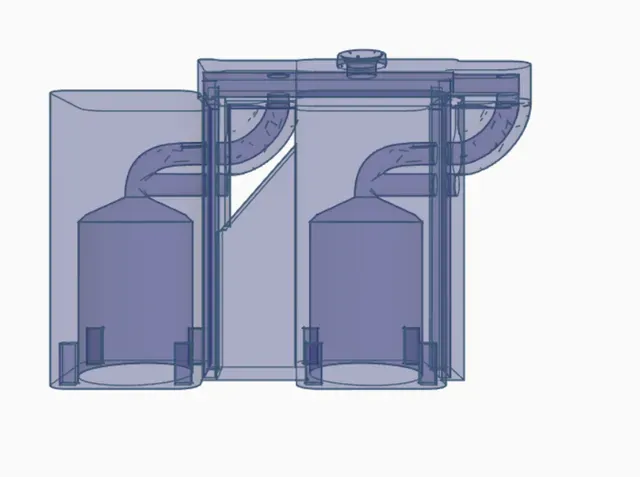


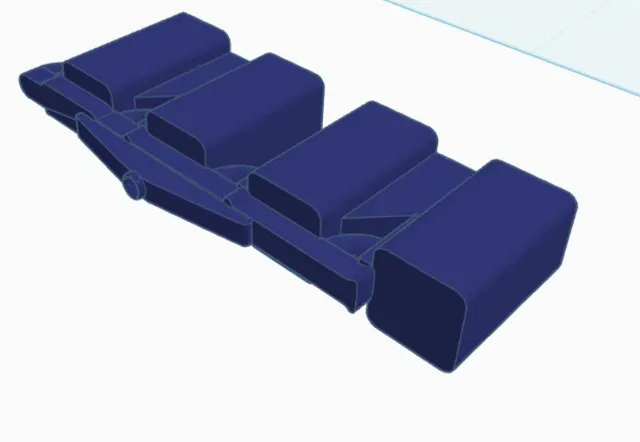
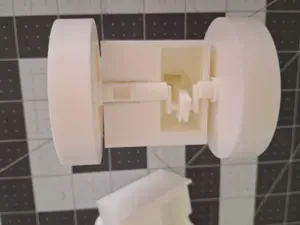
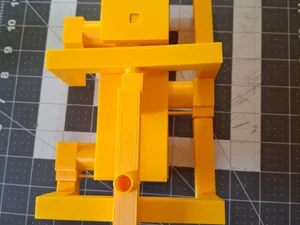
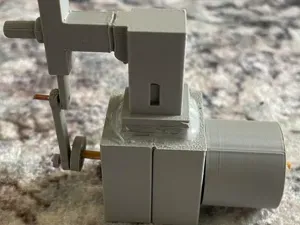
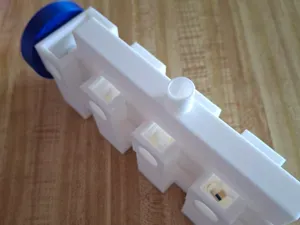
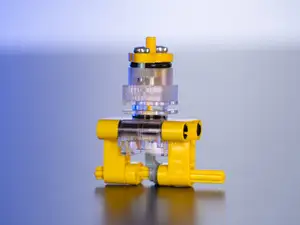
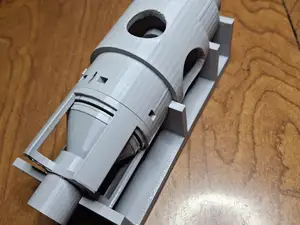
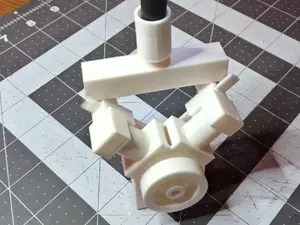
This is a heavy-duty, high-pressure modular air engine redesign built to handle up to 155 PSI without sticking or blowing apart. It features a brand-new pressure-assisted manifold that utilizes airflow to keep the valves functioning flawlessly in any physical orientation. Thanks to an updated, segmented crankshaft system, the engine is completely modular and can easily scale up for maximum power.
⚠ Safety Warning
Running 3D printed components at a massive 155 PSI can be highly hazardous. Under extreme pressure, plastic can fracture or shatter violently. Please inspect your prints regularly for layer separation or stress marks, and always wear eye protection when testing or operating this engine!
⚙ Available Configurations
- Single Cylinder: The classic, compact setup. I recommend the upgraded Crankshaft, as the original lacks the inertia to crank effectively.
- Dual Cylinder: Smoother power delivery.
- Triple Cylinder: Fully tested, high-performance configuration.
- Quad Cylinder: The ultimate power setup ( Note: This configuration is currently untested —print and experiment at your own risk!).
📦 Part Count Requirements
When scaling your engine up to multiple cylinders, make sure you print the correct number of components. You will need:
- 1 Connecting Rod (Con Rod) per piston
- 2 Crankholders per piston
- 1 Valve per piston
🖨 Recommended Print Settings & Materials
- Materials: Tougher filaments like PETG, ABS, or Nylon are highly recommended to survive high-pressure limits. Standard PLA can work, but it is more brittle and prone to structural failure over time.
- Infill: I highly recommend printing all parts at 100% infill to ensure maximum strength under high pressure. However, if you are looking to save filament, I have successfully gotten away with 25% infill during my own testing.
🛠 Tolerances & Heavy Sanding Requirements
Depending on your 3D printer's calibration, all parts may require heavy sanding to achieve proper tolerances.
- Frictionless Movement: Every moving part should slide and spin freely without requiring any real effort or strength to move.
- Gravity Test: The valves must be completely unrestricted—they should be slick enough to drop down on their own purely from the force of gravity.
- Optional High-Compression Piston: This update includes an optional piston with a dedicated groove for a small rubber band to act as a DIY O-ring to improve compression. If you use the rubber band, expect to do extra heavy sanding on the piston and cylinder walls to prevent binding.
🔧 Assembly Instructions
The overall build process is just like the original engine assembly, with two critical changes for this high-pressure version:
- Valves First: The valves must go into the engine block before you mount anything else. If you try to mount the other components first, the valves cannot be seated later.
- Glue the Crankholder: To prevent the crank bearings from forcibly ejecting under high pressure, the crankholders should be glued directly to the engine block once the engine is fully assembled. Be extremely careful not to get glue on any moving parts!
💦 Maintenance & Lubrication
For smooth operation and to prevent the moving plastic parts from wearing down, the engine must be well lubricated.
- Application Tip: I like to spray my lubricant directly into the manifolds to thoroughly coat the valves and pistons from the inside.
- Do NOT use WD-40: Standard WD-40 is not plastic-safe and will degrade your 3D prints over time.
- Recommended: Use a high-quality, plastic-safe silicone lubricant .
🚀 Operations Guide
Follow these steps to run the engine safely and efficiently:
- Check the Intake: Connect your air line securely to the new pressure-assisted manifold inlet.
- Position Freedom: You can mount or hold this engine in any orientation (vertical, horizontal, or upside down)—the pressure-assisted manifold will keep the valves moving cleanly regardless of position.
- Rotation Direction: Always spin the engine to the right (clockwise) , following the direction of the arrows printed on the flywheel. The internal timing mechanism was specifically designed to run this way.
- Breaking In & Getting Started: If you are struggling to get the engine started or turning over initially, you can use a drill to help break things in. There is a dedicated hole located right in the middle of the flywheel designed to accept a drill bit. Hooking a drill up here (ensuring your drill spins it clockwise/to the right!) is an excellent way to safely break in and spin the parts right after they have been sanded and lubricated.
- Start with Low Pressure: Do not slam the engine with 155 PSI immediately. Start your compressor low (around 10–20 PSI) to verify that the pistons move smoothly and everything spins without binding.
- Ramp Up Safely: Once you confirm smooth rotation, you can safely crank up the compressor up to its maximum tested limit of 155 PSI for peak power performance.
- Monitor Heat & Wear: Keep operation sessions brief; friction at high speeds can warm up the plastic, so reapply your silicone lubricant frequently.
🔍 Troubleshooting Tips


Names are used only to indicate the source of a result. Polyzon is not affiliated with the listed sites.