
Free 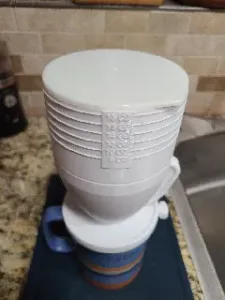
Coffee Drip Cone v2 and Pour Cup
Printables







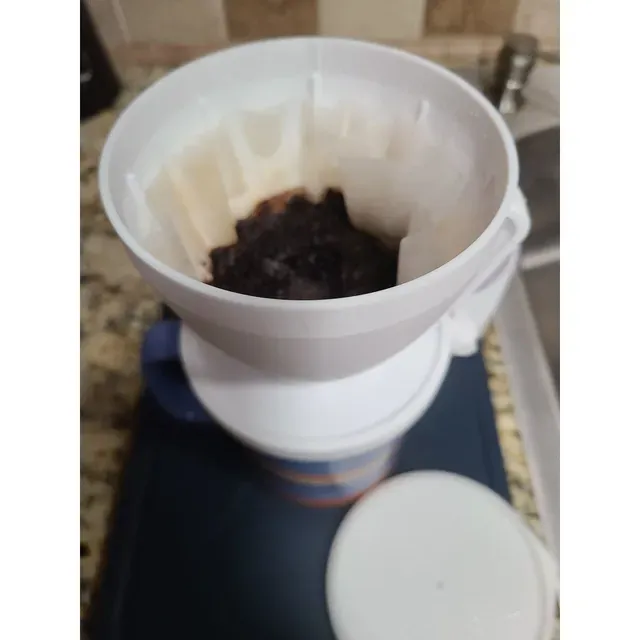


Update 07/22/2026: Added version J: simplifies retainer ring to snap on version. Recommend 25-30% infill using PETg.
UPDATE: 02/21/25, ADDED new Pour Cup, v.H.2.A. Faster drip. If it is too fast for your grind, keep using the older version.
UPDATE: 01/20/25 ADDED H-v.2 model. I had trouble with oozing after trying the v1 model using PETg. I modified the chamfer where the cone meets the base and increased the infill for the cone to 35% using eSun HS PLA. Not sure if it was an issue with my PETg settings, but this should take care of any problems.
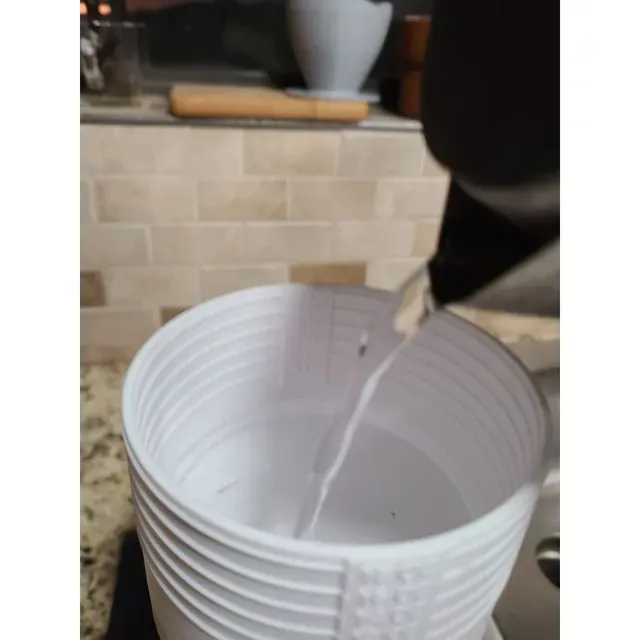
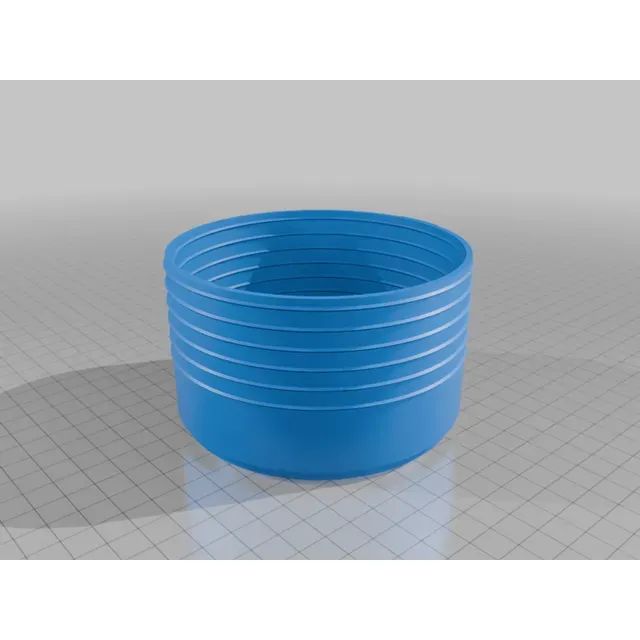
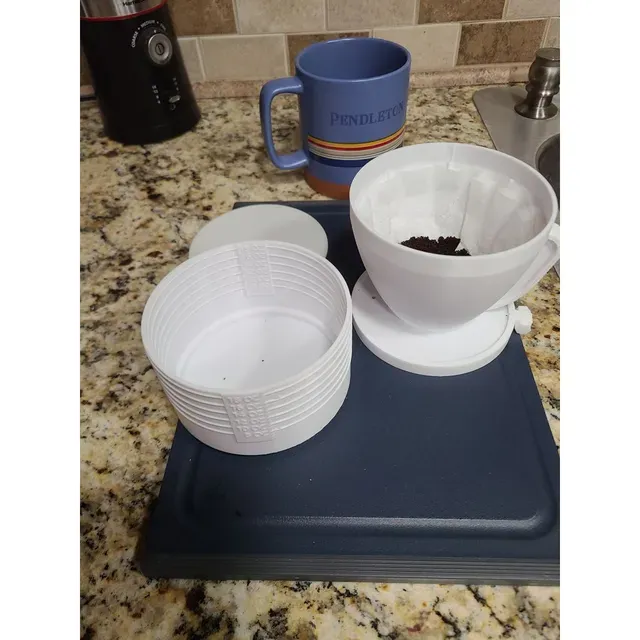
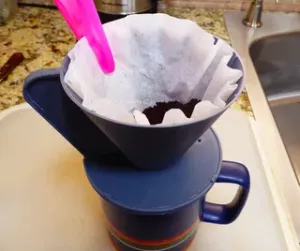
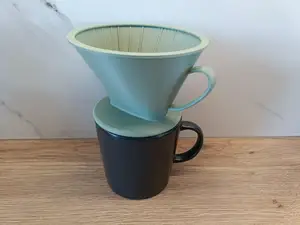
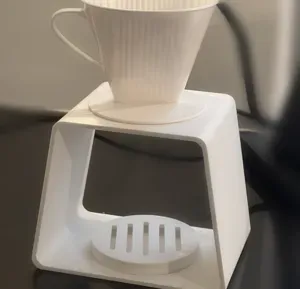
This is my newest Coffee Drip Cone v2, with an added cover to retain heat, and a pour cup in case you do not have time to stand around pouring the water. The cover fits both the cone and the pour cup. The pour cup can handle an 18 ounce mug just dumped into the cup. Use the cover on both the cone and the pour cup to retain heat. I think that the pour over container tends to lose heat faster than just using the cone.
DO NOT BOIL THE WATER FOR YOUR COFFEE! It makes the coffee more acidic and bitter, and will likely warp the coffee cone and pour over cup, especially if you use PLA. I have used white eSun PETg on the prints shown above. If you are dialed in for PETg, use it, because it can handle higher temperatures and is stronger. PLA+ works fine with some minimum care. Avoid regular, metallic, or silk PLA, or any filament you are not sure about. Clear or natural PLA and PETg are probably the least toxic, but it's best to consult the filament manufacturer.
I used .16mm layers. 2 outer walls. 3 top and 3 bottom layers, monotonic line pattern. 25% infill, rectilinear pattern. If your slicer has a variable layer function, use a 70-90% accuracy setting. That can cut many minutes off your print times. The pour cup will print without support, but might require cleanup. The nut will not need any support if you place it on one of the six flat edges on the bed, and use a brim. I had more trouble laying it down on the bed and due to the complication of the threads, I was reluctant to use support inside of the nut. If you do not like little parts messing up big parts, I recommend printing the ring, screw and nut separately, and the cone and the pour cup separately as well. note that the thinner horizontal ledge of the ring, which goes on the bottom lip of the cone up, should be placed so the that thin ledge is down on the print bed to avoid needing any support.
Category: Kitchen & Dining




Names are used only to indicate the source of a result. Polyzon is not affiliated with the listed sites.