
Free 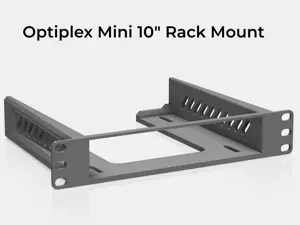
Optiplex Mini 10" Rack Mount
MakerWorld
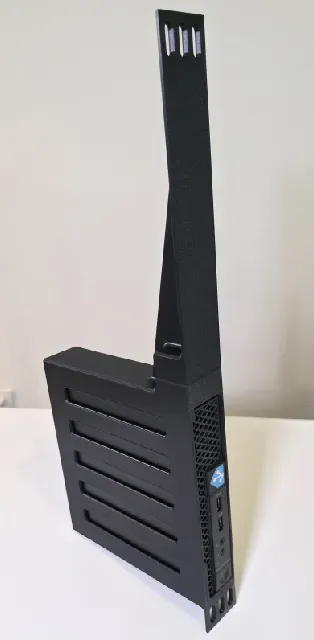


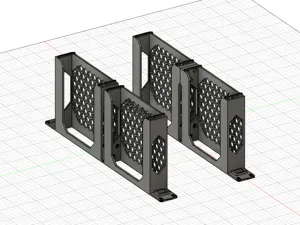
10/04/26 Update Due to a few requests, I added a side-by-side version to hold 2 Optiplexes in a 1U rack.
Welcome!
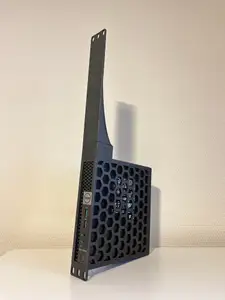
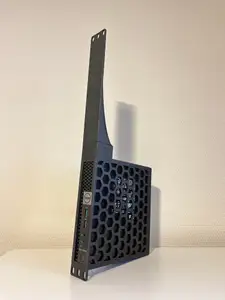
While searching for a 19'' rack mount, I couldn't find any good models online that will work with my multiple different Dell Optiplex Models. Some models were a remix of a remix of a remix; they don't print correctly or can't be assembled with ease. So I made a full model myself that checks all the parameters I wanted.
Parameters
- Need to be printed with ASA - So no complex geometry that will cause the design to warp or fail
- Easy to assemble - needs to be assembled in multiple parts using cheap and easy hardware
- NO GLUE - That was a huge thing - in case I need to disassemble it and move stuff around
- Thread Inserts - good mechanical connection - can assemble and disassemble multiple times and torque the screws correctly.
What Models Should it Support?
This rack stand design should work with most Optiplex micros.
3020M / 9020M / 3040 / 7040 3050 / 5050 / 7050 3060 / 5060 / 7060 3070 / 5070 / 7070 3080 / 5080 / 7080 / 7080 XE 3090 / 5090 / 7090 3000 / 5000 / 7000 / 7000 XE 7010 / 7010 Plus 7020 / 7020 Plus Dell Pro Micro / Micro Plus
If it doesn't work with your model, let me know, and I'll try to modify the design for you!
What do we need for this Dock?
- 6x - M3x4x5 Thread Inserts - Link
- 2x - M3X8 Screws - Link
- 4x - M3x12 Screws - Link
Print Settings
- Material : PETG or Above (I used ASA)
- Nozzle Size : 0.4mm
- Layer Height : 0.2mm
- Vertical Walls : 3
- Infill : 25%
- Supports : YES
Assembly Instructions (Step-By-Step)
- Make sure you have all the needed 3d printed parts
- Start by pressing the 2 threaded inserts into the main body of the rack
- Next, press the last 4 threaded inserts into the arm (in the image, you see 2, but you need to press all 4).
- Slide the 4 screws into the main body part (you see 2, but you should have 4 screws)
- screw in the two parts together, tighten everything in a star pattern, and make sure both the main body and arm parts are flush together.
If needed, the cutout hole lets you slide in a screwdriver; that way, you dont need a huge screwdriver and can screw it in with ease.
- Remove the feet from the Optiplex
- Slide the Optiplex into the main body of the rack mount
- Take the top panel and screw it in using the 2 M3X5mm screws. Align the thin part of the bezel with the thumb screw that some Optiplex versions have. That will lock the Optiplex in place.
AND that's it! Slide everything into your server rack and enjoy!
Hope you like this design, and if you make it, don't forget to post a make :)





Names are used only to indicate the source of a result. Polyzon is not affiliated with the listed sites.