Free 
Audio Source Switch and Volume Control Boxes
Printables
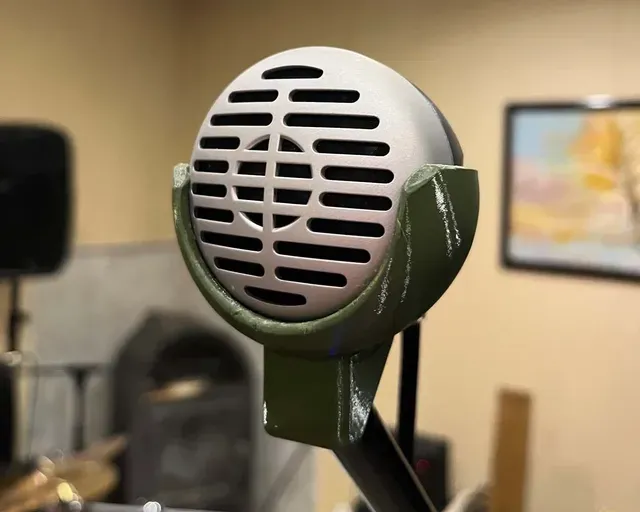


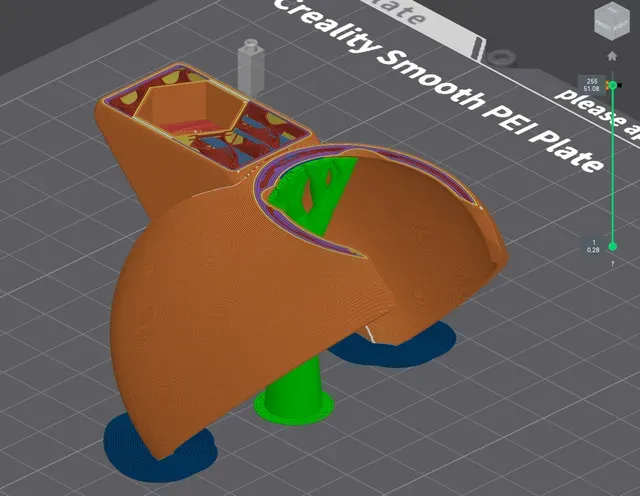

A purpose-built stand holder for the Superlux D112C bullet/harmonica microphone. It lets this handheld microphone screw onto a compatible M10-threaded microphone stand or stand stud and includes two fixed-angle versions:
• 45° version
• 60° version
Choose the angle that best suits your stand position and playing or recording setup.
COMPATIBILITY
Designed and tested with the Superlux D112C. It may also fit other bullet/harp microphones that use the same or a very similar shell shape, including some Shure 520DX-style bodies. Only the D112C fit has been tested, so compare your microphone dimensions and shell profile before printing.
REQUIRED HARDWARE
• 1 × standard M10 hex nut (normally M10 × 1.5 coarse thread)
• Measured outside diameter / maximum width: approximately 16.9 mm
• Measured height: approximately 7.7 mm
The insert pocket is designed around this nut size. Test-fit your exact nut before starting the full print because nuts from different standards or suppliers can vary slightly. Also verify that your stand has a matching M10 male thread—common microphone stands may instead use 3/8″-16 or 5/8″-27 threads, which are not interchangeable with M10.
PRINT RECOMMENDATIONS
• Material: PETG, ASA, ABS, or another durable filament
• Layer height: 0.20 mm is a good starting point
• Walls: 4 or more recommended
• Infill: 25–40%
• Supports: required for the surrounding angled geometry
ORIENTATION AND SUPPORT BLOCKER
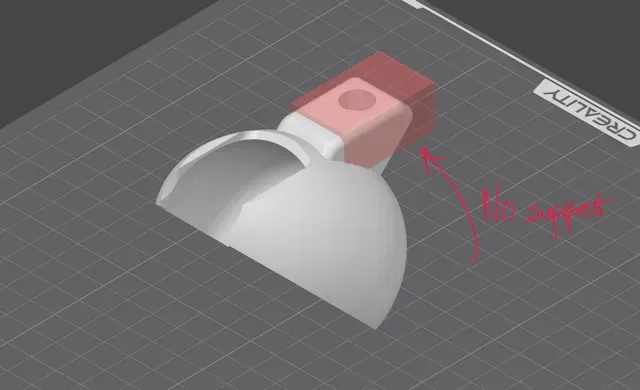
Orient the model so the nut lies flat and parallel to the build plate when inserted. The broad top and bottom faces of the hex nut should be parallel to the plate, with the threaded axis perpendicular to the plate.
Enable normal supports for the holder, then add a support blocker / no-support modifier over the complete nut pocket and threaded opening. Check the sliced layer preview carefully: the nut pocket and thread must remain completely empty, while the surrounding body and overhangs should still receive support. Do not disable supports for the whole model.
PAUSE TO INSERT THE M10 NUT
1. Slice the selected 45° or 60° file in the orientation described above.
2. Add a pause after the nut pocket is fully formed but immediately before the next layers begin closing over it. The exact pause layer depends on orientation and layer height, so confirm it in the layer preview for each version.
3. At the pause, place the M10 nut flat inside the pocket. Make sure the threaded hole is aligned with the opening and that the nut sits fully below the nozzle path.
4. If needed, use a tiny amount of suitable adhesive to stop the nut moving during the next layer. Keep adhesive out of the threads.
5. Resume the print so the remaining layers permanently capture the nut.
Stay with the printer during the insertion step and move the toolhead carefully if your printer requires manual access. A raised or loose metal nut can collide with the nozzle.
FILES INCLUDED
• Superlux D112C stand mount — 45°
• Superlux D112C stand mount — 60°
This is an independently designed compatible accessory and is not affiliated with or endorsed by Superlux or Shure.
Names are used only to indicate the source of a result. Polyzon is not affiliated with the listed sites.