
Free 
AAA, AA, 9V, C, or D Battery Organizer
Printables
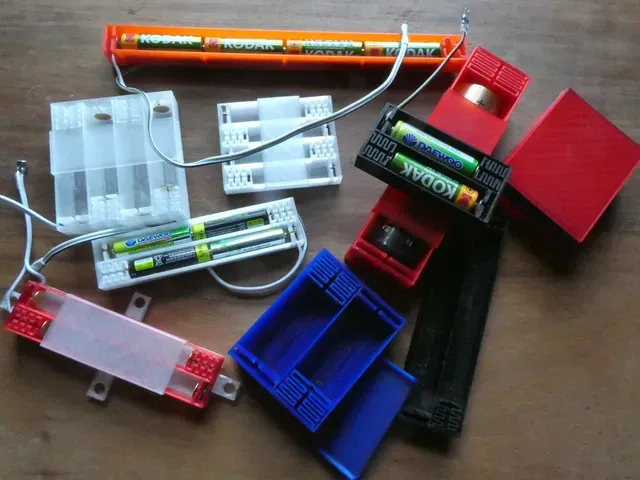

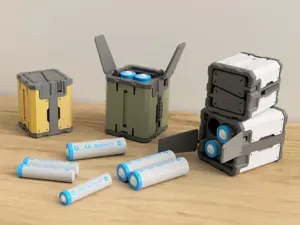
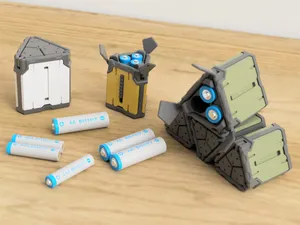
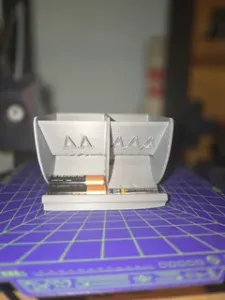
A range of AAA, AA, C & D single and multi-cell power packs using bent drawing pins (thumb tacks) as contacts and incorporating 3D printed springs.
Whilst they may be printed in any plastic they work best in PETG and nylon, the filament should be dried first to prevent stringing in the springs.
All the examples were printed with a 0.4mm nozzle at 0.2mm layer height.
These files predate Arachne and are optimised for the Prusa Slicer classic perimeter generator.
Each STL file includes both a full and a half cover to protect and retain the cells 'though these are less effective with the heavier D cells. Break the file into its parts in the slicer and delete the cover you do not need; of course you may not need either.
Assembly does require some soldering; experiments suggest that wire-wrapping is a viable alternative but this is not fully tested.
A selection of STL files are provided in the format: batpack [width][size][length] .stl
Where width is the number of cells wide size is the cell size length is the number of cells long
So:
- batpack2AA1.stl holds two AA cells side by side giving 3V dry cell or 2.4V rechargeable - batpack5AAA1.stl holds five AAA cells side by side giving 7.5V dry cell or 6V rechargeable - batpack1C2.stl holds two C cells in line giving 3V dry cell or 2.4V rechargeable - batpack2AAA2.stl holds four AAA cells, two beside two giving 6V dry cell or 4.8V rechargeable
Requirements:
Apart from the printed parts you need:
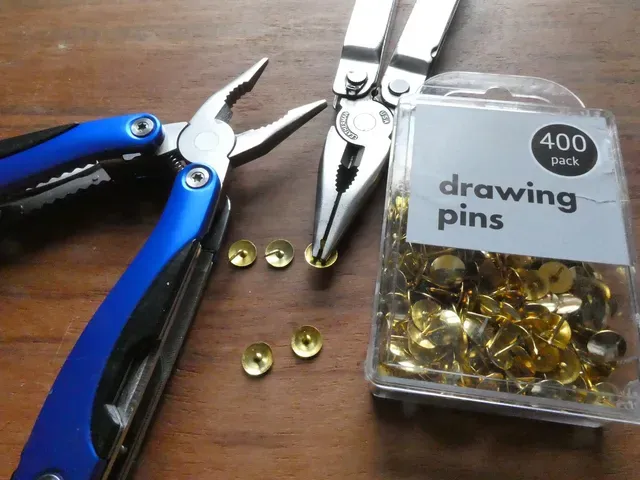
- 10mm diameter drawing pins, brass coated are best. - Hookup wire of sufficient diameter for the amperage you expect to draw. Assembly:
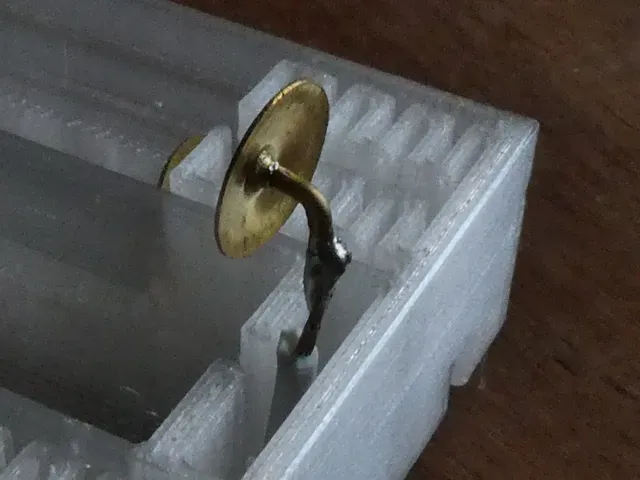
Bend your pins at a right angle about 3mm from the head, this measurement is not critical but there must be at least 2.5mm clearance. Your noticeboard may have a ready supply of pre-bent pins.
Solder wires to the pins and arrange them to connect cells in series. You will find you need slightly longer wires than the minimal path in order to leave room to complete the soldering.
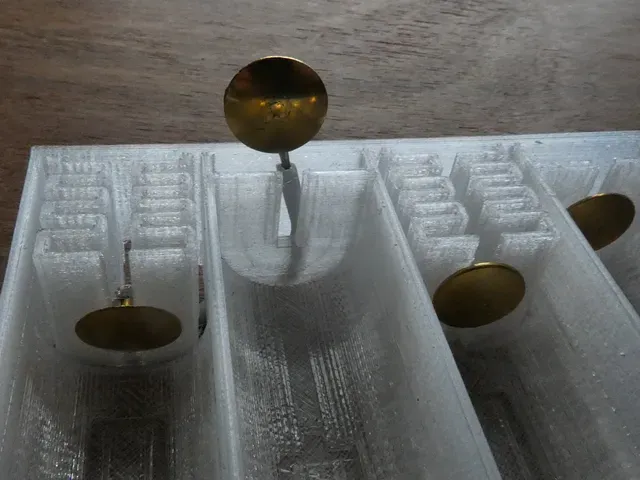
Snug the drawing pins into their retaining rings and fold any excess wire flat to the back of the pack.
Longer wires can be used to take-off power from the pack.
Now press fit some cells, observing polarity. and connect your circuit.





Names are used only to indicate the source of a result. Polyzon is not affiliated with the listed sites.