
Free 
Ford Flex Lanekeeping Assist / Auto-Highbeam Retrofit
Thingiverse



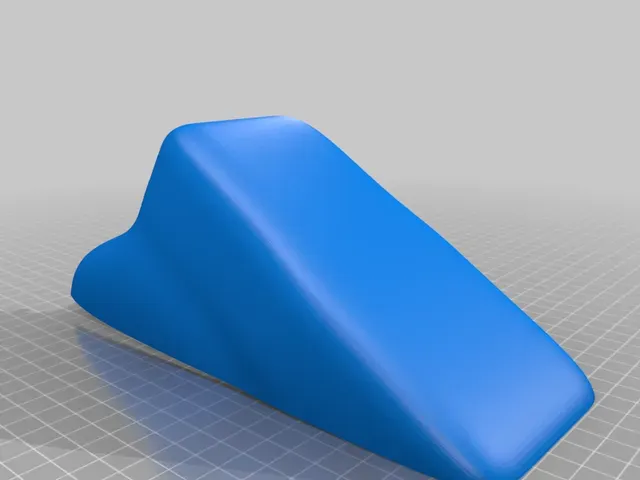



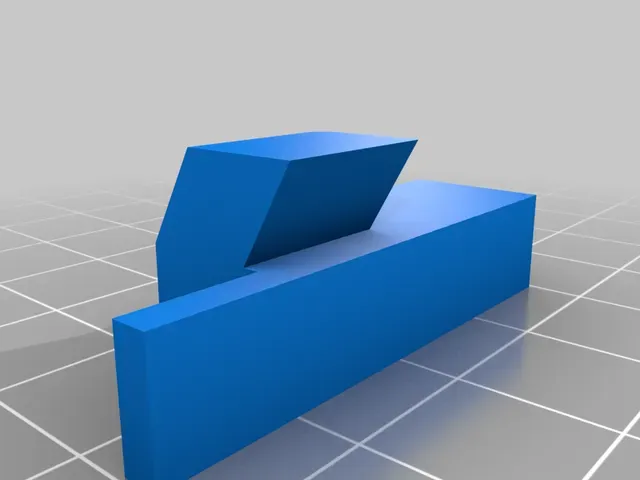
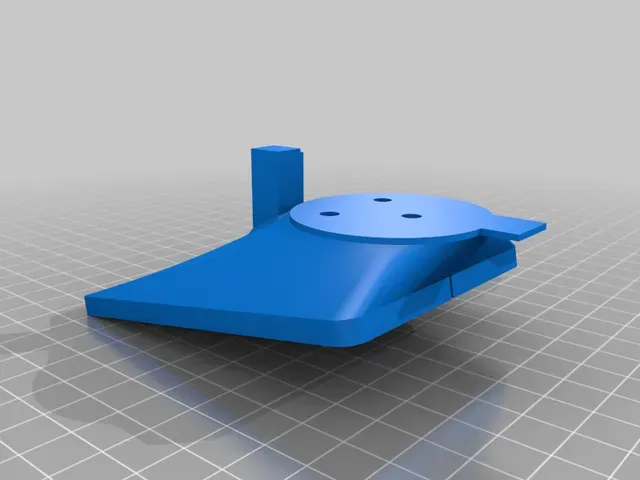

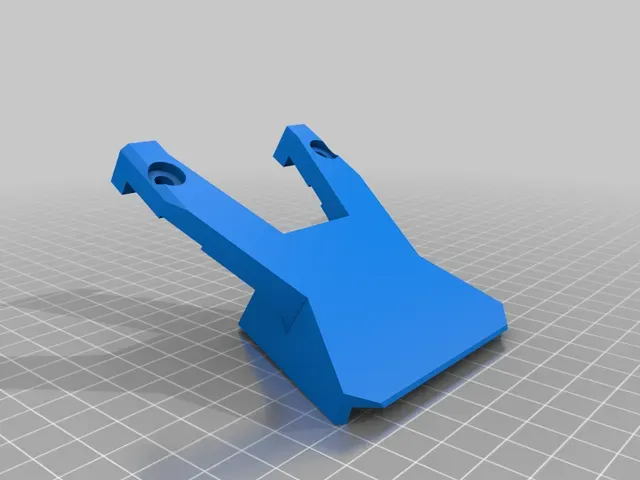


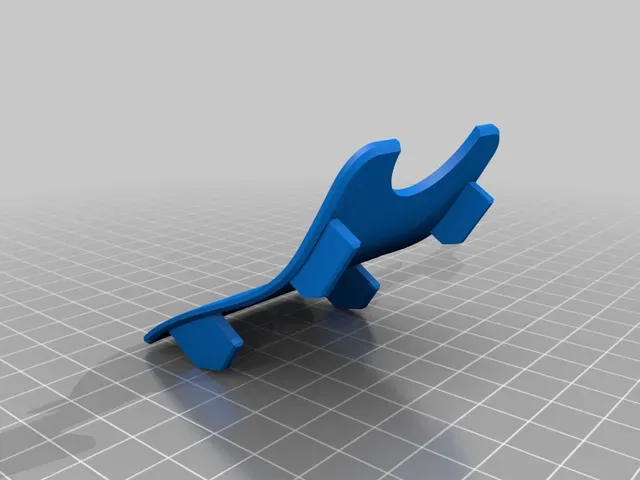
Adapter to fit Ford's twist-attach rearview mirrors to 2013-2019 Ford Flex to add Lane Departure Warning (LDW), Lane Keeping Assistance (LKA), and Automatic High-Beams (AHB). Capitalized italics indicate the name of a printed part (" Visual Guide ", " Vinyl Template "). "Mirror Body" refers to the aluminum structure between the mirror and the camera.
Parts needed:
- Rearview mirror from a 2013-2019 Ford Explorer, Ford Taurus, Lincoln MKS, or Lincoln MKT. I've had good luck searching eBay for '2016 mkt rearview' and filtering Used condition. Most are $75 or less.
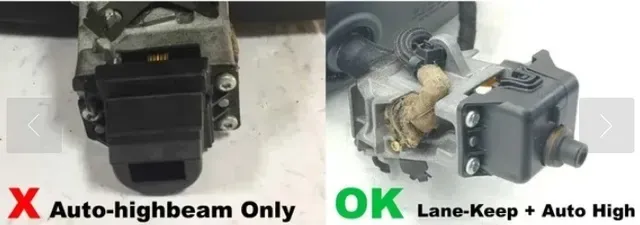
Some sellers list AHB-only mirrors as LKA -- verify the mirror has a 1cm circular camera lens on the front or AHBC/LA in the plastic! Mirrors from the Fusion/Escape/etc look very similar but the body is longer and will not work with this design.
- 6-32 x 3/4" screws, qty 3
- M4 x 25mm screws, qty 5
- M4 heat-set insert nuts - print was designed around M4 x 12mm x 6mm
- JB Weld (or similar epoxy)
- Oracal 651 Permanent Vinyl, Matte Black
- Wire suitable for automotive use, 18awg or so.
- Tactile pushbutton, momentary contact, 6mm or so length (Technically optional, used to enable/disable while driving).
- Molex Connectors are a good idea to make connections. At least 4 pins are required. This isn't necessary if the mirror you purchase included a cut section of the wires from the headliner.
- Aluminum sheeting, 3mm or 6mm, if needed. See Riser Details section for more information
Tools Needed
- Soldering supplies
- Scalpel with extra blades
- Torx driver, T10/T15/T20 -- I don't recall exactly what size the camera has.
- FORscan USB adapter cable. OBDLink EX is best but the $15 generics will work as well.
- Metalworking supplies, if needed (See Riser Details for more information)
Printed Parts
Album demonstrating print orientations and settings
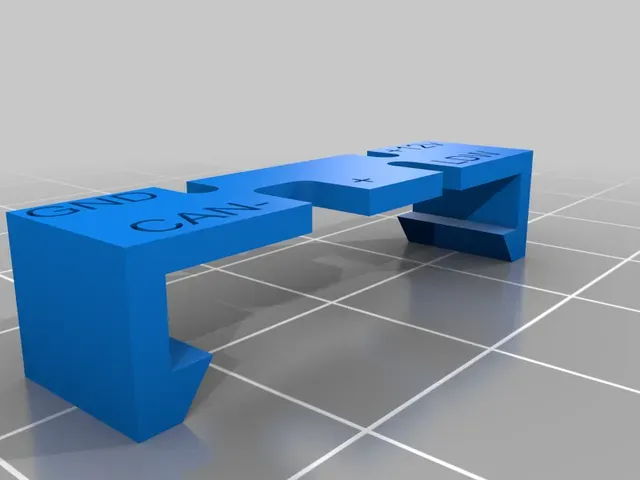
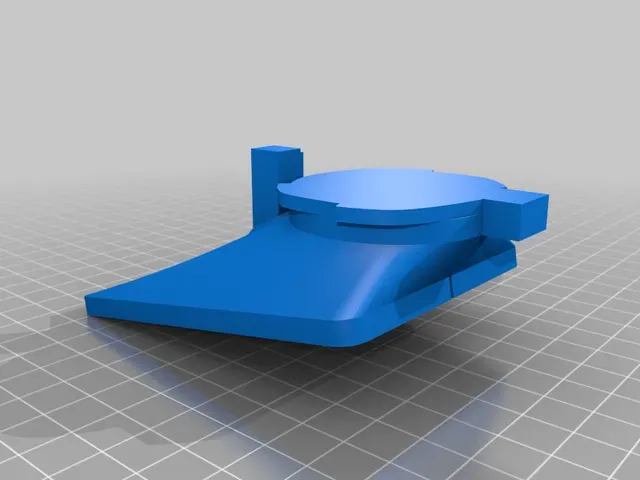
* Vinyl Template -- Used as a guide for aligning the main adapter, as well as trimming the vinyl. Hole in the middle is for the factory mirror mount. * Camera Spacer -- Used to support Visual Guide and move the camera closer to the windshield. 5+ walls, 50%+ infill, with supports. * Visual Guide -- This will be visible through the windshield. 3+ walls, 20% infill, with supports. Orient with the 'camera' looking upwards (standing on legs), with raft. For better results, print with Cura 'Fuzzy Skin' (0.08 Density, 0.16 Distance) * Lower Cover -- Covers the whole assembly. 2 walls, 20% infill, with supports. For best results, print with same Fuzzy Skin settings as above and orient part so the part closest to the mirror is facing down (90° from how it will install, pointing up). * Upper Cover -- Same as Lower Cover . Print with a raft. * Locking Tab -- Used to keep the mirror from rotating back out. 2+ walls, 20% infill. * C911 Adapter -- Optional, a rough attempt at a printable means of using Dupont male jumpers to connect to the mirror's C911 in lieu of Molex connectors.
Riser Details
There are several different versions of the Riser piece available.
Print _Base.stl in a strong, temperature-resistant material such as PETG. 6+ walls, 50% infill, supports as needed.
Style A:
Riser_StyleA_Solid.stl
If you can print something stronger than PETG, possibly Polycarbonate. The mirror is heavy and has a small surface area to grip. Untested, I do not know if any printable material is strong enough for this application .
Style B:
Riser_StyleB_Base.stl -- PETG
Riser_StyleB_Metal.stl / Riser_StyleB_Metal.dxf -- Either hand-cut or CNC-cut on 1/8" (3mm) aluminum sheet.
Style C:
Riser_StyleC_Base.stl -- PETG
Riser_StyleC_Metal.stl -- CNC-cut on 1/4" (6mm) aluminum sheet.
Comparison between Style C (left) and Style B (right)
Post-Processing
Both Riser and Camera Spacer require the heat-set threads pushed in using a soldering iron.
With Riser , insert the screws from the top to keep the heat-sets aligned as you push them in to the plastic. Heat-sets, starting position After insertion After grinding away excess material
With Camera Spacer , insert the heat-sets on the chamfered side (side with notch cut out)
Apply some form of tape to the upper edges of Visual Guide , such as microfiber wire tape or electrical tape. This will help prevent the plastic from scratching the vinyl. Microfiber tape applied


Names are used only to indicate the source of a result. Polyzon is not affiliated with the listed sites.