
Free 
K2Clip Filament Clip - K2 Clip
MakerWorld

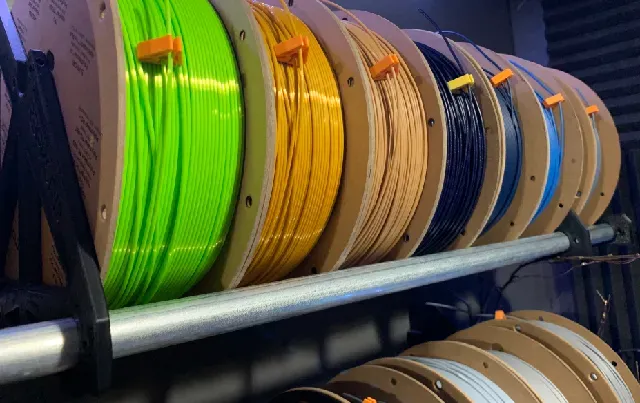
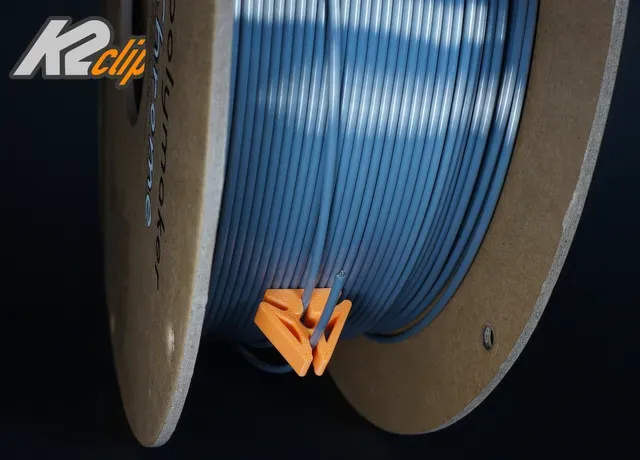
K2 Clip
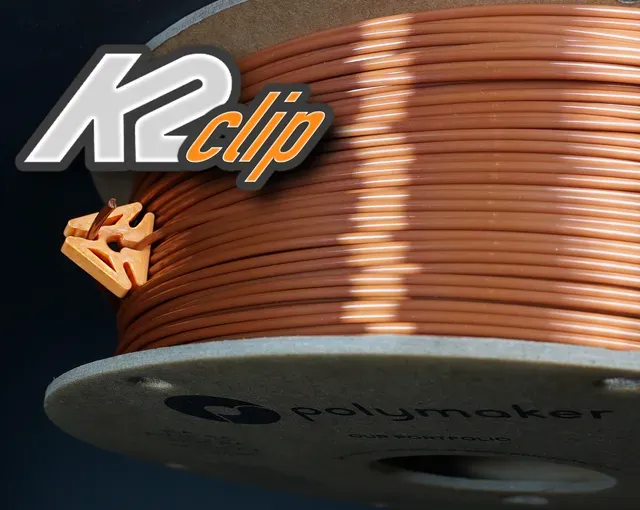
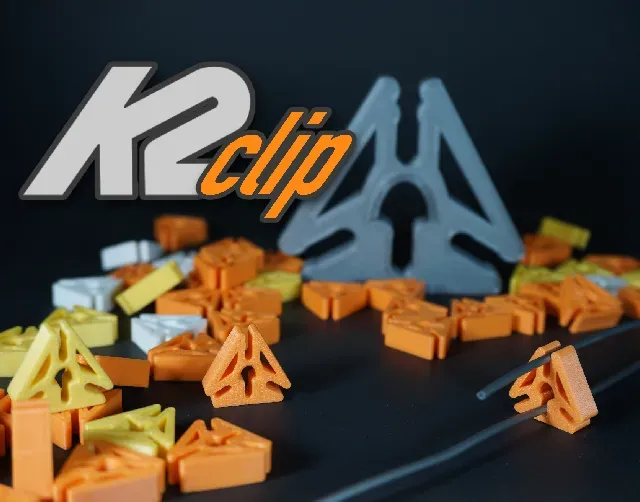
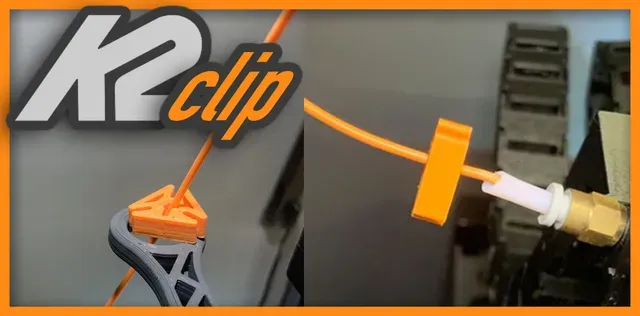
The K2 Clip is a unique design with multiple locking points. No matter what, there will be a locking point facing up. The clip can be left to "float" on your filament spool while printing. Extra secure storage using the locking version! READ TEST PRINT NOTES!
Please don't forget to ❤ Like and ★ Rate!
Get your Prusameters… Post your Makes!
Print Files / Details:
- K2_Clip_v2.5 : Im listening to your comments. You wanted all corners the same size and the center to insert PTFE as an option. New tapered slots! - K2_Clip_Locking_v2.stl - Updated 12/20/2023. ( IMPORTANT: If locking version of clip is at a very sharp angle while printing, it's possible the locking clip may grab your filament. ie. Fokoos, Bambu AMS). NOTE: I recommend taking them off when using the Bambu AMS. I do run the NON-locking center version on my AMS, but NOT with full spools.
❤ How-To by FilamentStories ( TikTok , YouTube , Instagram ) ❤
JJ Shankles Video: https://youtube.com/shorts/xuDetHdQee8
______________________________________________________________________________________________
My Test Scale X/Y ONLY:
- Ender 3v2: 100% - Ender 5-S1: 100% - Bambu X1C: 96% PLA/PLA PRO - My Print Settings:
- 0.4mm Nozzle - 0.20mm Layer height - 2-3 Walls/Perimeters - I print at 100% scale. Test print one, and just scale up/down X/Y. PETG - My Print Settings:
- 0.4mm Nozzle - 0.20mm Layer height - 2-3 Walls/Perimeters - I Scale X/Y to 96%. Polymaker PETG was a loose fit for me. NOTE: All printers are different, and calibrated differently. The K2 Clip has very tight tolerances. Test print one in case you need to scale the X/Y up or down. If you are having problems getting a nice first layer on this and other small parts, try slowing down your prints first layer and calibrate your Z-Offset.
❤ Featured on BV3D: Bryan Vines “3D Printed Tools for 3D Printing” @ 06:15s
Q&A:
- How do I use the K2 Clip? - Insert the end of your filament through the center hole and feed the clip around your spool until the end of your filament again meets up with your K2 Clip. - Press the end of your filament into the top of the K2 Clip. - Why so tight?!?! It's designed to be tight and hold your filament firmly. The K2 Clip will loosen after some use. - Why is it a triangle? Triangles are cool! No matter what, there will be a locking point facing up. - Should I remove the clip while printing? Heck NO! I took lots of time designing/sizing/shaping/massaging that center hole.
Remixes are only allowed here on Printables. Don't forget to check out the great Remixes!






Names are used only to indicate the source of a result. Polyzon is not affiliated with the listed sites.
Comments