
Free 
The filter with HEPA filter -- Single Fan
Printables

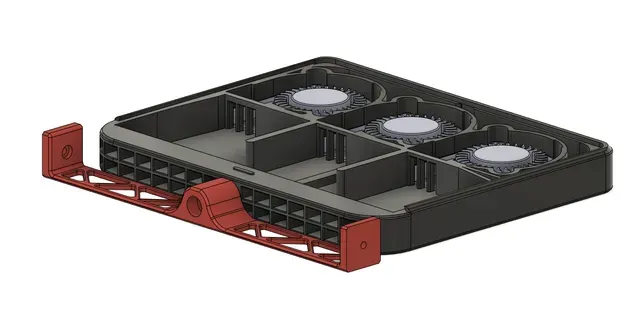


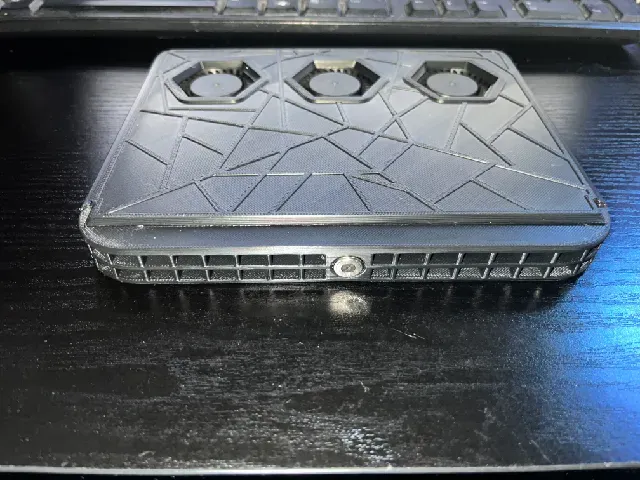
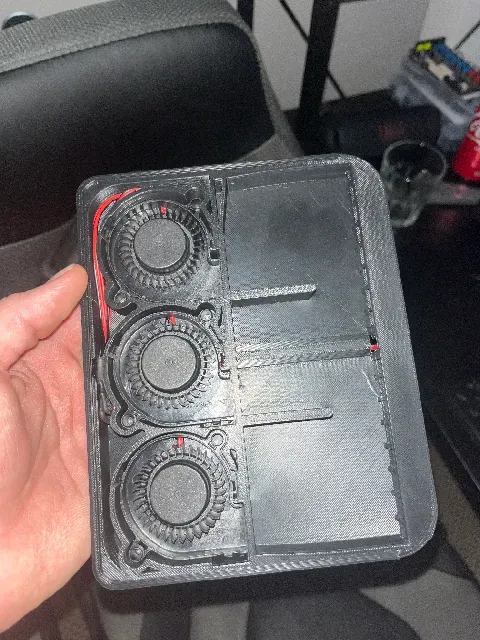

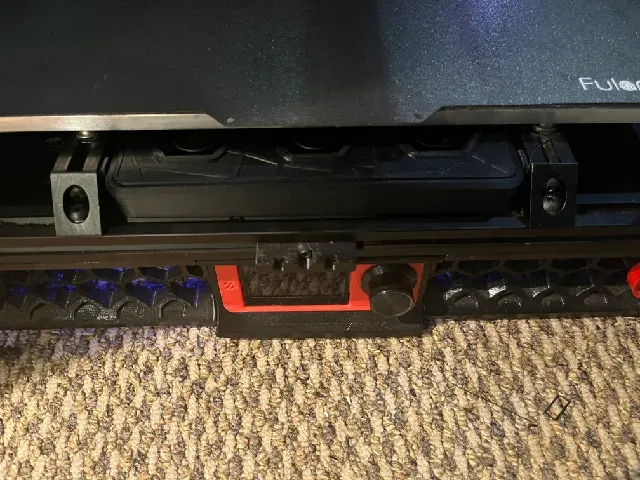
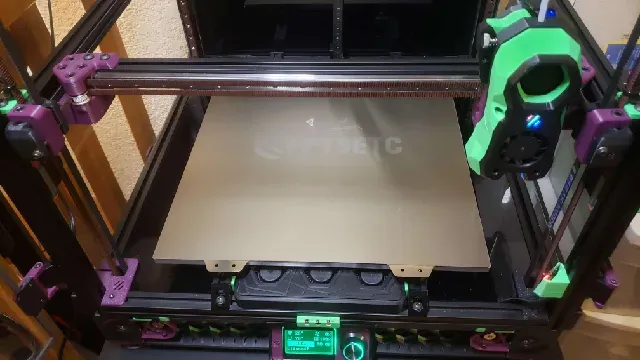


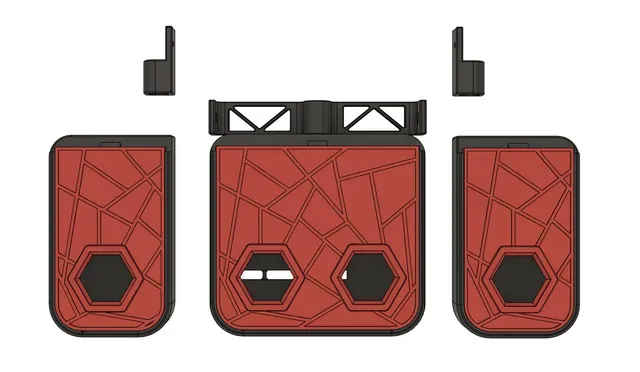
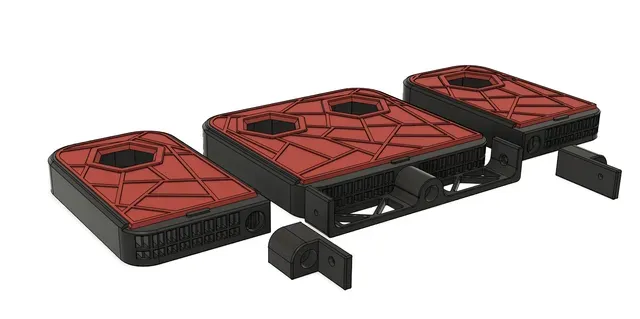

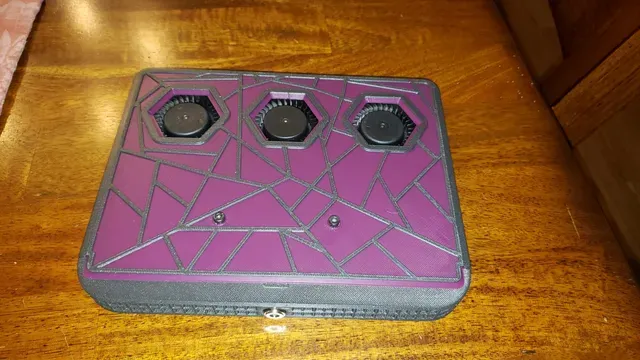

My friend nateb16 designed this. The Git is VoronUsers/printer_mods/nateb16/THE_FILTER at master · nateb16/VoronUsers (github.com)
NOTE: Latest revision/files will always be posted to GitHub first, and updated here as time permits.
*** Disclaimer: As with all printer mods, we are not responsible. Use at your own risk. That said, I have been using The Filter for a year and a half, POGOs for over a year, with no issues, improved chamber heating and reduced fumes. ***
UPDATE 7/1/2023: Updated Macro. Steps for use:
- Save in configuration folder using the name you like. Mine is TheFilter.cfg . - Add [include TheFilter.cfg] to your printer.cfg file. - Open file and edit the pin used on your MCU. - Contact me if it doesn't work properly, or if you have suggestions. But I think I have it down. Description of how it works in the 'AKINFERNO ADDS' section at the bottom.
UPDATE 4/25/2023 (Instructions for fan wiring/pogo and my macro)
My verison of these instructions are at the bottom, under 'AKINFERNO ADDS' section.
UPDATE: 4/13/2023 (Experimental parts added by me)
I added a couple variants. I thickened the lines on the lid so they are .8mm instead of .4mm. Intended to ensure lighter colors stood out when doing color swaps. And the spacer clips always broke on me. So, I redesigned them using the Voron Deck supports. Insert them sideways and rotate down. They won't slide or break. I will likely make a fork on the Git and post all my mods to the Experimental folder so Nate's work stays intact.
UPDATE: 2/5/2023 (Fysetc Kit Model only)
With feedback from the Voron community. A number of things have been addressed. 1) The exhaust has been changed and optimized to prevent the loss of pellet issue, and improve filtering performance. The trade off is heat up times and overall chamber heating performance is slightly affected. Will update graphs after testing and leave V1 in archive. 2) The mounts for pogo connector's have been changed to fit the aliexpress listings. 3) Screw holes have been added to secure the fans and the lid, if desired. 4) The install instructions have also been updated for clarity.
UPDATE: 1/11/2023
Thanks to devsfan1830#3401 on Discord for finding and fixing an issue with the Standard 2 fan model, and making a similar single fan model for the sides, which has been added below.
UPDATE: 12/26/2022
With feedback from members of the community, a number of things have been addressed. First, the exhaust has been changed and optimized to improve the loss of pellet issue as well as improve filtering performance. The trade off for these modification is heat up time and overall heating performance is slightly affected. The mounts for connector's have also been changed to fit the aliexpress listings. I have added holes to secure the fans if desired. The lid still lacks screws for aesthetic reasons. Wiring channels for the two fan version have also been drastically altered due to confusion and overall jankyness.
Nateb16 also updated the install instruction for clarity.
ABOUT
THE FILTER is a custom mod of Nate's own design. He was initially inspired to embark on this project after his Nevermore melted. It is a hybrid of Andrew Ellis's bed fan's chamber heating, and the Nevermore's charcoal filtering, in a completely custom housing. He created two designs; a two 5015 fan version and a 3 fan version for Fysetc beds (since they have non standard bed mount spacing). Both feature a high capacity for pellet charcoal in a two piece model with a bracket using a minimal amount of fasteners. It is mounted from the front to DRASTICALLY improve heating of your printer chamber by blowing air over the bottom of the bed. He also wanted it to be easily removable, so it features an optional magnetic quick disconnect using POGO connectors, which he believes is a first for a mod of this kind. This connector makes removal (during PLA prints) and maintenance quick and easy. It has been tested extensively with over 40 hours of runtime and 50 connects and disconnects. Its high airflow and compact design make it melt and warp resistant. Using 3d printed spacers it is also thermally isolated from the printer frame.
Testing
Rough estimates found during testing (results vary on how well your printer is insulated and how large it is as well)
Time the printer took to reach 40c
- Stock VORON 2.4 350mm - 55 minutes - Nevermore VORON 2.4 350mm - 40 minutes - THE FILTER VORON 2.4 350mm - 12 minutes Quick statistics graph (courtesy of Discord user akinferno#3062)
Testing heat up time to 40°C
Parts Required
- (2-3) 5015 fans 24v - (ferrule kit) - (1) 2 pin microfit molxex if not using the POGO connector - (1) MISC heatshrink and solder (best) or Solder heatshrink tubing (better) or buttsplices (ok) pogo connector and cord from ali-express
- (1) *** Working on sourcing proper part. Listing has changed and may not be suitable for installation. Currently investigating alternatives *** (6/24/2024) Installation
Install instructions found with applicable models
If Using magnetic connector's:
- Print Soldering Jig (connector is magnetic and is very hard to solder with out being secured) - center pin is positive - side pins are GND - place connector into jig and tape down to more easily attach wires - If applicable Cut USB connector off exposing red and black wire otherwise proceed to step 3 - Crimp on ferrules and press the end of the power cable into 3d printed mounting bracket (use super glue if the connector feels to loose) - Connect to MCU and adjust your config (I encourage the filter to be set up using andrew ellis bed fan macro) IMPORTANT
CONNECT WIRES TO SPARE HOTEND PORTS TO PROTECT THE MCU in case of accidental disconnects for the filter. ** explained in AKinfernos Adds
DO NOT REMOVE THE PRINTED LID WHILE THE BUILDPLATE IS WARM (DOING SO INTRODUCES BOWING TO THE PART RESULTING IN A BAD SEAL AND TERRIBLE PERFORMANCE)
Sample config and setup instructions (pulled from andrew ellis github)
https://github.com/VoronDesign/VoronUsers/blob/master/printer_mods/Ellis/Bed_Fans/Klipper_Macros/bedfans.cfg
A pre configured macro with modified variables is provided be sure to Add [include bedfans.cfg] to your printer.cfg and adjust the pin or follow direction below.
1) Place the .cfg file in the same directory as your printer.cfg file.
2) Add [include bedfans.cfg] to your printer.cfg.
3) Change pin for your fans in the second section.
- This is intentionally left blank so that it will error if you don't fill it in. 4) Configure the options in the first section:
- variable_threshold sets the bed temp threshold at which your bed fans will be used. - Default is 100C (so it does not enable for PLA) - variable_slow sets the fan speed for when the bed is heating. - variable_fast sets the fan speed for when the bed is at temperature. NOTE: Included text version of my config, which is slightly modified to run fans at low when printing PLA/PETG, to prevent bed heat from warping lid.
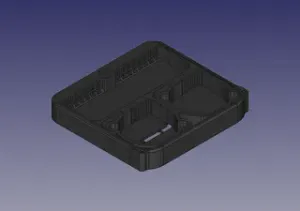
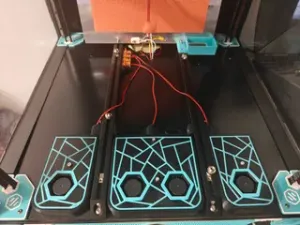
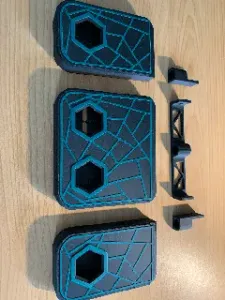
Prototype Install Picture's (Current CAD and models have minor cosmetic changes compared to these picture)





Names are used only to indicate the source of a result. Polyzon is not affiliated with the listed sites.