
Free 
Skadis T-Nuts Mounting System for Ikea Skadis Pegboards
Printables

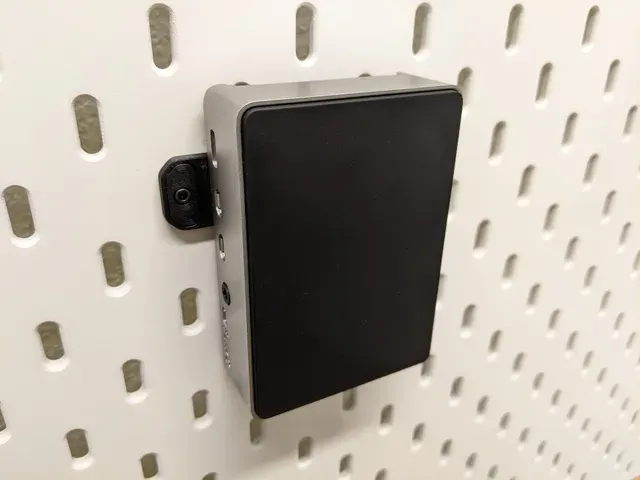
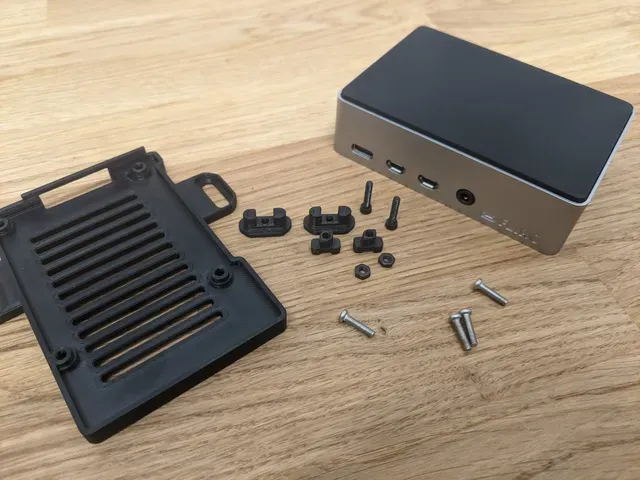

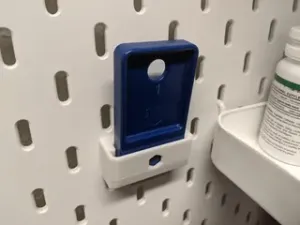
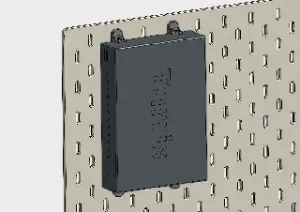
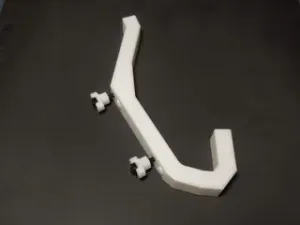
This is a bottom plate for the Flirc Raspbery Pi case to attach a Raspberry Pi to an Ikea Skadis pegboard . It uses Skadis T-Nuts for secure, wobble-free installation.
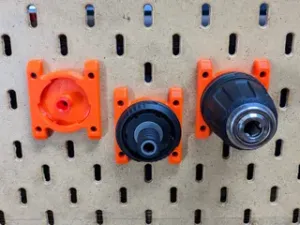
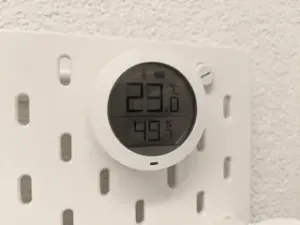
Read more about the Skadis T-Nuts Mounting System and check out the Skadis T-Nuts Collection for more Skadis accessories that use T-Nuts.
BOM
Qty Description Sourcing
2 M2.5 DIN934 Hex Nut Aliexpress
2 M2.5x12 (or longer) Socket Head Cap Screw Aliexpress
4 M2.5x10 Pan head screws (use original screws from the case)
Printed Parts
Qty Part Download
1 Flirc Bottom Plate this project
2 Alignment Guide this project
2 Skadis T-Nut M2.5 Download here
Printing
Print the parts in the original orientation. All STL files are pre-rotated for printing. Check out the Skadis T-Nuts page for T-Nut print settings.
Print Settings
- Material: PETG - Layer height: 0.2mm - Extrusion width: 0.4mm - Perimeters: 3 or more - Infill: 15% or more
Assembly and Installation
Step 1 - Preparation
Prepare the T-Nuts. Push an M2.5 hex nut into the bottom of both T-Nuts. You may have to use some pliers or other tool to push them in.
Step 2 - Install Bottom Plate
Using the M2.5x10 screws that are included with the Flirc case, install the new Bottom Plate as shown.
Step 3 - Alignment Guides
Insert both alignment guides into the Bottom Plate as shown. It's okay if the fit is loose. You may optionally apply a small amount of superglue to the outer rim of the Alignment Guide. Pay attention to not get any glue on the lower part of the alignment guide or into the screw hole.
Step 4 - T-Nuts
Push the M2.5x12 socket head cap screws through the Alignment Guides. Screw the T-Nuts onto the screws until there is a gap of about 2mm between the T-Nuts and the Alignment Guide.
Step 5 - Installation
Align the T-Nuts vertically and push the whole assembly through the pegboard holes. Tighten the M2.5 screws. The T-Nuts will lock in the horizontal position.
To remove the assembly again later just loosen the M2.5 screws half a turn and pull it off the pegboard.



Names are used only to indicate the source of a result. Polyzon is not affiliated with the listed sites.