
Free 
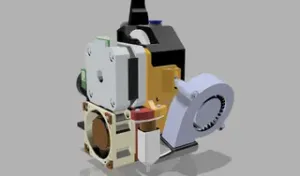
Cable Management with Drag Chain for Micro Swiss Direct Drive (Ender 3 x)
Printables




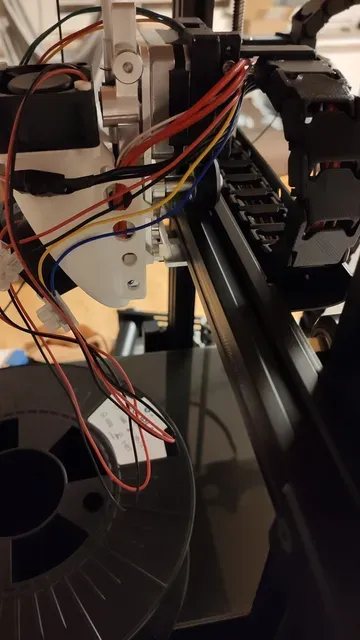

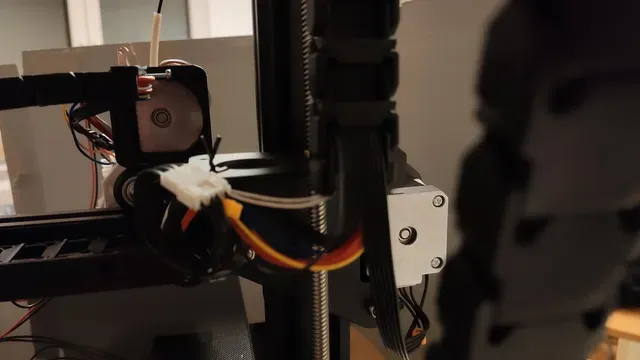
Update from 2021-05-29:
This is discontinued. There will be no more updates. Link to a new solution is here.
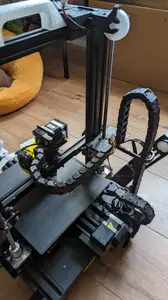
This thing is especially for an Ender3 V2 with:
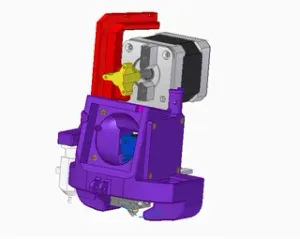
- Micro-Swiss Direct-Drive and Micro-Swiss all-metal hotend
- 22mm "pancake" stepper motor attached to the extruder (Nema17 by bondtech in my case)
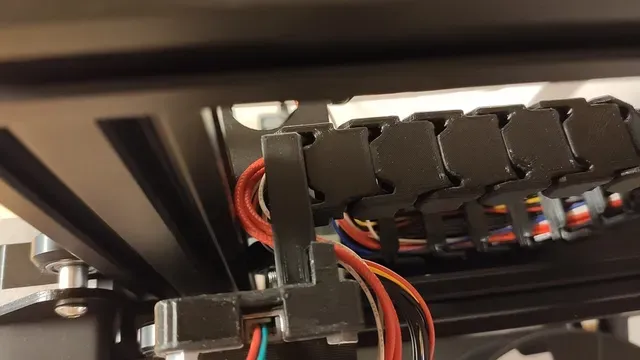
- using this chains https://www.thingiverse.com/thing:3715002 by diogosantos88
- and the other X-axis mount with T-Nuts (the one with rail sits closer to the gantry) https://www.thingiverse.com/thing:4316238 by Tobi0892
It may fit other setups / printers too but that is untested.
Base idea and STL was https://www.thingiverse.com/thing:4130031 by Minglarn.
So... what is going on here?
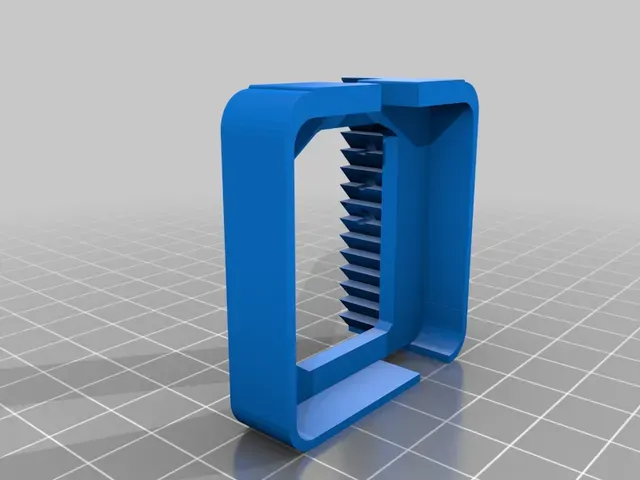
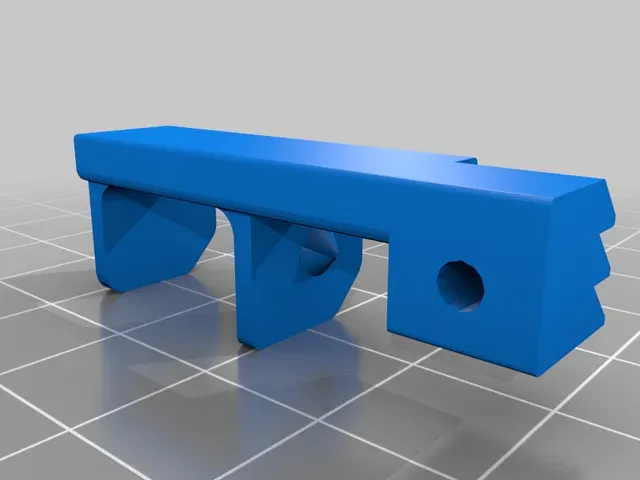
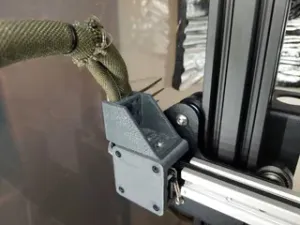
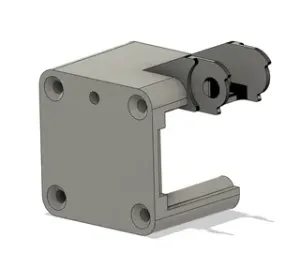
- By default there are four different heights (or levels) possible. Since the arm and the mount are two pieces adjustment is possible on the fly.
- Easy access and remove for maintenance. This is just a slip on, slip off. Or a screw out, screw in.
- The cut-outs are for one carriage wheel and the cables of the stepper motor.
- No threads. The holes are 2.8mm and a M3 screw will cut its own thread. Perhaps people from overseas can use similar hardware. I hope that was the best solution.
- Depending on the chosen height there might or might not be a little loss along the Z-axis.
- SketchUp file is included. Maybe you would like other heights or make it even something like a slotted hole. Maybe you don't have a 22mm stepper motor and the arm is too long. Maybe... whatever. There you go :)
- It is a snap-fit. Time will tell if PLA was the right material because the stepper motors can get hot and the mount might get weaker and looser.
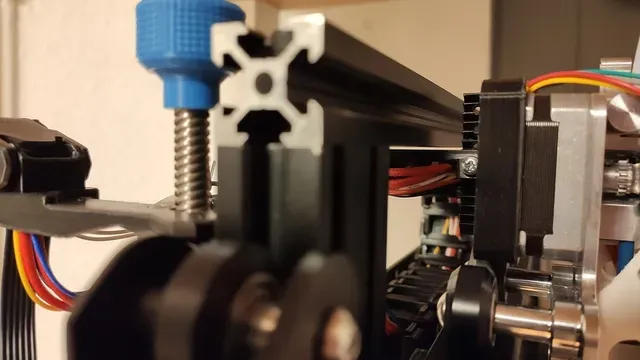
Excuse the messy cables. I'm still looking for a suitable cooling solution and that is the current setup to test "fangs".
So eventual I will add some kind of dedicated cable management to this mounting option. To do so... well, first I need the "right" cooler and after that there will be cable management. Perhaps a universal one.
Print Settings
Printer Brand:
Creality
Printer: Ender 3 Pro
Rafts:
No
Supports: Yes
Resolution:
0.2
Infill: 20%
Filament: 3DJake ecoPLA Black
Notes:
Printing orientation:
for the arm: flat (like turn it by 180°) and no support is needed. for the mount: jags on top (like turn it by 90°) and support touching build plate only.
Post-Printing
Grab a M3 screw and cut the threads "by hand":
First turn it into the arm. Then place the arm at the mount, hold it together and fully turn the screw in. Repeat this for the remaining three holes to get a matching thread on each hole.
Maybe you want to smooth the edges a bit for nicer handling and cable protection.
Category: 3D Printer Accessories

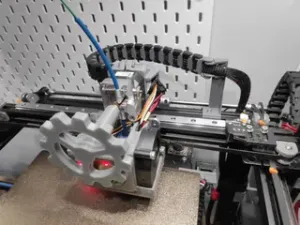
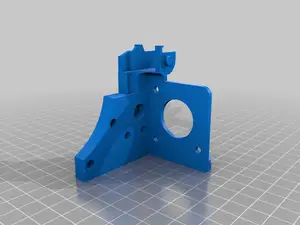



Names are used only to indicate the source of a result. Polyzon is not affiliated with the listed sites.