
Free 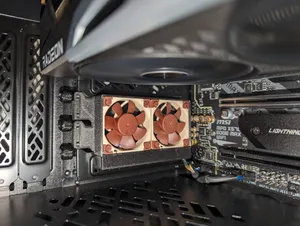
PCI Fan Mount for 40mm Fans
MakerWorld

Hi threeD Printers,
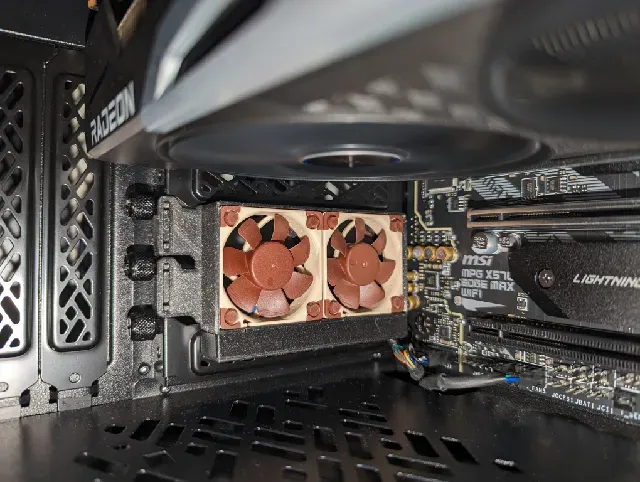
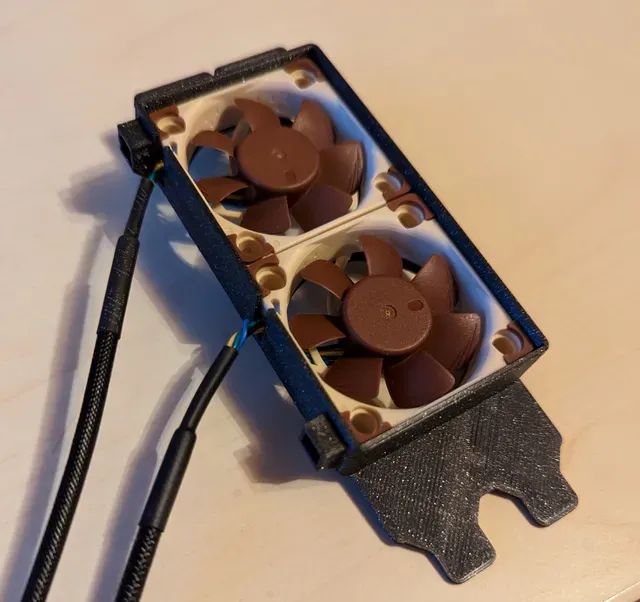
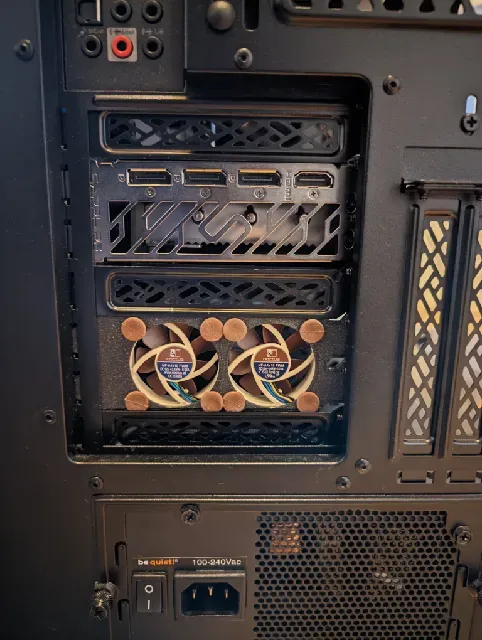
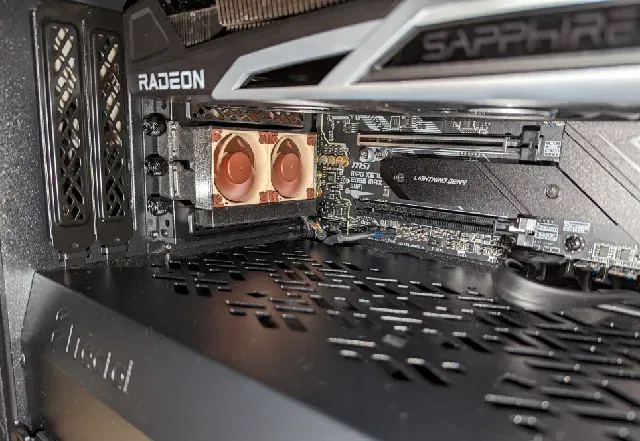
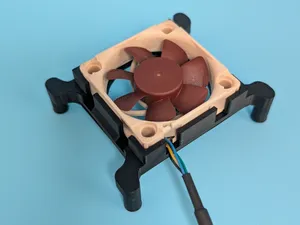
this fan mount will allow you to mount two 40mm cooling fans in place of unused PCI slot covers in your PC. This design is using two open PCI slots in your computer case. It's designed to exhaust hot air from a computer case underneath the GPU. But you could also use it to blow cold air into your case. In my pc case exhausting air proved to be better setup (lower GPU temps). But you would have to test it for your computer case and airflow setup (positive vs. negative air pressure). If you decide to use it to blow air into your case I would recommend you fit a dust filter. Otherwise, your case gets dusty very quick.
What to print
I designed two versions one compatible with Noctua anti vibration mounting the other with threaded inserts.
Noctua Mounting
For mounting the fans I used anti vibration mounts from Nocuta: NA-SAV4 , NA-SAV3
Also works with the anti vibration mounts included with NF-A4x10 , NF-A4x20
Cable Management (2.3 - 2.5 slots wide)
- PCI_Slot_Screw_Cover.stl - Nocuta_Mounting_Cable_Management.stl - Noctua_Mounting_Cable_Cover.stl Without Cable Management (2 slots wide)
- PCI_Slot_Screw_Cover.stl - Nocuta_Mounting.stl Threaded Insert Mounting
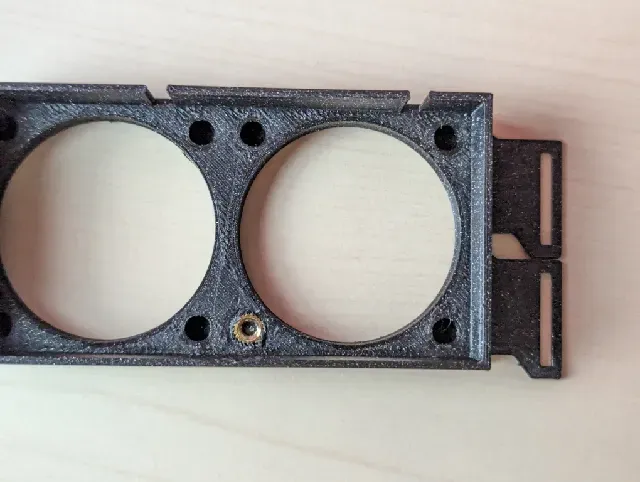
If you print the threaded insert version you can use M3 screws to mount the fans. The threaded insert version is designed for M3 (4x5mm) threaded inserts. If your M3 inserts are too long you can cut them to length.
Cable Management (2.3 - 2.5 slots wide)
- PCI_Slot_Screw_Cover.stl - Threaded_Insert_Mounting_Cable_Management.stl - Threaded_Insert_Cable_Cover.stl Without Cable Management (2 slots wide)
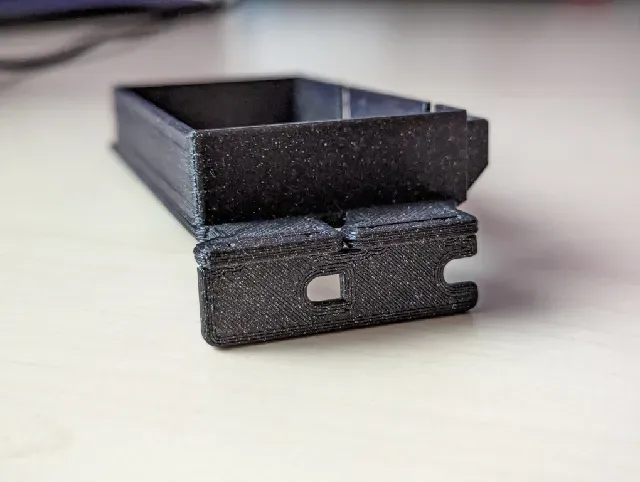
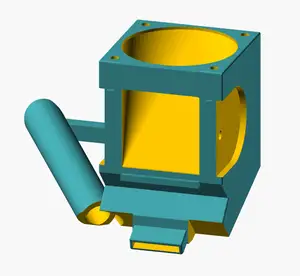
- PCI_Slot_Screw_Cover.stl - Threaded_Insert_Mounting.stl The versions with cable management need more space than the versions without cable management. So if you're space constrained use the bracket without cable management. You clip the PCI_Slot_Screw_Cover into the fan holder bracket. (see picture above)
Fans
Designed and tested with Nocuta NF-A4x10 fans. NF-A4x20 (20mm thick) fans from Noctua should also work but I didn't test them.
Also works with 40mm fans from other manufacturers.
With a high power draw/high heat output GPU, print it in PETG or ABS
If you use it with a high power draw/high heat output or blower style GPU, you might have to print it in PETG or ABS. Some users reported deforming when printed in PLA. (Note: my print in PLA didn't deform with an AMD RX 6800)
Installation
You install the fan mount bracket like you install a GPU. Remove two PCI Slot Covers -> insert the fan mount bracket with installed fans -> screw the bracket to the case Plug the 4-Pin fan header into the mainboard. I used a Y-Splitter to power both fans from one mainboard fan header.
Software
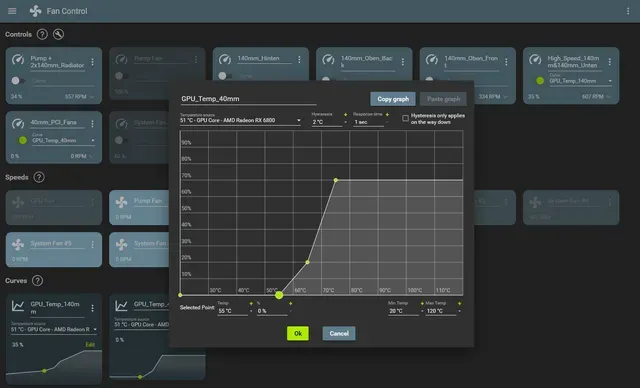
I use Fan Control to control the fan speed of the 40mm fans in relation to the GPU Core temperature. I added a custom fan curve (see screenshot above) that the 40mm fans only start spinning when the GPU hits a temp of 55°C. Below that they turn off and stay complete silent. At 75°C the fans spin at 70%.
Modify
The design can easily be resized and customized with the provided Fusion360 (.f3d) file.
Happy printing!
Print Settings
Printer brand: Creality Printer: Ender 3 Pro Rafts: No Supports: Yes Resolution: 0.16mm Infill: 20% Filament brand: Prusament Filament color: Galaxy Black Filament material: PLA (print it in PETG or ABS if PLA deforms)
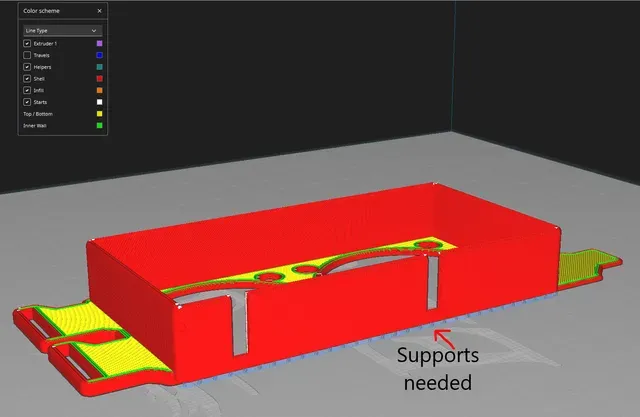
Supports are only needed for the fan mount bracket. (see picture above)
If you can't clip the PCI_Slot_Screw_Cover.stl into the *_Mounting_*.stl you may need to sand it down a little.






Names are used only to indicate the source of a result. Polyzon is not affiliated with the listed sites.
Comments 0
Loading comments…