
Free 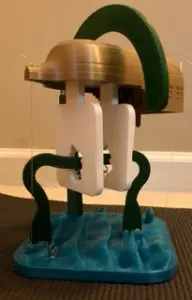
Men at work
Printables
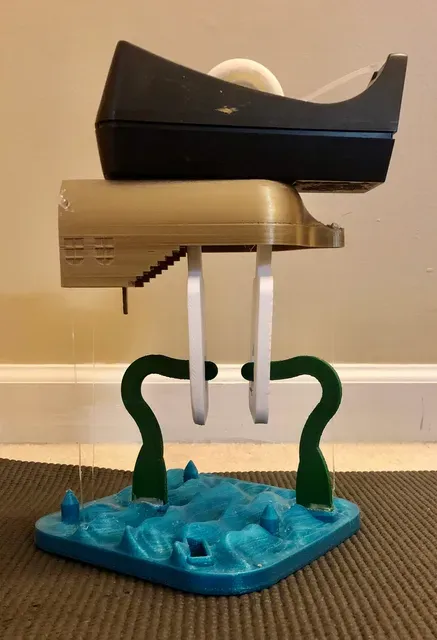
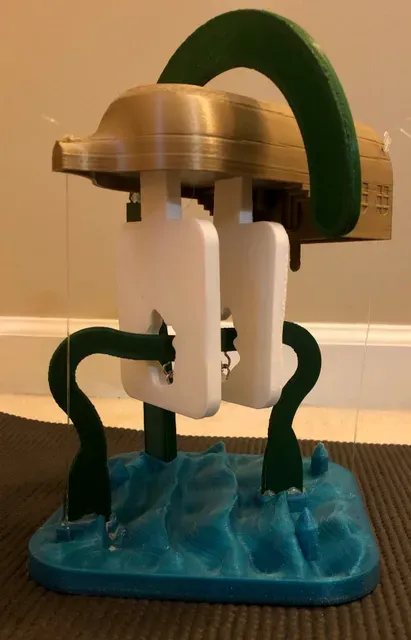

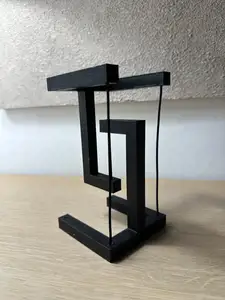
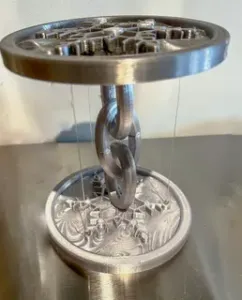
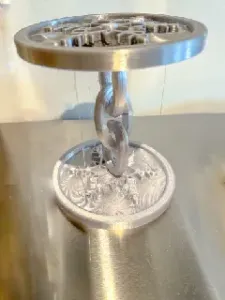
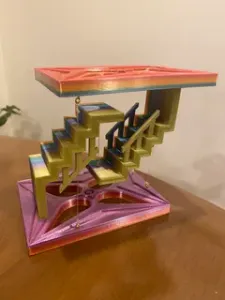
First, what is a “tensegrity," and how does it work? - “Tensegrity” is a structure that appears to be suspended in mid-air through the usage of pushing and pulling forces that ultimately balance each other out. There are no points of contact other than through use of string.
A video that explains this phenomenon more in depth by Steve Mould:
This was a project made in conjunction with my partner Andreas ( https://www.printables.com/social/464296-andreas-lorenzen/about ) for our engineering design class.
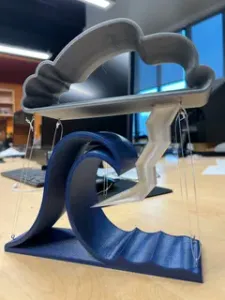
Our creation scales up to approximately a height of 20cm (22cm if you add another tentacle that wraps around from above the ship!). The ocean/bottom base has dimensions 14.5 x 14.5 x 3.5 cm; the ship/top base has dimensions 15 x 7.5 x 13 cm.
Lesson Activity
Problem Statement: With a partner, you will design and create a single custom Tensegrity Structure.
Applied Constraints:
- Design MUST take advantage of print orientation to create the strongest structure possible. - Each piece should fit inside of a 15cm x 15cm square. - When constructed, the final structure should fit in a 20cm x 20cm x 20ish cm cube. - Parts MUST begin with a constraint box, center-rectangle CENTERED ON the origin) - No single dimension can be smaller than 0.25cm - All “plates” MUST have a thickness between 0.75cm and 1.00cm - All “beams” should have a thickness of 1.00cm - Engravings should be cut to a depth of 0.07cm - Dimensions should be detailed but efficient. - Sketches should be fully defined when complete. - Parts MUST contain zero error messages. - Structures MUST be assembled virtually before 3D Printing to ensure successful models. - Screw hooks and fishing line will be provided for attaching your pieces.
List of parts used:
1 print of andrendon_tens_bottom_base.3mf
1 print of andrendon_tens_bottom_tentacle_wrap_bottom.3mf
1 print of andrendon_tens_bottom_tentacle_wrap_top.3mf
2 prints of andrendon_tens_bottom_tentacle_tens.3mf
1 print of andrendon_tens_top_base.3mf
2 prints of andrendon_tens_top_mast.3mf
How to Assemble:
Recommended tools to have on standby: a Phillip’s (+) head screwdriver (smallest you can find), a hammer, a pair of pliers, and wire cutters.
Extra materials needed: fishing line (or any string material that maintains strong tensile force) and four small hooks
(Link to hooks: https://www.amazon.com/gp/product/B07JMK9GCC/ref=ppx_yo_dt_b_search_asin_title?ie=UTF8&psc=1 )
Once all parts are printed out…
**Throughout these steps, make sure to first sand any parts that are too big to fit into their respective spots; use hot glue if they are too small**
- Part One: Assemble the Top Base - Take the ship hull and the masts - Bend two hooped hooks 2. Use your screwdriver to deepen the divots in each mast, which indicate where the hooks go in. If necessary, use your screwdriver and hammer to further punch a hole.
3. Twist the cut hooks into the holes you just made
4. Take the masts and fit them into the slots on the top of the ship
- Part Two: Assemble the Bottom Base - Take the two tensegrity tentacles, which should look something like this: 2. Again, widen the divot in each of the tentacles. Use a hammer and screwdriver if necessary. **Be careful to not use too much force to prevent the splitting of layers**
3. Twist the cut hooks into the holes you just made
4. Slot the tensegrity tentacles into the ocean plate
5. Take the two components of the wrapping tentacle
a. Slot the two components together. Then, set it aside until the very last step.
- Part Three: Put the Two Bases Together to Create the Tensegrity Structure - Arrange the ship base so that the masts are between the tentacles. (insert image) - Note that the ship must face a particular direction in order to properly attach the fishing line (image of base w/ arrows for reference of correct direction) - Hook the hooks of the masts with the hooks of the tentacles. 3. Attach outside support strings
3a. Cut around 25cm of fishing line (or string material on hand), and tie a knot near one of its ends. We're using a single knot; make sure that you use a pair of pliers on both sides of the knot and really pull the knot as tight as possible.
3b. Feed the line through one of the holes in the ocean base from underneath.
3c. The knot should not pass through the hole, but the rest of the string should. If the knot does pass, tie an additional knot nearby.
3d. Feed the line through the corresponding hole in the ship, and tie another knot.
3e. Repeat the above steps for the other two support strings.
3f. Tighten the strings until taut and balanced in all axes.
3g. Trim excess string as needed. Try to cut as close to the knot as possible without undoing it.
4. Slot the wrapping tentacle into ocean base (or don't, and try to balance something on top!)
Design Choices:
Grabbing threads of inspiration, we drew designs on paper for a while and decided on going for a fantasy theme; trying to incorporate ships in our tensegrity structure, we thought of having tentacles extend out an ocean while clasping onto an upside-down ship.


Names are used only to indicate the source of a result. Polyzon is not affiliated with the listed sites.