
Free 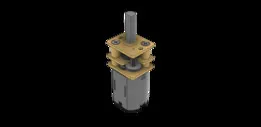
N20 DC Gear Motor
GrabCAD


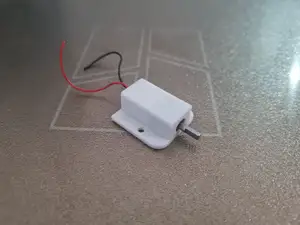
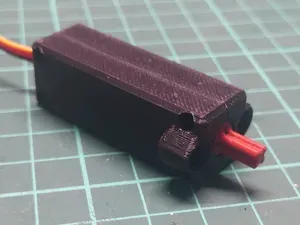
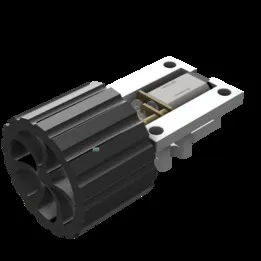
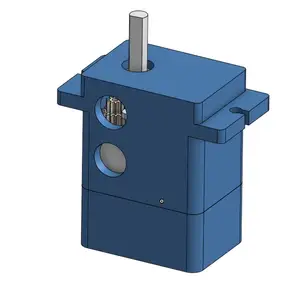
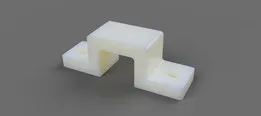
This is a motor cage and wheel for an N20 geared motor to use as a pusher in the Nerf Rival Zeus blaster.
This mod completely replaces the stock pusher mechanism, making the Zeus a full-auto blaster.
WARNING: Installing this mod irreversibly changes the internals of the blaster! You are doing this at your own risk! Also: this is not exactly a beginner build as you need to modify/cut/file/change lots of parts of the blaster and the shell.
In addition to the printed parts you will need:
- a Nerf Rival Zeus blaster (obviously)
- an N20 geared motor (600-1000 RPM recommended)
- four to six M1x5 self tapping screws
- high-amp micro-switch for rev-trigger / flywheels
- smaller roller-style micro-switch for trigger
Tools and supplies:
- several lengths and gauges of wire (colored if possible)
- soldering tools & heatshrink
- a dremel with cutting and grinding bits
- flush-cutters & files
- hot-glue and gun
- epoxy-putty (milliput, plumbers-epoxy, etc.)
Installation:
Remove all the parts from the mechanical pusher-assembly. Keep the trigger and spring (if you want you can use a stronger spring to prevent accidental activation).
Dremel out the "bridge"-part where the lever-arm lifting the dart-gate used to sit. Use files and flush-cutter to remove any bumps left.
File/cut away enough of the walls so the printed parts fit so the motor-shaft sits straight above the hole.
Also dremel out the orange top-cover so the wheel can turn even with the cover in place. Do not yet install the motor and cage.
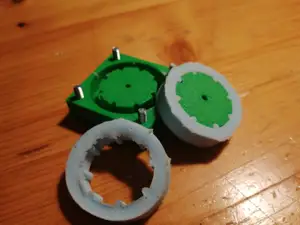
The pusher-wheel is simply press-fit onto the shaft of the N20 motor . One side of the wheel is keyed to fit onto the d-shaft of the axle. If (like me) you get a motor with only a partially keyed axle, the other side of the wheel is open for that reason.
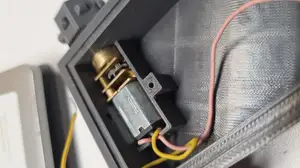
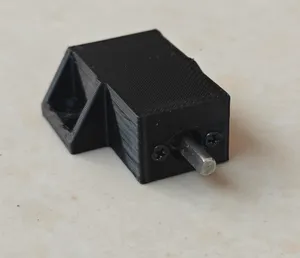
The motor is held in its cage by the gearbox and secured with four M1x5 self-tapping screws. These can be found in most laptop repair screw kits.
The motor cage is held in place either by screwing it the plastic where the old pusher-mechanism used to be (using the two additional M1x5 ), by using lots of glue and clamping it with the original (orange) lid of the pusher or a combination of both.
It might be convenient to mark and pre-drill the holes for the mounting screws.
The wiring is similar to the wiring of a Perses or a Chaos:
You'll need to mount a roller-style micro-switch behind the trigger to activate the motor unless you want to wire fire and rev to the same switch ( not recommended ).
Before you connect the N20 motor make sure the pusher-wheel turns in the right direction (into the flywheels). If not you need to reverse the polarity of the motor-terminals.
To mount the new switch(es) it is quite possible that you might need to clear more space on the inside of the blaster. As this was an on-and-off-project of me i've kind of lost track of all that i did to the blaster...
Print Settings
Printer Brand:
Prusa
Printer: I3 MK3S
Rafts:
No
Supports: No
Resolution:
0.2
Infill: Doesn't matter
Filament: Generic PLA Black


Names are used only to indicate the source of a result. Polyzon is not affiliated with the listed sites.