
Free 
Cell Phone Mount for 2014 RAM 1500
Printables


Update
I no longer use this mount. Instead, I have my AMPS pattern cell-phone mount that accepts any of a universe of standard off-the-shelf AMPS-pattern phone mounts.
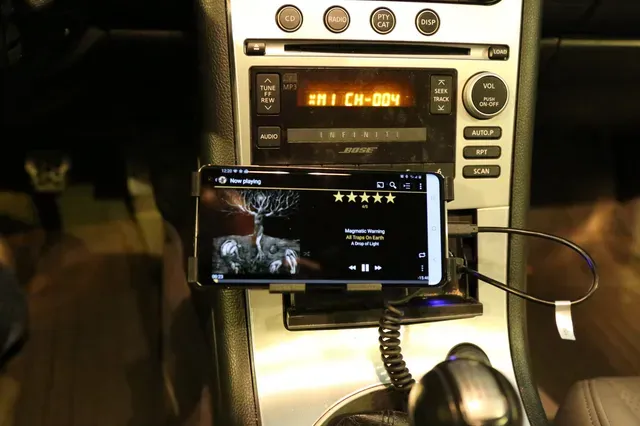
This is the base for a cell mount for a 2006 Infiniti G35 Coupe. It installs in place of the ashtray (I don't smoke), and holds the phone sideways just above the gear shift, and mostly below the radio. It's very close to the lighter socket, to connect a charger.
I have no idea whether it would fit in other models. But if anyone tries it, let me know and I'll add a note here.
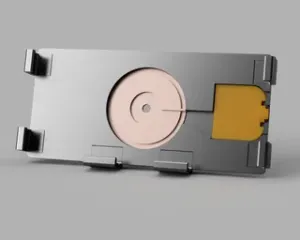
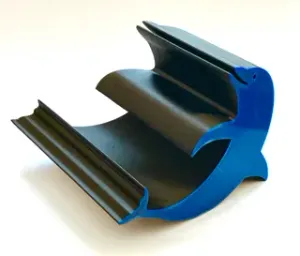
This thing is just a generic base and arm. A phone-specific cradle attaches to it. I designed one for my Samsung Galaxy S10 .
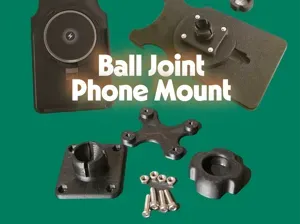
Or you can design your own phone-specific cradle. Requires a 20mm ball-socket (I made mine 20.15mm for tolerance), and a 1"-12 UNF thread.
I've included a sample ball-socket that you can build onto. You don't need that part if you're pairing this with a phone cradle that has it built-in, like my Samsung Galaxy S10 cradle .
Print instructions
I print the threaded parts (clamp nut and socket) at 0.1mm layer height.
The arm and ball have very small contact area for their height, and so should be printed with a brim for better adhesion.
Print the ball and clamp-nut with "Seam position" set to "Random", to avoid seams on the ball-joint mating surfaces.
The base should be printed with the front face down. Did not require supports for me, the printer's bridging ability was good enough.
Base is printed with 15% gyroid infill. The arm, ball, and clamp nut are printed with 25% gyroid for greater strength.
The socket part (if you want it) is printed with supports everywhere (not just on the build-plate), to help with the shape of the threads. It's not too difficult to clean the support material out of the external threads.
Smoothing
I did a mild acetone-vapour smoothing on the arm before assembly, to help with the layer adhesion.
Optionally wet-sand the ball a bit. I didn't find it necessary. The rough surface of the ball and socket actually helps to lock the joint in place without too much force on the clamp nut.
Assembly
Assembled with ABS glue.
- Glue the arm into the square socket on the base. - Slide the clamp nut over the arm (it's impossible to put on after). - Glue the ball onto the arm.



Names are used only to indicate the source of a result. Polyzon is not affiliated with the listed sites.