
Free 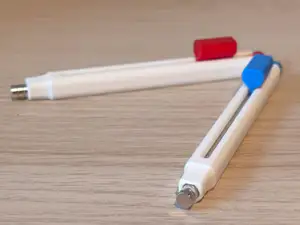
Magnet Dispenser Pen – 45min Print 6x3mm Magnet
MakerWorld

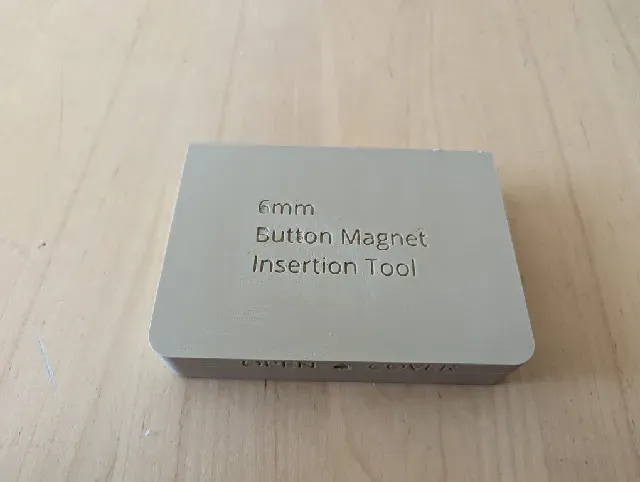
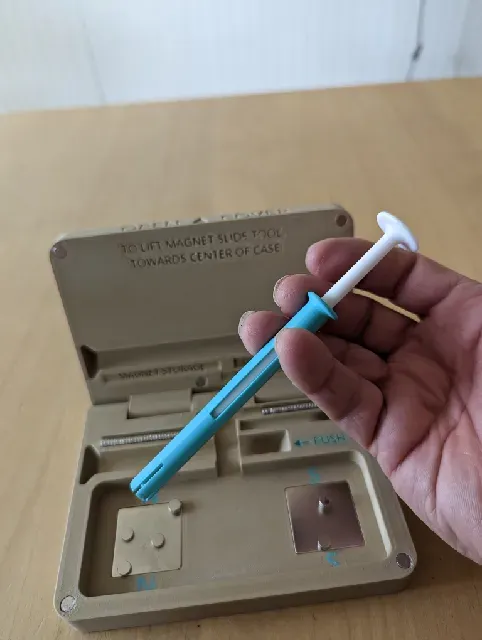



Button Magnet Installation Kit
This started out as a simple tool to install button magnets without messing up their polarity. I realized that these little magnets tend to jump around and stick to things, and it gets very difficult to keep track of North (+) and South (-) poles while these things jump to the legs of your metal chair. So I created an entire kit that includes a simple tool and two plates that help orient your magnets.
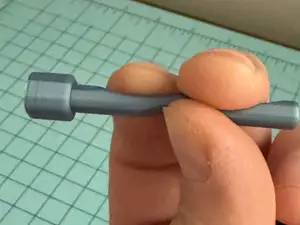
I was going to create a stick with a magnet glued to each end, but I realized that there are some projects that I want to do that have many magnets to install, so I wanted a tool that holds several magnets at once, and that does NOT have any magnetism itself, so that it is easy to remove the tool if you happen to have loose fitting pockets. If working with a single magnet, just sliding sideways after insertion will not pull the magnet up as it follows the field. I suspect that a magnet on a stick would need to have a tool hold down the trailing edge at you pull the tool away.
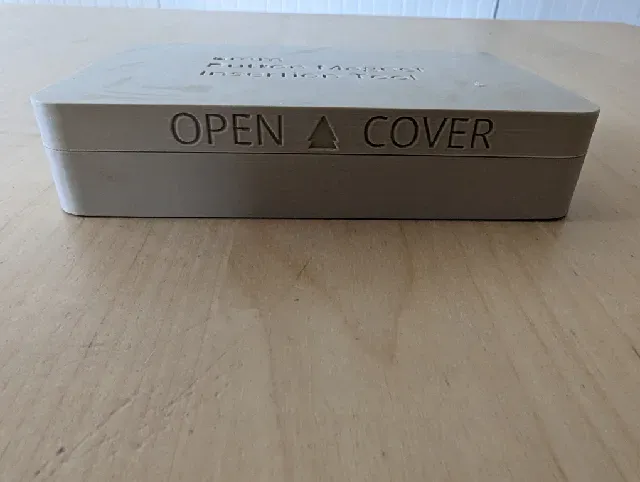
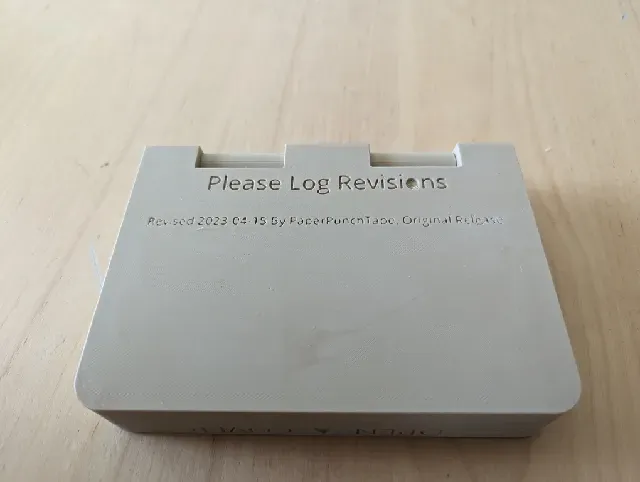
I put a lot of work into the case. I used a lot of tricks that I would use if I was machining this kit out of metal, which is how I would have done it until this year when I have finally gotten my 3D printer.
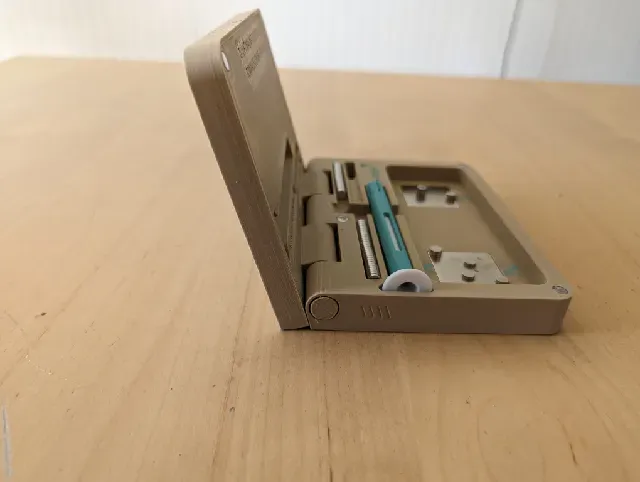
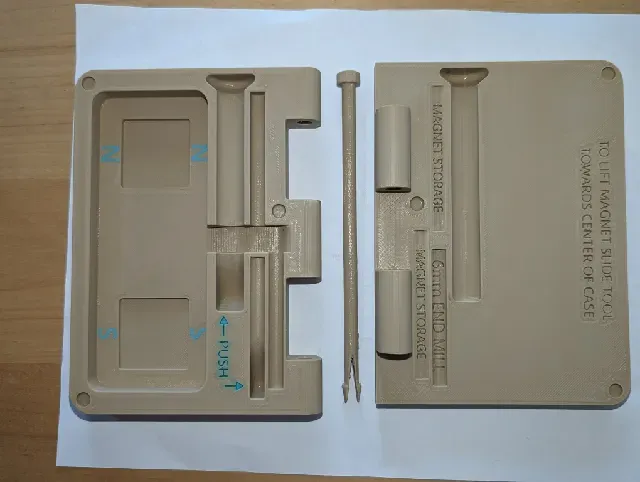
The kit has labels to explain what the pockets are for. The cover will stand correctly in the open position without unexpectedly falling down.
The hinge is strong. My original design cracked when I tried it, so I talked it over with Chat-GPT for some ideas and it suggested a type of connector that I would not have thought of because it is not a technique that I would have used in my previous lives of injection molded design OR a machined design, but after some experiments I found I have a very strong hinge that is easy to make.
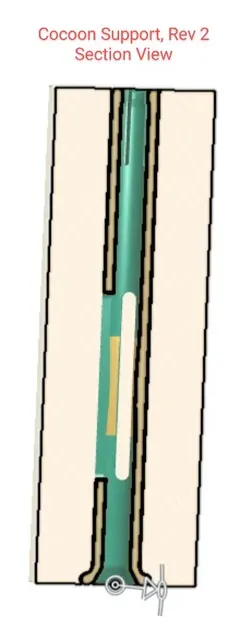
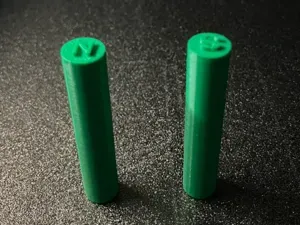
My tool is actually very simple but I needed a friction feature in the middle to keep the plunger from sliding around. I was having trouble printing this tall skinny part with detailed features because the filament was not having enough time to harden before the next layer was slapped on top of it. The part would have a section that looked like it melted. If I printed TWO of the parts, the effect would be reduced, but you really do not need two. I was thinking of a technique to help in situations where a little more time per layer was needed AND that could add a little support to the part where needed without time-consuming filament changes with the purging that really bothers me.
I think that I have invented a novel form of SUPPORT.
I have added the information about this idea to the end of this description. Please read it and improve upon this.
PRINTING THE KIT:
I have included STEP and STL files that allow you to print each part individually, but I also have included files that combine the COVER and the HINGE PIN. I used the hinge pin as support to hold the hinge tubes open. I used soluble support to hold up the ends of the pin.
The BASE plate can be printed separately, or if you have a multi-color printer, you can use the combined file with the BASE and the NORTH/SOUTH letters. In your slicer, set the BASE to be one color filament and the separate N/S letters to be a contrasting color. You end up with a smooth surface with letters that will stay visible for the life of the tool.
ASSEMBLY OF THE CASE:
When removing the support material from the hinge holes, you will find that the HINGE PIN makes an excellent spring loaded reamer to clean out the smegma within the holes. Twist the pin as you slide it back and forth and every bit of detritus will fall out. Use the PIN on the COVER and the BASE separately to ream out the holes. DO NOT attempt to clean out the holes with the BASE and COVER mated. You might have difficulty removing the PIN.
After you have cleaned the parts up and sanded any corners or text that need to be smoothed, then you can place the COVER on top of the BASE and with the cover lettering facing towards you, slide the HINGE PIN in from the LEFT SIDE until it snaps into place.
ASSEMBLY OF THE MAGNETS:
I purchased flat square magnets that are 32x32x2mm from Amazon https://tinyurl.com/SQRmagnets
This kit is designed for 6mm button magnets which are called 6x2 but they are actually thinner than 2mm.
Amazon https://tinyurl.com/RNDmagnets
If there is ANY interest in this kit, I will modify it for whatever size magnets you use.
FINDING THE POLARITY:
Plate magnets usually come with a nylon washer between each magnet.
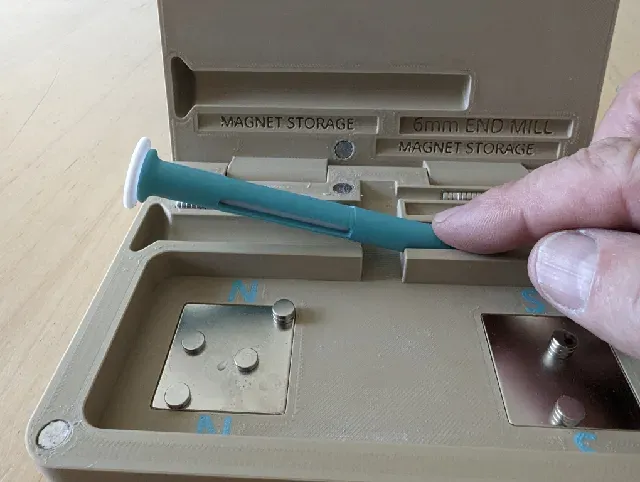
- Push one of the washers so the center hole is visible. - Tie a THREAD through the washer. - HOLD THE MAGNETS UP BY THE THREAD. - THE MAGNETS WILL QUICKLY ROTATE TO POINT NORTH. - You must know which direction is North, - Check a map on your phone, or - Download a compass app, or - Look out the window to see where the sun is. - USE A MARKER OR A STICKER TO LABEL the side that is facing towards the North “N” - Label the other magnet on the other side of the stack “S” Now that you know the POLARITY: Use the double-sided tape that came with the magnets and stick two magnets in the two pockets, with the N side up on the Left, and the S side up on the right.
INSTALLING THE BUTTON MAGNETS:
This will be the first test of your kit. I used a hot glue gun, but you could use Seal-All or any other glue that you want to try.
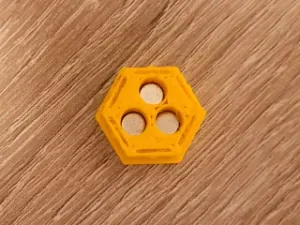
Be SURE to insert the three magnets in the cover so that they are the opposite polarity of the magnets on the base. For extra credit: You could insert the magnet on the base on the front left corner with North facing UP and the magnet on the front right corner with South facing up. This may or may not help avoid having your button magnets hopping to the corner if you try laying them upside down on the plate. )There is a third magnet closure near the hinge. I have no suggestions on polarity for that one.
USING THE KIT:
There is a text prompt on the BASE that suggests “PUSH”. If you push where the arrow points the tool with flip up for easy grabbing.
Sprinkle some button magnets on each plate.
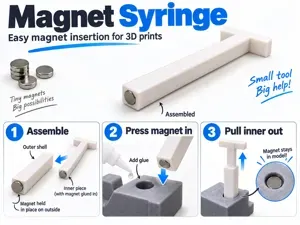
Choose which polarity you want, slide the tool over the magnet and slide it towards the center between the magnets and you can then lift it up. Repeat for as many as you want to load into the tube, or just load a stack by hand using the one that is in the tool as a polarity guide.
There is a pocket to store a 6mm END MILL in the kit. This could be handy to clean out any snots that are left in the empty pockets on your model after printing.
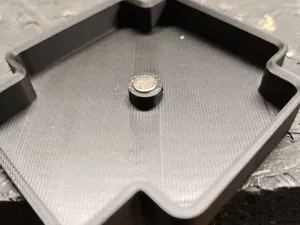
When the pocket is clean, add your favorite glue and place your tool over the pocket and press the center plunger to press the magnet down. Slide the tool to the side and lift. Clean up the top of your freshly inserted magnet and the end of the tool. If you have a long series of magnets to install, this tool could really allow production-speed insertions.
There are two storage slots for stacks of 6mm diameter magnets. If you drop each stack in the storage slots with the polarity opposing each other you will find that they will hold themselves at the far end of each slot instead of clinging together in a last-ditch attempt for unity before you separate them for eternity,
There is also plenty of space to store quite a few magnets in the large pocket with the two magnet plates.
IMPROVEMENTS:
I hope to improve the quality of the text that is engraved on and in the case, but I am new to 3D printing and so I have a lot to learn.
This was designed with ONSHAPE. This was my first week with this software, and it seemed intuitive and easy to use. In fact, it is much more powerful, easier to use, and more stable than PTC’s original product Pro-Engineer, which I used for many years (many years ago) and cost us many tens of thousands of dollars and required constant trips to the PTC home office to work out bugs. The fact that ONSHAPE is available for FREE for home use is terrific. Everybody can use real CAD systems like I used in manufacturing without any cost.
If you would like the original CAD files for modification, just contact me.
I won’t even BEGIN my rant about how great the Prusa Slicer is (post processor).
Feel free to improve and modify this design for your needs, but please retain the attribute to the original designer (me).


Names are used only to indicate the source of a result. Polyzon is not affiliated with the listed sites.