
Free 
LumenPnP V3 passive drag feeder
Printables
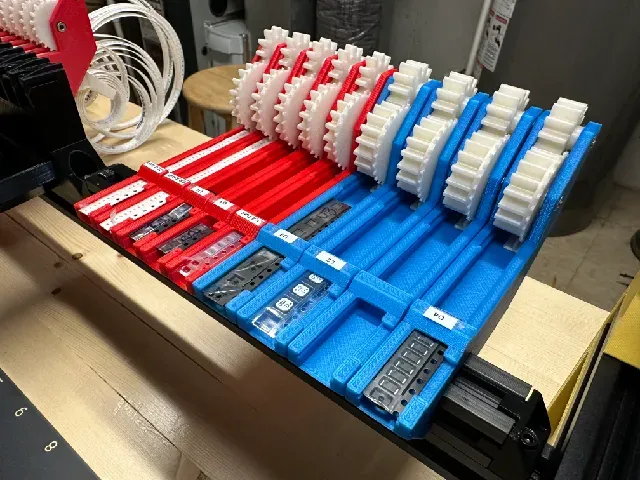
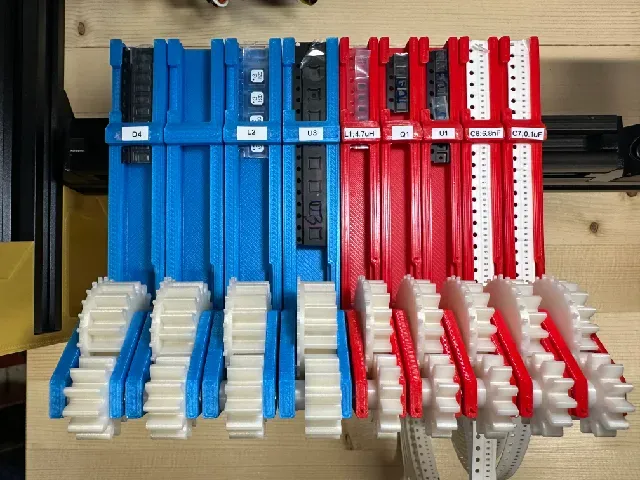
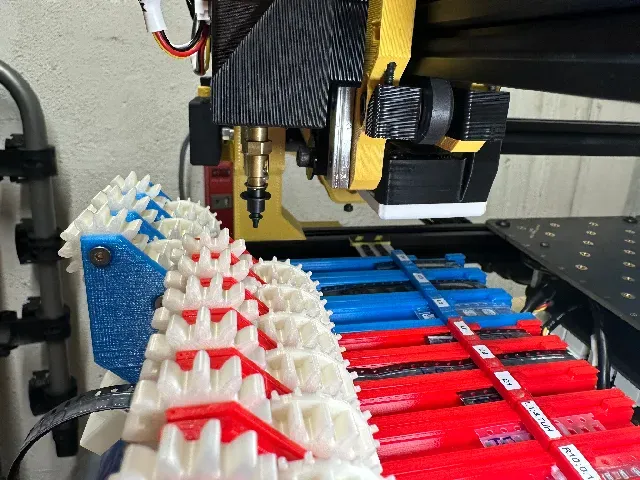


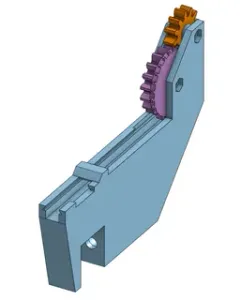
Update 2023-07-04: Added an “XL” version of these feeders that is 30mm longer. This allows you to use them close to the home position at 0,0. The gears on the normal length feeders sit directly beneath the nozzle homing position and can collide during homing operations.
Description
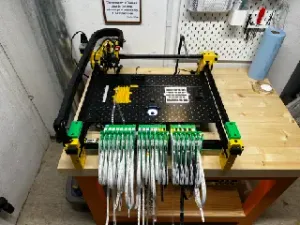
This is a remix of stargirl's V3 LumenPNP drag feeders , which themselves are a remix of jazzychad's feeders . I've made the body wider to accommodate 12mm tape but otherwise kept everything the same.
Print Settings
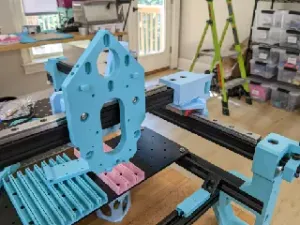
The assembly in the pictures was printed at the following settings:
- Printer: Prusa MK3S+ - Print Settings - 0.6mm nozzle - 0.15mm layer height - 15% infill - Filament: Prusament Azure Blue PLA - Supports: none (if printed in delivered orientation) - Brim: 5mm brim required for stability Print Instructions
- No supports required if printed in the delivered orientation. A 5mm brim is almost certainly required for the feeder body, at least until the bridge prints. Assembly Instructions
- To assemble and secure these feeders to your LumenPNP you will require the following: - One (1) 2020 extrusion coupled to the top of your front extrusion. I used 200mm length. Use either stargirl's rail-stack.stl or my endcap brackets to join the 2 extrusions together. - Two (2) M3-20 countersunk head screws - Two (2) M3 hex nuts - Two (2) M5 t-nuts (also called hammer nuts) to go in the extrusion - Two (2) M5-10 hex socket cap screws - Some blue threadlocker or nail polish - Assembly and installation is quite well documented by the other members in their posts: - https://www.printables.com/model/338597-lumenpnp-v3-passive-drag-feeder - https://www.printables.com/model/221378-lumen-pnp-passive-drag-feeder - I didn't make the tape-riser.stl any larger, I simply glued it against the back-left riser beneath the bottom sprocket. - Good luck!






Names are used only to indicate the source of a result. Polyzon is not affiliated with the listed sites.