
Free 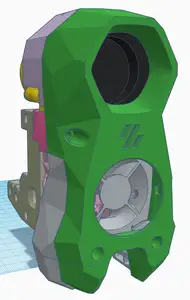
Stealthburner Beta: MGN12H, CR-Touch, Creality Spider
Printables
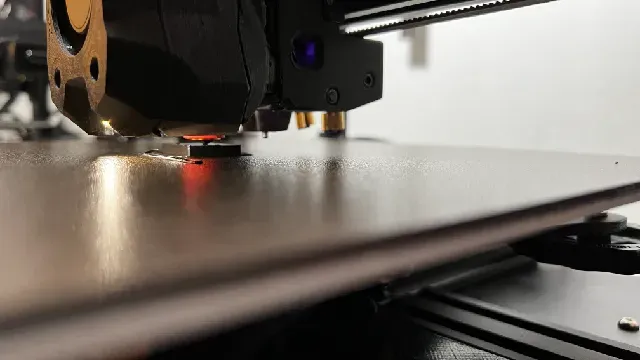
I'm currently running a Stealthburner and an X-axis linear rail on my Ender3V2. But I was tired of losing bed space to an ADXL-mounted CR Touch. This is my solution.
I've remixed prasadp4009's CR-Touch Switchwire mount to print better (no long bridging), and it should fit any Ender series printer as long as it's running a front-mounted MGN12H rail.
You'll need a few things to make this work:
- (10) M3 x 4 heat set inserts - (2) M3 x 40 mm cap head screws - (2) M3 nuts - (4) M3 x 10 mm cap head screws - (4) M3 x 8 mm cap head screws Instructions: (Bold indicates parts included in this assembly)
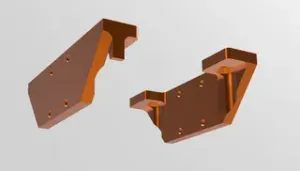
1. Mount four heat-set inserts into the INNERMOST four holes in the X-Axis Rail Mounting Plate .
2. Using the OUTERMOST HOLES, secure the X-Axis Rail Mounting Plate to the MGN12H carriage with four M3 x 8 mm cap head screws. (They should lie flush & the channel should face outward. If not, then the X-Axis Rail Mounting Plate needs to be flipped over.)
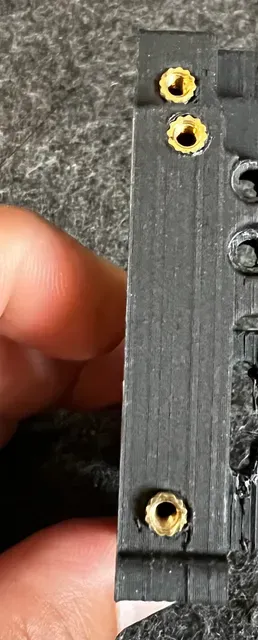
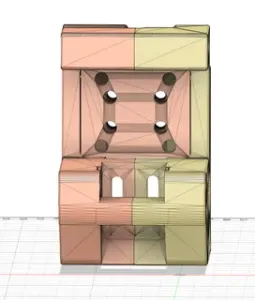
3. Mount three heat-set inserts into the three large holes on the front of one-half of the Stealthburner Mount . Repeat with the other side.
4. Insert the CR Touch into one half of the Stealthburner Mount with the Creality label facing toward the front. You'll have to insert one side at a time. It only fits in one way, and it should be a slightly tight fit. It also helps to plug the CR Touch in before you mount it.
5. Secure the two halves of the Stealthburner Mount together at the top and bottom with two M3 x 40 mm screws and M3 nuts.
6. Mount one heat set insert into each Belt Clamp. Secure the belt using a single Belt Clamp & M3 x 12 mm screw on each side. Make sure the ridges of the clamp face toward the ribs of the belt.
6. Mount the assembled Stealthburner Mount to the X-Axis Mounting Plate using the four U-shaped mounting holes and four M3 x 10 mm cap head screws.
6. Assemble the Stealthburner as instructed on Voron's website.
Probe Offset:
y_offset: -24.0
Additional Notes:
- eSun ABS+ (PETG and ASA should also work, I'd stay away from PLA due to nozzle proximity) - .2 mm layer height - 40% infill - 5 top/5 bottom - 4 walls This is a work in progress, and I am by no means an engineer. You are welcome to remix and refine as you see fit.




Names are used only to indicate the source of a result. Polyzon is not affiliated with the listed sites.