
Free 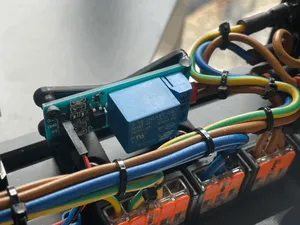
Raspberry Pi Relay 4040 Extrusion Mount (Ender Switchwire)
Printables
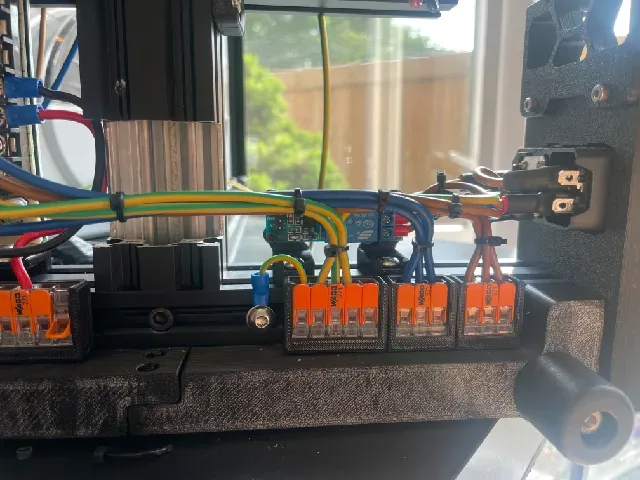
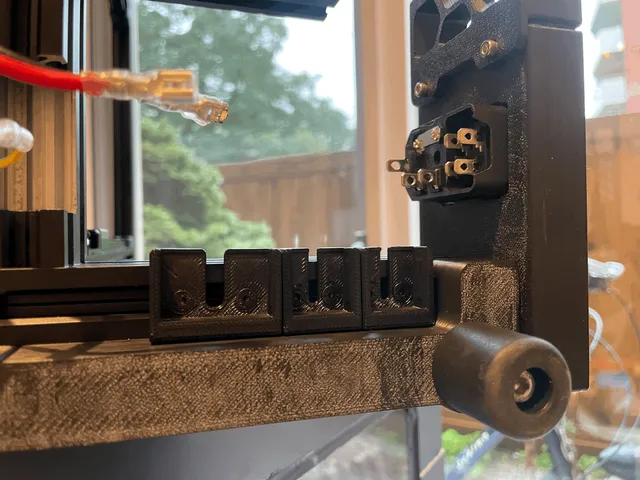
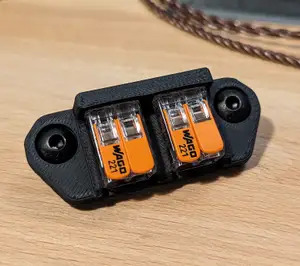
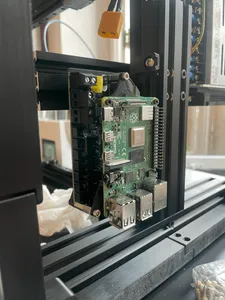
Found this awesome design made by @fns720, but couldn't find a good spot to mount them so they don't take to much space. Then I've came to the idea to mount them underneath the 4040 extrusion profile, next to the extension arms. Design is exactly the same, I've only relocated the mounting holes for the fasteners.
BOM (per WAGO mount): 2x M3 x 6mm FHCS 2x M3 hammerhead T-Nuts 1x WAGO 221 Terminal Block 3 or 5 way
Print Settings Nozzle: 0.4 Material: ABS/ASA Perimeters (walls): 4 Solid bottom layers: 4 Solid top layers: 4 Infill: 40%
PS: I highly recommend to (earth) ground your printer frame, especially when you use terminal blocks! This is really important because if there is a loose wire, faulty PSU or something else going wrong, you are protected when you touch the aluminium parts! It takes 2 minutes to install but it can potentially protect you from (heavy) injury.
It's a shame that this is not documented in most 3D printer builds or a standard in most out of the box printers. I live in the Netherlands, and over here it is a requirement when there's running electricity over 50V close to metal parts!
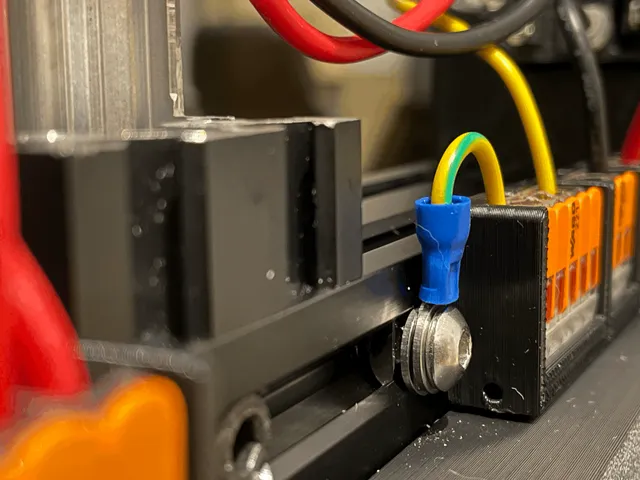
Instructions for grounding the frame: BOM: 1x M5 x 6mm BHCS* 1x M5 hammerhead T-Nut* 2x M5 washer** 1x Small piece of (earth) ground wire (at least 1mm2/18AWG) 1x Ring crimp terminal (recommended) OR 1x Fork crimp terminal
Strip the wire on both ends, enough for one side to crimp and one side to put in the terminal block. Crimp the (earth) ground* wire to the crimp terminal and just screw them together in the extrusion profile of your printer. Make sure it is tightened, especially with fork terminals. See my last picture for reference how to mount.
*: Bare metal fasteners are recommended, because they can conduct electricity better then painted fasteners.
If all of the above is abracadabra for you, you shouldn't use terminal blocks in the first place. Do your research. Electricity is dangerous and can lead to serious injury or fires. I am not responsible for your faulty wiring.



![[Update: 2022.06.26] Ender 3 / Pro / v2 BIQU H2 Mount / 4010 & 5015 Fan Duct / BLTouch & CR Touch / Control Board Cover / Cable Management Kit](https://cache.polyzon.org/api/img?url=https%3A%2F%2Fresize.thingiverse.com%2F%3Furl%3Dhttps%3A%2F%2Fcdn.thingiverse.com%2Fassets%2F4f%2F84%2F6a%2Fd2%2F7e%2F20220531_212148.jpg%26w%3D1024%26h%3D1024%26fit%3Dcontain%26cbg%3Dwhite%26n%3D-1&w=300)

Names are used only to indicate the source of a result. Polyzon is not affiliated with the listed sites.