
Free 
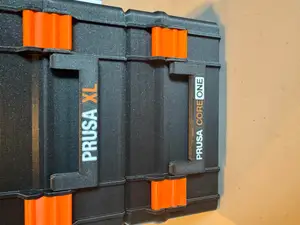
Prusa Tool Box - CORE ONE (+) - CORE ONE L - MK4S - MK4 - XL - MK3.9 - MK3.5 - MK3 - Mini+ - Mini
Printables

Hardware
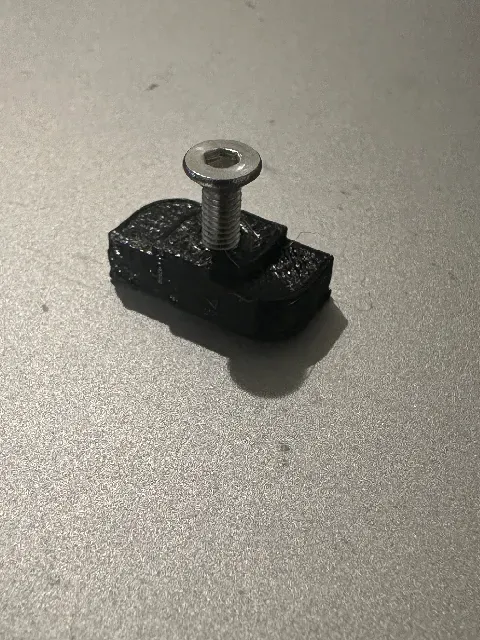
(4) M3 Nuts (4) M3x8 Flat Screws (2) Zip Ties (4) Capture Nuts
Installation
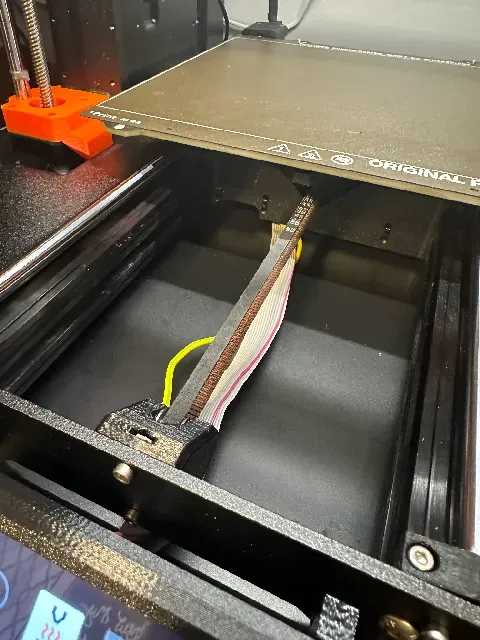
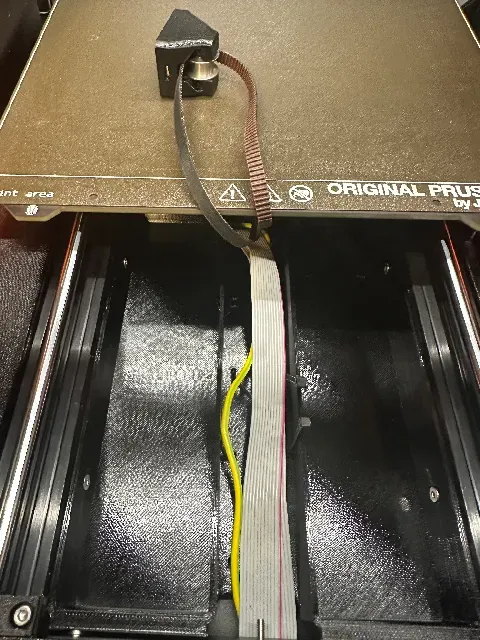
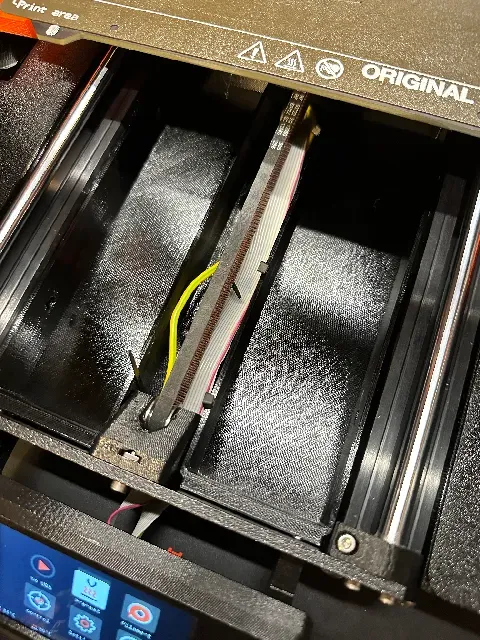
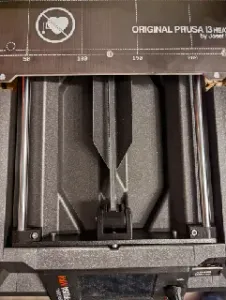
Installation of this tray requires the ribbon cables and grounding cable to be rerouted. Remove all of the cables from the clips and remove the clips. If there is a zip tie securing the cables to the back cross rail remove it as well as the wires will need slack to run directly under the Y belt.
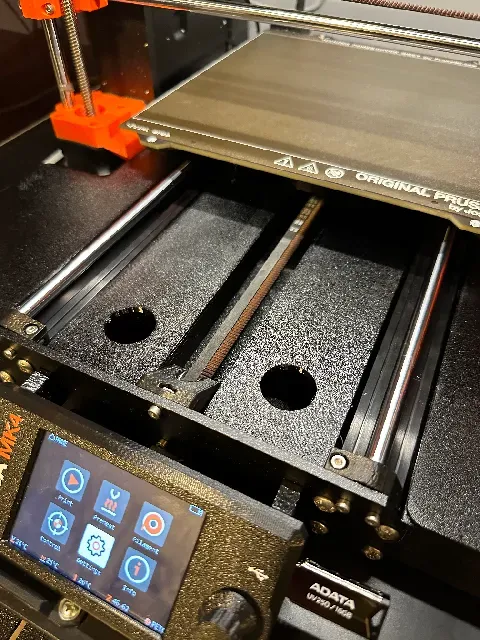
Insert zip ties from the top side of the tray, around the bottom, and back up through the holes along the center of the tray. This will allow you to secure the ribbon cables and grounding cable to the tray, keeping them from coming into contact with the Y belt.
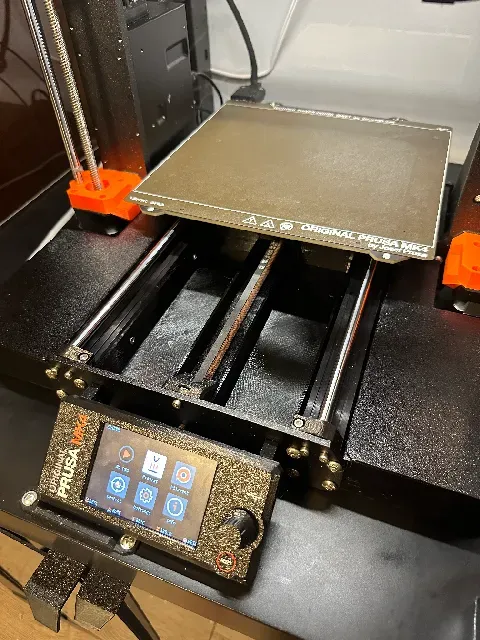
The tray is mounted to the printer frame under the print bed using M3x8 screws and a capture nut like this one . You can also use T nuts or any other securing nut designed for 30x30 extrusions. Slide the nuts into the frame near where the holes on the tray line up using an allen key to manipulate the capture nuts into place.
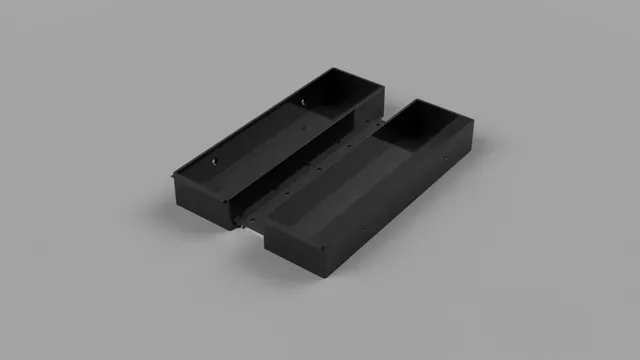
Insert the tray from the bottom of the printer making note that the small overhang should be oriented to the front of the printer to allow for clearance of the screw caps that secure the LCD screen to the frame. Secure with the M3 screws. Though this method is tricky to say the least but it is possible.
[Moderately Easy Way] Partially disassemble the frame by removing the front cross support. This makes installing the tray easier but creates a lot of extra work and maybe the need for some calibration after reassembly. Or, if you have a kit and have yet to assemble, you could add this part during assembly of the frame.
[Easy Way] Alternatively, insert the screws into the capture nut and insert that assembly into the slot in the extrusion and use tray V2 with the vertical cutouts and slide the tray onto the screws. Tighten the screws. All other assembly is the same.
[Another Easy Way] Print V3 and use the capture nuts and M3x8 screws to secure the tray to the bottom of the frame. If you use this method, please post a picture for others to see.
[Super Duper Easy Way] You could just sit the tray under the printer and not secure it to the frame.
Secure the wires with the zip ties and cut the ends.
There is adequate clearance for the print bed to clear the bins. I suggest you move your print bed back and forth after installing to ensure adequate clearance.
See the pictures for (some) guidance.
Optional
Included is a lid to cover the bins.
There is also a cover to hide the wiring however you must remove the Y axis idler pulley to install it. Also, you will need to make sure the zip tie ends are trimmed as flush as you can get them and manipulate the locking part of the zip tie so that it is flat to the bottom of the tray.
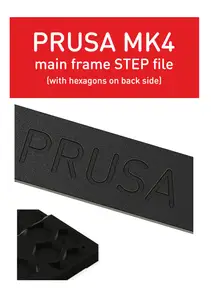
STEP files are available for modifications if desired.
Be sure to use a filament suitable for your application/temperatures, especially for use inside the enclosure.





Names are used only to indicate the source of a result. Polyzon is not affiliated with the listed sites.