
Free 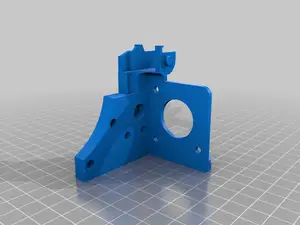
Shortest Filament Path Drive for Ender 3 + Bondtech BMG Direct Drive + E3D V6 Gantry Toolhead Mount With Cable Drag Chains
Printables

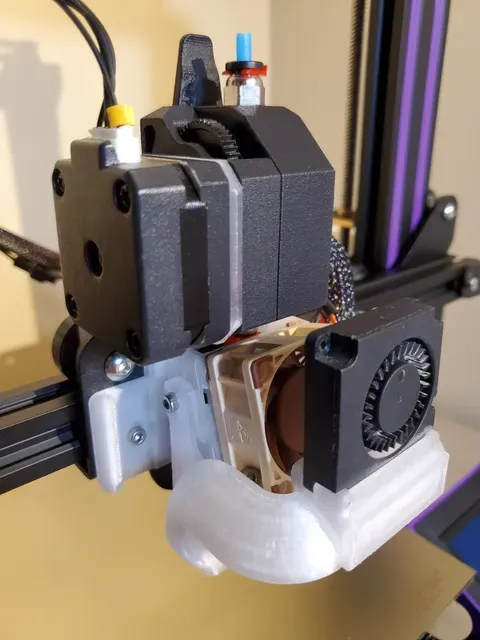
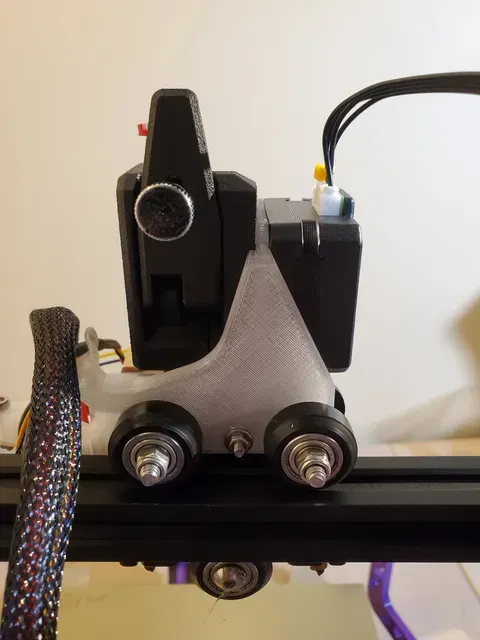
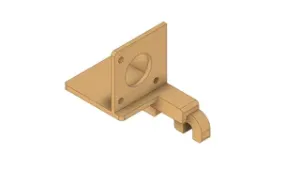
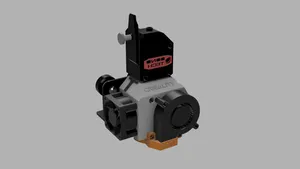
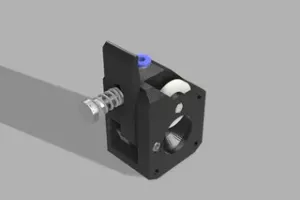
There are heaps of amazingly engineered direct drive setups for the Ender 3, but many of them completely replace the cooling setup. I am very happy with my 'Bullseye' (1), so went searching for a compatible option. The design from napfkuchen (2) is exactly what I wanted, but the cable relief gets in the way of both installation and tightening the screws. So this very simple remix simply moves the cable relief off to the side by 8 mm for easier installation, and adds a hole through which an Allen key can more easily tighten the screws.
The filament path into my Microswiss hotend is a piece of Capricorn TL tubing approx. 51 mm in length. This was cut to precisely seat into the hotend and bump up against the 'recess' in the extruder, and is very secure on its own. But for extra protection against movement I wanted to secure the extruder end with a pressure fitting. I started with the pressure fitting from torsoreaper (3) and blended it with the official Bondtech one (4) that has better overhangs making it much easier to print. The fitting itself is a random PC4-M10 from my parts drawer.
The whole thing works wonderfully. There is virtually no resistance to filament movement after the extruder gears, allowing me to go with a low torque pancake stepper motor that weighs under 130 g (5). It runs quite cool at 95% of its rated current (0.66 A), and thanks to the gearing of the Bondtech it gives me very reliable extrusion with no evidence of skipped steps. Linear advance works great at a nice low k=0.11 for PLA.
The only other consideration is that you do need to remove the cable relief on the Bullseye Base for this to fit. A hacksaw or Dremel makes short work of that! And just make sure that you can move the full range of the x- and z-axis without cables getting crushed; I set my bed x- and z-max to 220 mm and have plenty of clearance.
- Petsfang Bullseye - ENDER 3 / CR-10 Direct Extrusion Mount - Bondtech BMG Bowden Adapter Pressure Fitting - Bondtech Filament Guide - 17HS4023 Stepper Motor
Print Settings
Printer Brand: Creality
Printer: Ender 3 Pro
Rafts: No
Supports: Yes
Resolution: 0.2 for bracket, 0.12 for pressure fitting
Infill: 60% Grid
Filament: Prusament PETG Clear
These are very easy prints, but they are structural parts, so print slow, hot, thick and heavy. For the extruder bracket I used 4 x 0.4 mm walls and 6 x 0.2 mm top and bottom layers with 60% infill. Supports help with the cable relief. For the pressure fitting, I used 3 x 0.4 mm walls and 10 x 0.12 mm top and bottom layers, because it gives good definition in the threads. Supports not necessary for the pressure fitting. PETG is definitely preferable due to the heat generated by the stepper.






Names are used only to indicate the source of a result. Polyzon is not affiliated with the listed sites.