
$ 10.00 
Extrubox Enclosure | Non Permanent Printer Housing | Scalable And Customizable
Printables
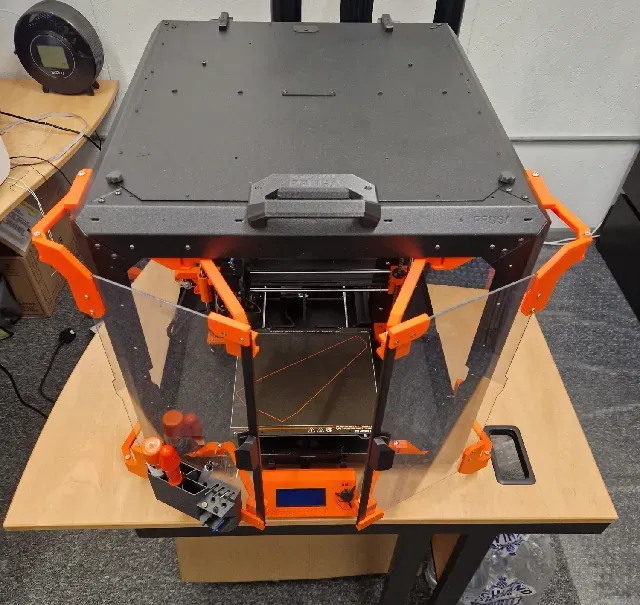
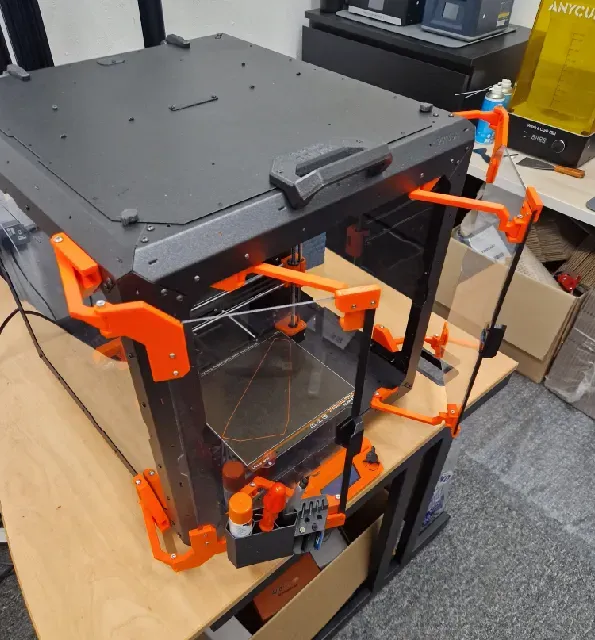
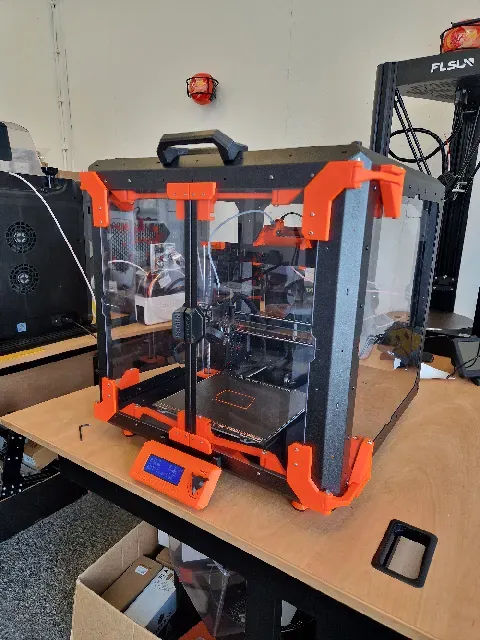
Update August 27th:
I found an issue where there was a clash with some bolts on enclosure because I did not cut away enough material from the parts. This left a small gap between the door panel and the enclosure when the doors were closed. Parts in question are “Outside Door Blocks” for each four corners and Tool Holder version “BL - Long Outside Door Block V2”.
New files in the folders as well as updated 3mf files.
Update August 26th:
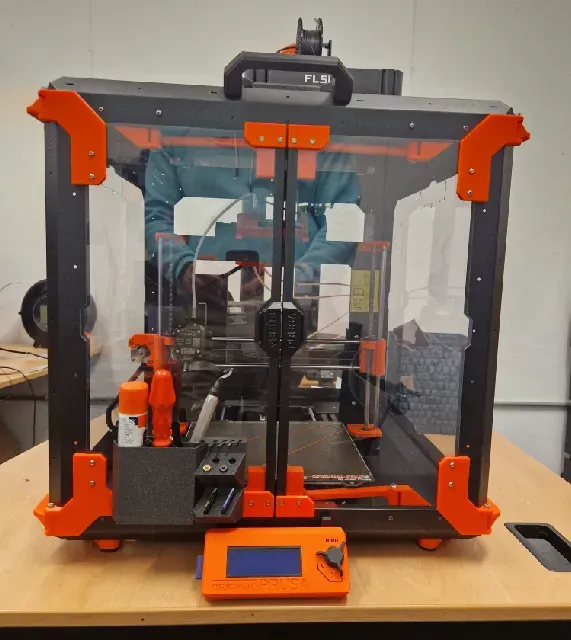
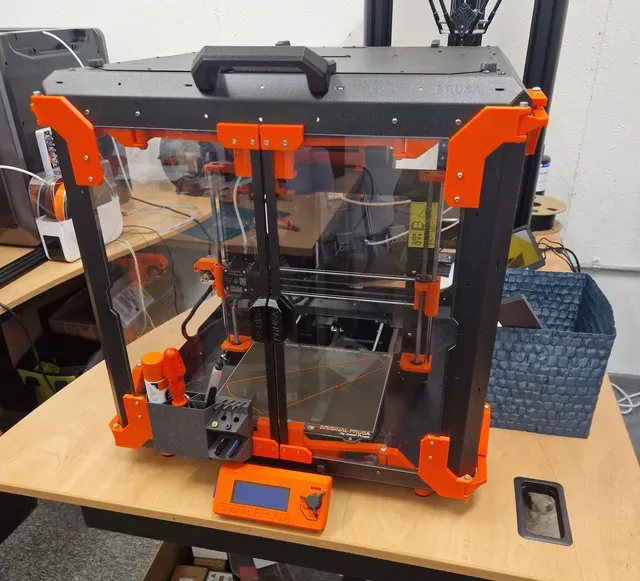
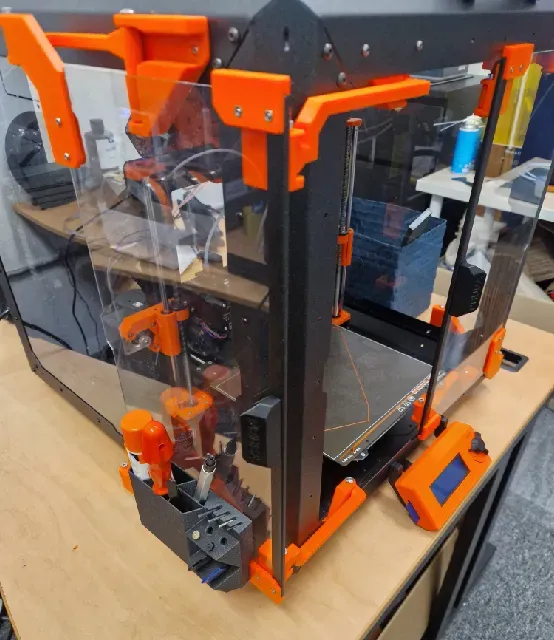
Added a tool holder attached to the door. The step file of the tool holder is also included to make it possible to customise the design for personal preferences. Files in the Tool Holder folder.
I got the Original Prusa Enclosure a little while ago to print materials like ABS, ASA, PC etc.
Overall I like the design and it seems to work well. However, the doors started to get in the way quickly. They are ok, but when open they tend to get in the way and swing easily.
Main issues I noticed:
- The doors get in the way when printing materials that need the doors open. The doors stick out and it's easy to catch a corner when walking past. - When open, the doors have a wide swing radius, meaning that you need quite a lot of space on either side of the enclosure. - When open, the doors also reduce access to the sides of the enclosure (eg. tool holder mounted on the side will be blocked by the open door. There are couple of mods around to address these issues - door locking mechanisms and 270 degree hinges. These do not however address all the issues I wanted to solve.
In the end I decided to design a swinging hinge mechanism for the doors, which so far works well for me and I think looks cool. Is it overly complicated? - maybe… but it works well and makes the whole enclosure look cooler.
Things to be aware of before you install this mod:
- I have only tested this on MK3S+ (from images I expect that this would work with MK4 as well, but I cannot confirm this). Closest clearance is with the print bed when it is most forward position. - The hygrometer will have to be removed - I am not quite sure if the printer can be taken out of the enclosure through the front opening when this mod is installed. (I would recommend installing the mod to open the top cover anyway)
Print settings:
Material: PETG
Layer Height: 0.3mm
Infill: 40%
Supports: Only for “Inside arm” components.
- For simplicity of printing and assembly I've created folders for each corner of the doors with all the relevant parts (technically number of parts are identical, but I in the end I decided it is simpler to create unique kits for each corner). - There are also 3mf files with parts for each corner - I've included Step files for Outside Door Blocks to make it easier to use different sized magnets - All parts (except clamp plates) have their designated corner marked on them): - BL - Bottom Right - TL - Top Left - BR - Bottom Right - TR - Top Right I tried to keep the additional parts list as short and simple as possible - therefore I decided to not use things like bushings and pins for the hinges. Although probably this would have improved the design - at the end of the day the doors are light and they do not move continuously.
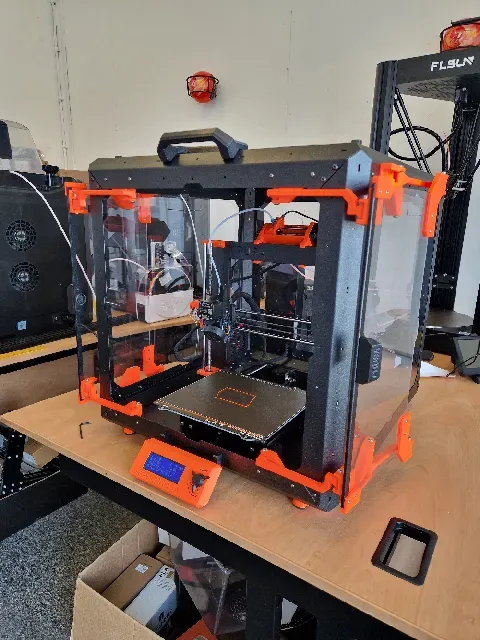
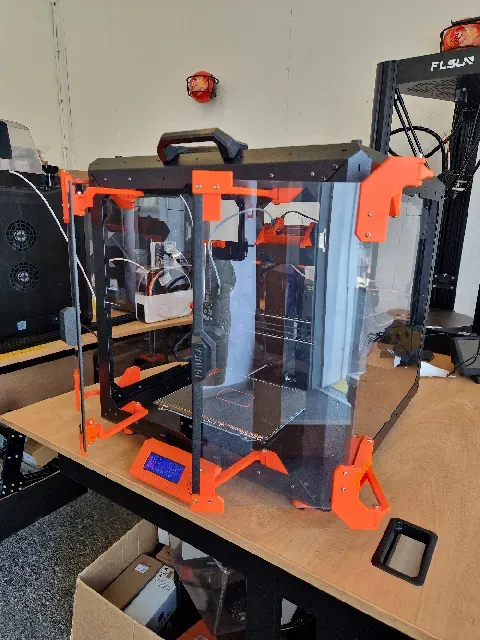
Comparison of the original door design vs this mod
Doors closed:
Doors open:
Additional parts you will need (in addition to printed parts):
32x M3 nuts
24x M3X12mm button head screws
8x M3X6mm screws
16x M5X12-20mm screws
8x M4X30mm screws
8x M4 Nyloc Nuts
Optional:
4x door magnets (recovered from the original enclosure parts)
8x 8X3mm round magnets
Assembly steps are the same for each corner.
Step 1) Remove the original doors from the enclosure
Step 2) Remove Hygrometer
Step 3) Remove the original hinges and magnet blocks from the doors
Step 5) Insert M3 and M4 nuts into the 3D printed parts
Step 6) Optional - Install M3 nuts and magnets in the Magnet Blocks
This is only applicable if you decided to print the new Magnet Blocks.
Step 7) Optional - Install magnets in the Outside Door Blocks
Step 8) Install the Inside Door Blocks, Outside Door Blocks, Clamp Plates and Corner Magnet Blocks to the door panels.






Names are used only to indicate the source of a result. Polyzon is not affiliated with the listed sites.
Comments