
Free 
Bosch eBike Charger Wallmount (added removable plug)
Printables
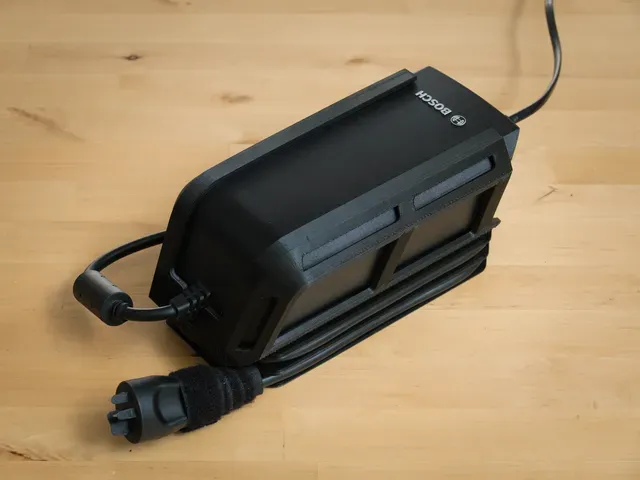
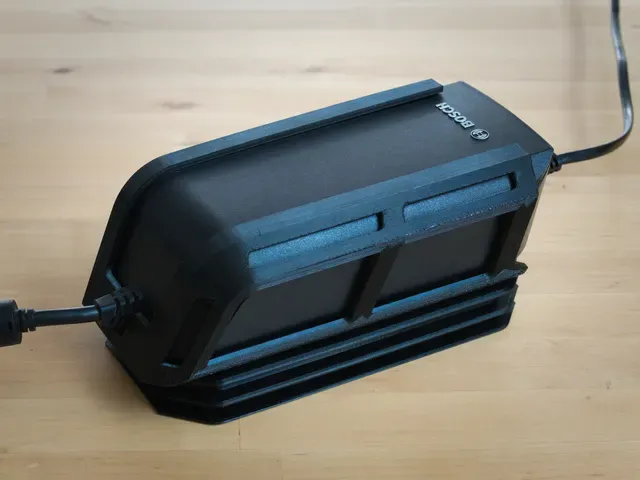
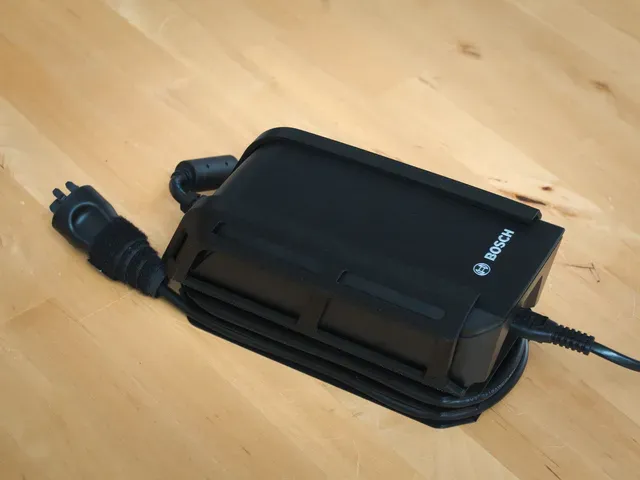
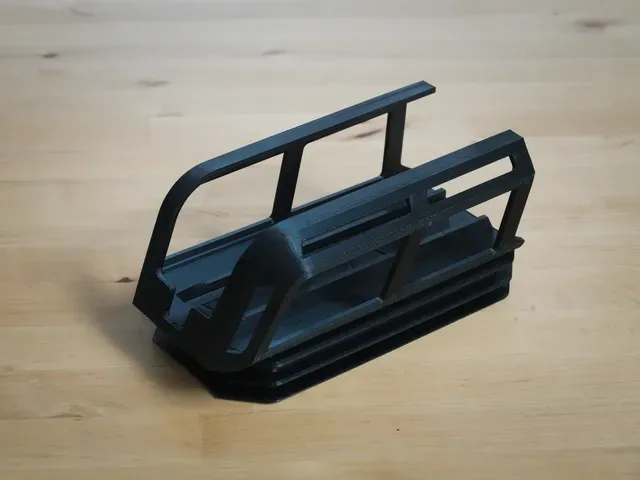
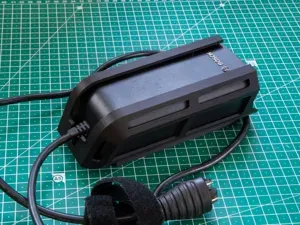
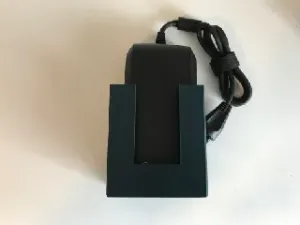
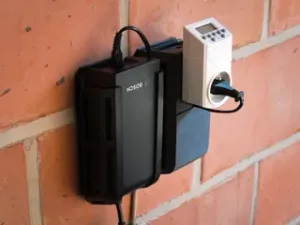
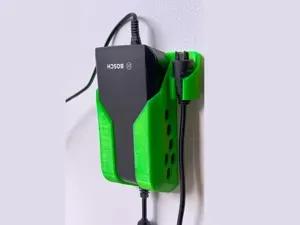
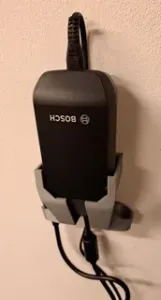
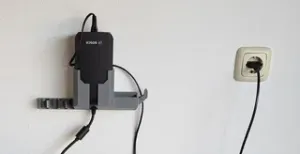
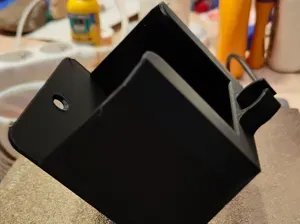
This print allows to elegantly mount your Bosch eBike Charger to the wall, out of the way, right where you need it. This version allows to neatly wrap the DC cord around the 2-layer spool integrated in its base.
I made this version because several people indicated that they liked my eBike Charging Station but preferred a standalone version of the wallmount and, if possible, with some neat way to wrap the DC cord around its base.
Compared to the original design, it only provides cable management for the DC cord and it does not provide a practical solution for using a plug-in timer. But it has some benefits of its own: it is very compact, trivial to assemble, and faster to print.
Just as in the wallmount version without integrated spool , the power cable can easily be routed upward (obviously), but also downward by routing it behind the charger, such that it can leave the wallmount at the bottom, next to the DC cable.
The wallmount is specifically designed for the commonly used Bosch eBike Systems Standard Charger (4 ampere). It uses the same rails as the original design, so you can reuse the rails if you decide to upgrade to the full design later on.
Print instructions
I printed everything in PETG for maximal strength and flexibility.
- Left Rail
The left rail is laid on its side (biggest holes on print bed) to minimize supports and maximize the strength. Originally, I printed it parallel with the X axis, but the latest PrusaSlicer complains about toolpaths outside the print area. Therefore, I rotated it 45 degrees.
Settings:
- Print settings: 0.15 mm QUALITY to obtain the smoothest possible curves.
- Supports: Everywhere. They are certainly needed for the hooks and also the top holes.
- Perimeters: Increased to 15 to have no infill at all.
- Right Rail
Same as Left Rail.
- Upper Plate
The Upper Plate is printed upside down to avoid supports.
Settings:
- Print settings: 0.20 mm QUALITY
- Supports: None.
- Perimeters: Increased to 4.
- Middle Plate
The Middle Plate is printed upside down to avoid supports.
Settings:
- Print settings: 0.20 mm QUALITY
- Supports: None.
- Perimeters: Increased to 4.
- Lower Plate
The Lower Plate is printed upright orientation and does not need supports.
Settings:
- Print settings: 0.20 mm QUALITY
- Supports: None.
- Perimeters: Increased to 4.
- Removable Plug
The Removable Plug is printed upside down. It can easily be printed without supports.
Settings:
- Print settings: 0.20 mm QUALITY
- Supports: None.
- Perimeters: Increased to 4.
Assembly and Installation Instructions




Names are used only to indicate the source of a result. Polyzon is not affiliated with the listed sites.