
Free 
PRUSA XL nozzle brush (100% working + GCODE)
Printables


02/09/24 - Rev 1 (GCode Only Change): This is a slight change to start the wipe cycle at Y-1 vs Y-9 which essentially just reverses the order it occurs in in the Y AXIS, as I noticed the move directly to Y-9 was pretty loud. This calms that down a bit by starting closes to the edge of the bed and working back.
Why Yet Another Nozzle Brush?
So I've seen several variations on the nozzle cleaning brushes, and these make good sense, however they also tend to use Amazon sourced brushes that are here today, gone tomorrow (a couple already have dead links to the brushes in question).
Further you have to fiddle with them to adjust the height, and most use these little pencil brushes that don't have a lot of bristles on them, and I have no idea how well they'll wear. If they're anything like similarly fashioned brushes for my Dremel, probably not terribly long.
Being as I don't have any idea how long they'll last I also wanted to be able to easily change them out without having to re-adjust the positioning every time one needed to be changed, or if for some reason I needed to de-mount the assembly I wanted it to be foolproof positioning wise when it goes back on.
Then there's the question of the brushes themselves.
I wanted a commonly used part that's already out there and isn't likely to vanish, which would then require re-tooling the part to adapt it to something else.
So I noticed there's thousands of downloads of the Voron nozzle brush thing in different variants, and this part that everyone uses is available from a mess of different suppliers, and further they're dirt cheap (like $1.50 a pop or $5.50 for a 5 pack of them.
It looks like this:
You can get em in single's from Fysetc off Ali Express (and they appear to always have them):
https://www.aliexpress.us/item/3256805063333961.html?spm=a2g0o.productlist.main.5.4b35hphrhphr4y&algo_pvid=3113b0ec-dd6f-4e44-8cb3-1baa0d027509&algo_exp_id=3113b0ec-dd6f-4e44-8cb3-1baa0d027509-2&pdp_npi=4%40dis%21USD%215.56%211.78%21%21%2139.71%2112.71%21%402101f04d17069226211097310ee386%2112000032359410528%21sea%21US%21131093321%21&curPageLogUid=ZsxctOE0vUa6&utparam-url=scene%3Asearch%7Cquery_from%3A
Or you can get them in bulk from this link:
https://www.aliexpress.us/item/3256805472322461.html?spm=a2g0o.detail.pcDetailTopMoreOtherSeller.1.429354dbJbI1KG&gps-id=pcDetailTopMoreOtherSeller&scm=1007.40050.354490.0&scm_id=1007.40050.354490.0&scm-url=1007.40050.354490.0&pvid=d6531020-6f1b-443f-bad8-929fe43006e4&_t=gps-id:pcDetailTopMoreOtherSeller,scm-url:1007.40050.354490.0,pvid:d6531020-6f1b-443f-bad8-929fe43006e4,tpp_buckets:668%232846%238116%232002&pdp_npi=4%40dis%21USD%211.41%211.41%21%21%211.41%211.41%21%402103253917069226579858683e320e%2112000033917945643%21rec%21US%21131093321%21&utparam-url=scene%3ApcDetailTopMoreOtherSeller%7Cquery_from%3A
Further, other vendors carry them as well. You can pick them up from several of the only printer parts places and Amazon. I just happened to get mine from AliExpress as I was already ordering the kit for Voxel3D's EnXLosure.
The Sister Part
And finally, they're also used in the companion part, which is the Toolchanger Exruder version, which ensures that you also get a cleaning cycle (along with multiple wearings of the brushes before needing to swap them out) for the tool head dock area.
You can find that here:
https://www.printables.com/model/751185-prusa-xl-tool-changer-extrude-nozzle-cleaning-brus
So that's the “WHY” here's the “HOW”
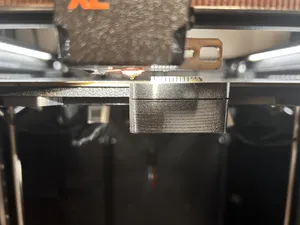
This thing prints as 2 parts, the Nozzle Holder and mount:
and the “Side Cap” that locks the nozzle in place:
That side cap will slide in place via the keyway, then screw into the heatset insert on the Brush Holder part to lock it in place:
WHAT YOU'LL NEED:
1x M3x4.2x3 or M3x4.2x5 Heat set insert. The recess is cut to 6mm so anything between 3 and 6 in length will work.
1x M3x8 Socket Cap Bolt (this is to lock the side cap on).
4x M3x16 or M3x18 Cap Bolt (these are to mount to the underside of the heat bed and replace the Prusa supplied heat bed screws.
4x O-Rings from the original Prusa Torx Bolts . These are tiny and easy to miss but are on the original screws. You'll need to remove this from the Prusa Bolts and put them on the M3's you'll use for mounting to the bed frame. If you do NOT use these, it will have the effect of raising the brush - do so at your own risk!
The easiest way to get them off is to use the dull side of an exacto (because they're super thin) and wedge the backside of the blade between the head of the bolt and the threads and just wiggle the o-ring down a few threads, after that they're easy to get off the original bolt.
My guess is these act a both a vibrational damper, and a cushion and rotational lock, and as such I didn't just want to toss that functionality out. Make sure you do utilize them as they change the mount height of the nozzle brush part by .85MM and the vertical spacing is crucial.
Assembly:
The brush just slides into the part bristle side up.
It will insert until flush:
Pre-thread the M3x8 into the cap (noting the key slot in the front face above and it's counterpart in the cap below:
USE and Methodology behind the supporting GCode:
I've found that my nozzles tend to get a bit gunked up, particularly if I'm doing a multi material print and one or more of the materials doesn't get a whole lot of use on a layer (like a tool change, maybe a second or two of printing, then off to the next tool, for several layers in a row. Those are the ones that tend to get messy. So until I finish my design for the tool changer version of the brushes I wanted to leverage the startup cycle nozzle clean to do as thorough a job as I could. and this is another reason I went with this form factor for the brush.
So you end up with a decent range of motion on these brushes and I've designed the motion GCode to take liberal advantage of that surface area. There's a Y axis range of 8 mm (from -1 to -9) and a very nice X axis range (160-200). Further I wanted to be able to use a bit of travel range in the Z axis to have part of the cleaning cycle get to the underside of the socks I have installed, but not through the entire cleaning cycle so as not to impose accelerated wear.
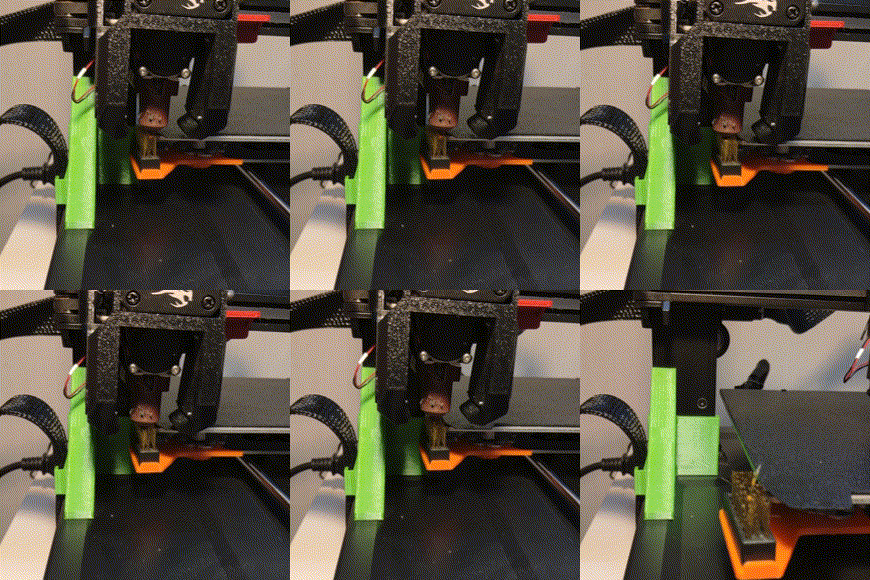
So my gcode is several series of passes across the brush, working back from -1 to -9 in the Y axis over the whole width in the X axis, then moving Z a MM “deeper” into the nozzle, and repeating the series over again in reverse, then up another MM into the nozzle, and another repeat of the cycle until finally the next to last cycle just catches the underside of the sock. This works because the brush height is fixed, and the mount location in the Z plane is precisely placed.
The final three cycles add a diagonal component to the movement at each Z value.
Installing The Gcode:
The gcode is listed below.




Names are used only to indicate the source of a result. Polyzon is not affiliated with the listed sites.
Comments