
Free 
Stained Glass Flower / Succulent Jig - 5 Petal
MakerWorld

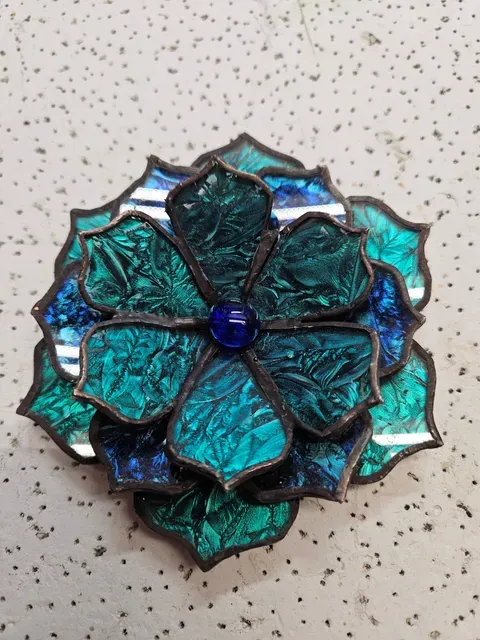
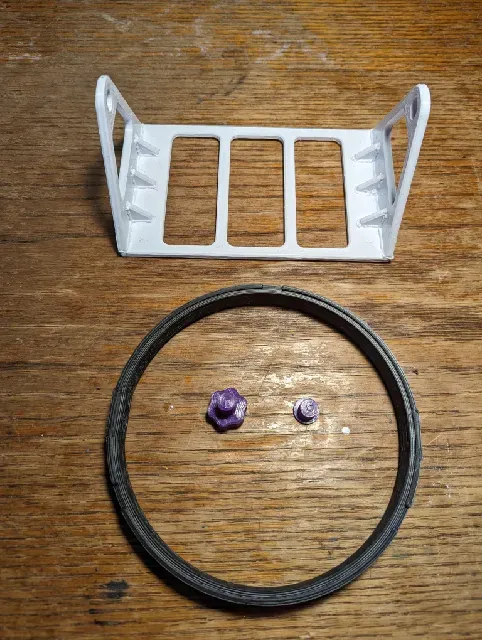
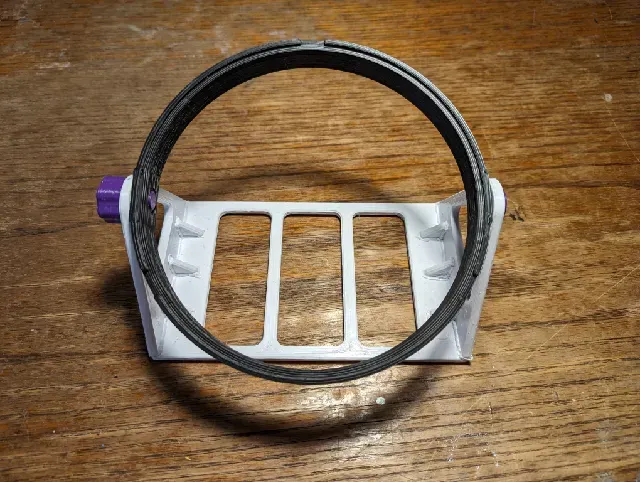


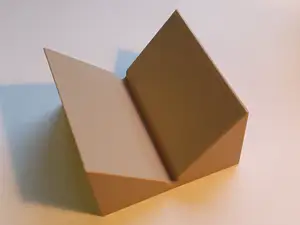
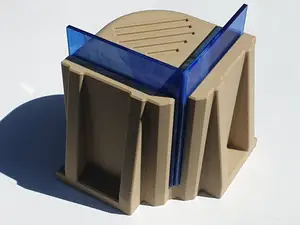
A modular jig designed to hold pieces of stained glass at particular angles for soldering together into three-dimensional shapes. The “set" includes a base for holding the jigs, as well as a bunch of jigs at various angles and number of sides. While a bit more complicated than a Morton Board or similar, this design allows adding and printing new shapes with a minimum of extra cost in time and plastic.
I originally designed this to facilitate the creation of Stained Glass Succulents. But then it only seemed prudent to include the regular polyhedra as well. I'm happy to add additional angles and shapes if people want them.
FEATURES
Articulating Base
When soldering steeper angles, there is a risk that the solder runs down the joint rather than cooling in place. The articulating base allows for tilting the jig at any angle, so that the active joint can be laid “flat” to reduce solder running.
Modular Jigs
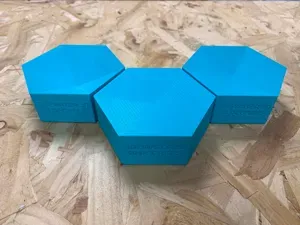
Rather than printing each combination of sides and angles in its own solid base, this design reuses the base for each jig and only reprints the “top” surface of the jig for each new combination. This saves on space (since they can be partially nested into each other when not in use), as well as filament.
Labeled Jigs
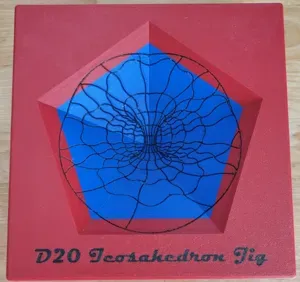
The side count, angle, and polyhedral shape (if applicable) is debossed onto each jig, for easy identification.
VARIATIONS
6-Sided and 5-Sided Succulent Jigs
These jigs have either 5 or 6 faces and come in 4 angles: 10, 20, 30, and 40 degrees. This allows for creating multi-layer succulents.
Polyhedra (Shape) JIgs
These jigs allow assembling of four of the five regular polyhedra: Cube, Octahedron, Dodecahedron, and Icosahedron. Tetrahedrons are deep enough that it's difficult to assemble in this type of jig (although I can add it if there's a desire).
Simple Base
The first version of this design used a cup-shaped base. This was simple to design and print, but because it held every jig at the same angle, the steeper jigs ran into solder running issues (see Articulating Base above). I designed the Articulating Base to solve this issue. However, for those who prefer a simpler solution, I also updated the Simple base to allow for two modes of tilting.
- There is a 30 degree flat that the base can be tipped onto, that will make most of the steeper jigs a lot less steep on the working (bottom) joint. This option will likely require putting some sort of weight into the base to hold it on the angle. - There is a reinforced hole in the bottom that is sized to take a ¼"-20 x 6mm threaded insert (the standard thread for tripods). This can be used to mount the base to one of those mini tripods, and then set at any desired angle. Or you can just put a bolt and nut through it and mount it to anything you want. Monolithic Base (NEW!)
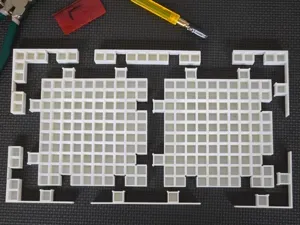
The Articulated Base is made up of several flat panels printed flat against the bed, which are then slotted together. This increases strength by setting up opposing layer lines, but it also requires much more assembly (and makes tolerances more important). After assembling the first sets, I realized that this may have been a bit overkill. So I designed a monolithic version of the frame that prints all as one piece. It should still be plenty strong enough, as long as you print with thick enough walls.
PRINTING
- All parts can be printed with a 0.8mm nozzle. However, you'll get better surface quality with 0.6 or 0.4mm. - All parts are designed to print with 0.2mm layer height, unless otherwise specified. - All parts can be printed without added support. Some jigs have built-in support legs. Articulated Base - Base, Legs, Braces
(Pictured in White)
You will need 1 Base, 2 Legs, and 6 Braces.
All parts are designed to be printed flat and then assembled (for maximum layer line strength). I'd recommend 0.2mm layer heights, 2-3 perimeters, and 1.2 to 1.6mm top and bottom thickness. It only needs enough infill to hold up the top layers (I used 5% gyroid).
Too much overextrusion can make the parts difficult to assemble, although there is some clearance designed into the parts. Otherwise, these parts are pretty forgiving.
Articulated Base - Monolithic Base
(Not currently pictured)
Print right-side-up. Since the legs and braces aren't being printed flat on the bed, they'll be less strong, so you may need to compensate with slightly thicker walls. Infill should still be largely unnecessary.
If you use the Monolithic Base, you don't need to print any artBase_Base, artBase_Legs, or artBase_Braces. You will still need a ring, knob, and endcap.
Articulated Base - Rim
(Pictured in Black)
Print solid. Turn off “Thick Bridges” to avoid too much drooping in the threaded hole. Add a brim to increase bed adhesion.
Articulated Base - Knob and Endcap
(Pictured in Gray/Purple)
Print the knob solid (since this part experiences a bit of torque). The Endcap can be printed with just a few perimeters.
The Knob threads will work just fine with 0.2mm layers. However, if you're concerned about precision or your printer struggles with small overhangs, you can lower the layer height down to 0.12mm or similar.
Simple Base
Print solid. Pretty straightforward.
Jigs - Solid
These jigs have steep enough angles that they can be printed “upside down”, which simplifies assembly. They should be placed flat-side down and printed with a lot of cooling. 0.2mm layers work just fine for 0.8mm nozzles. You may need to go for a smaller layer height for smaller nozzles to get the overhangs to look nice.
Jigs - Split

Names are used only to indicate the source of a result. Polyzon is not affiliated with the listed sites.