
Free 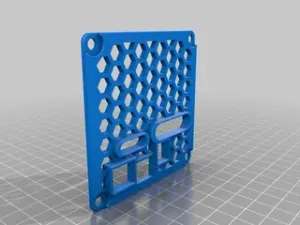
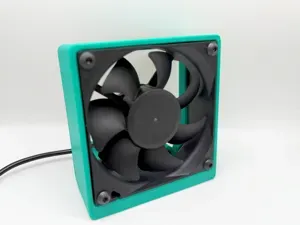
Faceplate for WT-LC 80mm Fan Latching Case for Re-ARM + RAMPS 1.6
Printables
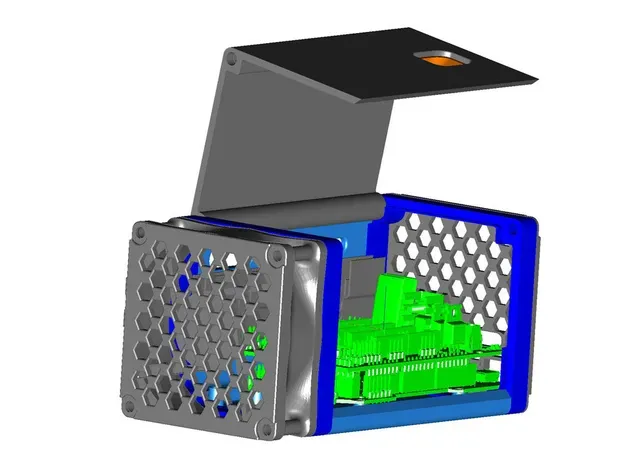

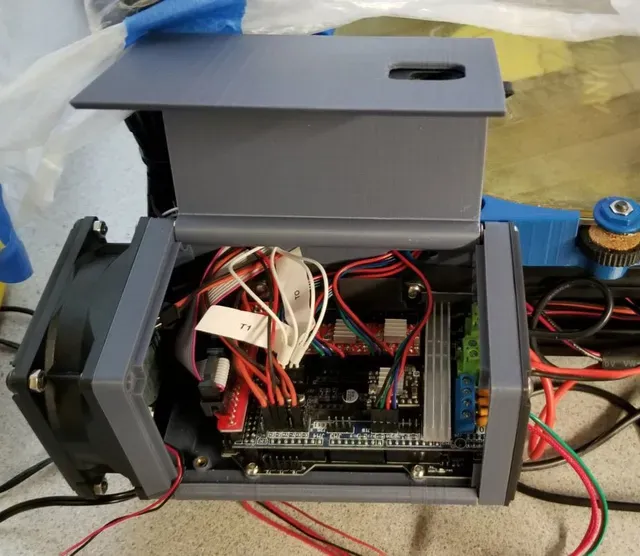

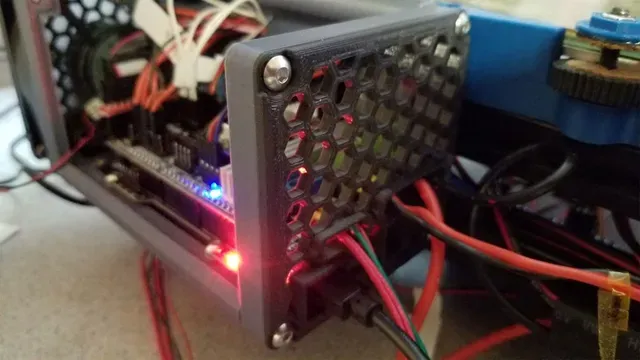
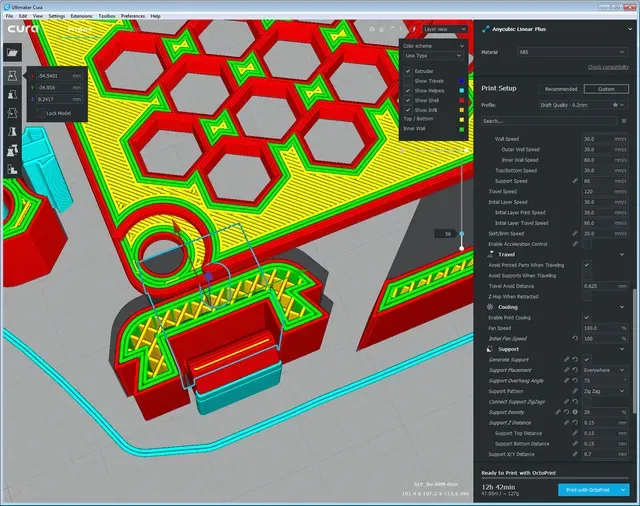
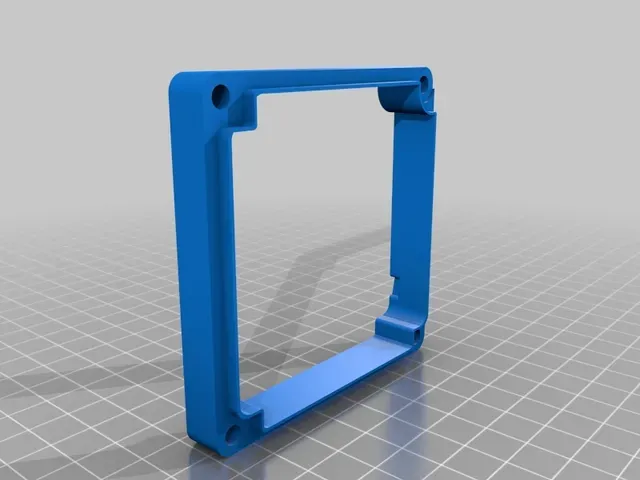


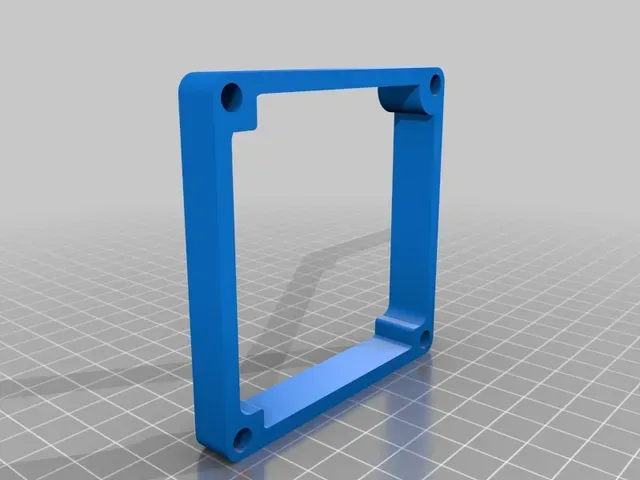
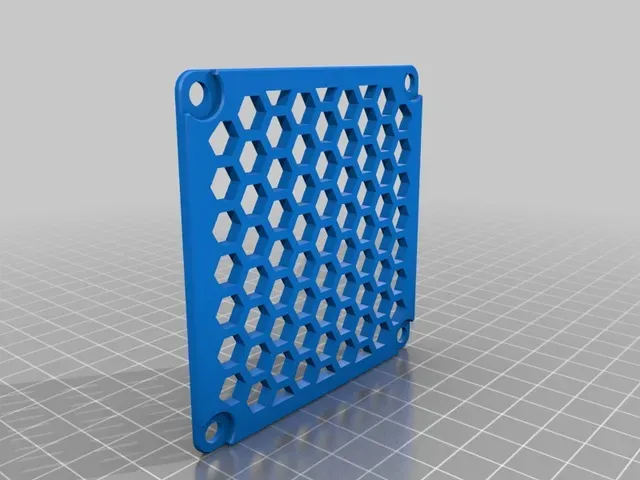


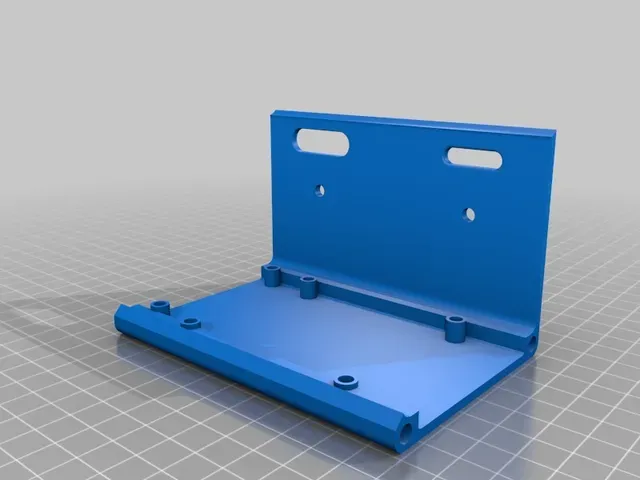


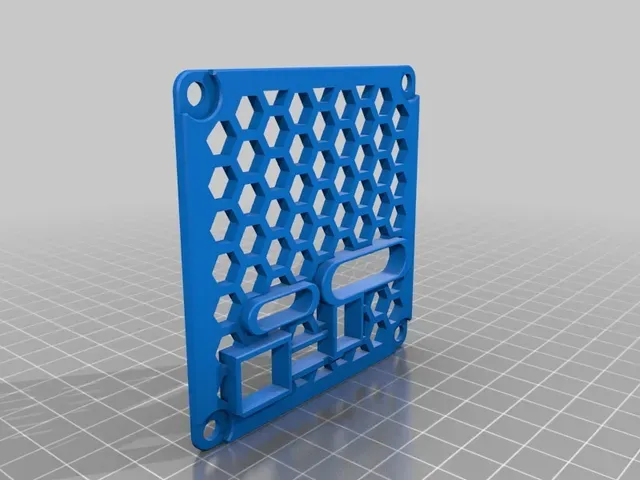
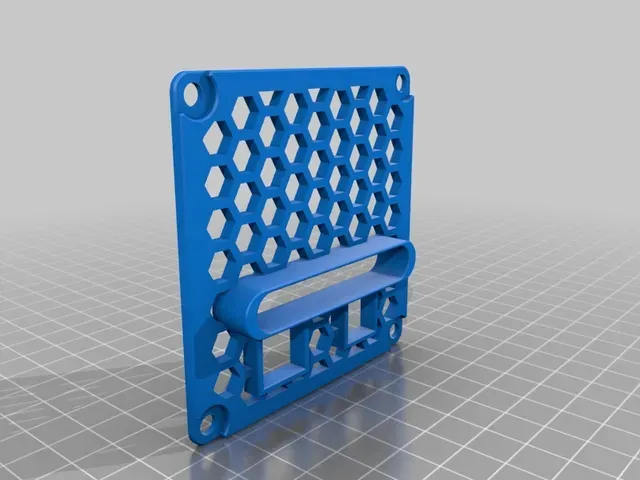
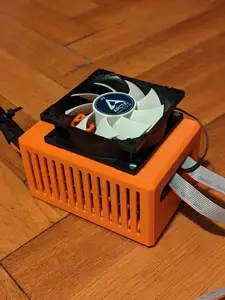
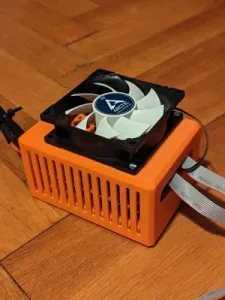
My Delta printer was overheating and losing steps, and so I added fans to the steppers and rigged up a fan for the controller but it was not enough. This is my answer, it is a clam-shell case utilizing an 80mm PC fan for use with a a Re-ARM plus RAMPS 1.6 board. So far is is working great and I have had no more overheating problems.
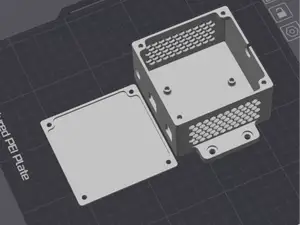
Although I made this for my Re-ARM + RAMPS 1.6 board, I also included a base and faceplate model that I think will work with an Arduino Mega + RAMPS 1.6 . The parts needed for that are below and they are customized for the Arduino Mega. If you make one please let me know how it works (I have not tested the Arduino version):
Re-ARM-Arduino-MountV34-Base.stl
Re-ARM-Arduino-MountV34-faceplate.stl
In addition, the following part is untested but I have included it since it may help with wire management around the fan.
Re-ARM-2020-MountV34-Fanside-endpiece-w-clips.stl
This case was designed to allow tool-less access the boards, and uses a spring latch to keep the guts from spilling out. A screw could still be used to lock it together, if that is needed. There is also a thin wire management channel that doubles as a frame support and mounting bracket to help keep the wires somewhat together. I made the case just a bit longer than needed, and added some M3 mount points behind the board to possibly hold something else like a step down converter for the fan or something like that. I mounted it to the 2020 frame on my Delta using some M4 screws and t-nuts though the two holes in the side of the base part (which will go through the cable management piece). The longer holes in the base part were used to route stepper and display cables through.
The hardware needed includes:
4x or 6x M3 inserts (there is a place for 2 more inserts behind the board for mounting something else)
14x M4 inserts
4x M3x8mm screws (for mounting the controller board)
6x M4x 20mm to 30mm screws (for the hinge and end pieces)
2x M4x8mm screws (for the one corner of the ends that does not go through to the base)
4 M4 washers (probably any common washer will work, it just needs to be about 1mm thick and <9mm in diameter)
1 spring from a cheap ball point pen
80mm fan, of the appropriate voltage for your setup
There will also be some screws and nuts to secure the fan grill, but that will depend on the fan being used, I used 4x M4x12 screws and nuts.
Regarding the M3 and M4 inserts, I used some similar to these:
https://smile.amazon.com/gp/product/B01IYWV8Q0
https://smile.amazon.com/gp/product/B01IYWUUH8
I printed this in ABS, and since I did not have the flow calibrated, I found that a 101-102% scaling up brought the prints closer to the designed size. Just mentioning that, since for the parts to fit with the board and fan, they need to be printed as close to the design as possible. I was "doing it wrong" by scaling, I should have calibrated the flow, though I ended up with the same result. Here is a link to calibrate the flow on the printer, if it has not been done yet.
I recommend printing "Re-ARM-fan-endpiece.stl" first in your chosen material, and then verify it fits the 80mm fan. The major dimensions of this part are 80mm x 80mm x 13mm. If it does not fit, you may need to calibrate the extruder.
Thanks to the following people for creating the models which helped me to design this:
Re-ARM controller model by PeterEllens
http://www.thingiverse.com/thing:1933521
Ramps 1.4 by 3dboxpro Mar 25, 2015
https://www.thingiverse.com/thing:740027
80mm computer Fan by bramesh501 Mar 28, 2017
https://www.thingiverse.com/thing:2210443
I have included the STEP (.stp) files for easy remixing.
Please post a comment if you have a question and if you make one it would be cool if you post it as well.
Couple notes on assembly:
- the end pieces are not interchangeable.
- the M4 inserts are used for the structure and the M3 are used only for the standoffs for the boards on the base part. These can be installed using a soldering iron, or the way I did it, using Gorilla Glue and the a fine adjustment tool (hammer).
- the 2x M4 washers are used between the door and the end pieces, there is a notch out where they should sit, adding some glue may help keep them in place during assembly.
- to assemble the latch:
- place slider inside the channel in the door and make sure it slides freely, of not, sand it down a bit until it does. Mine fit fine, but I did cycle it a couple dozen times in the channel before assembling it.
- Also verify that the small notch that the spring retainer will lock into (in the door), is free of support material.
- To assemble the latch, install the slider in the channel, then put the spring in, and slide the spring retainer into place. The retainer should latch in and stay fixed.
- It will be difficult to disassemble it after this, but if you need to get it apart, use a flat screwdriver and try prying against one of the sides of the channel the retainer clip sits in, which may work.





Names are used only to indicate the source of a result. Polyzon is not affiliated with the listed sites.