
Free 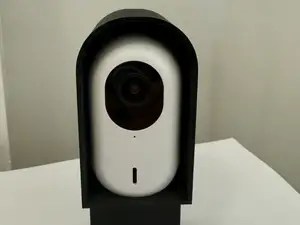
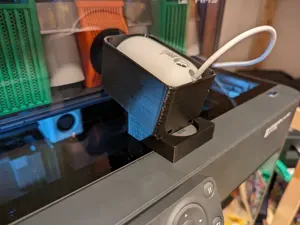
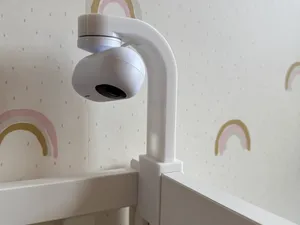
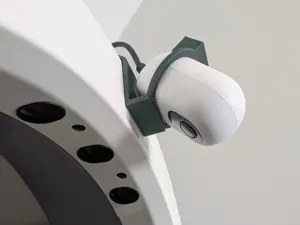
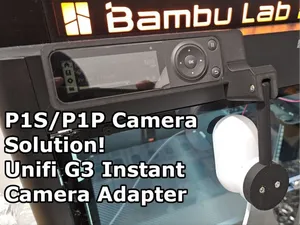
Unifi Camera G3 / G4 / G6 Instant Window Stand
MakerWorld
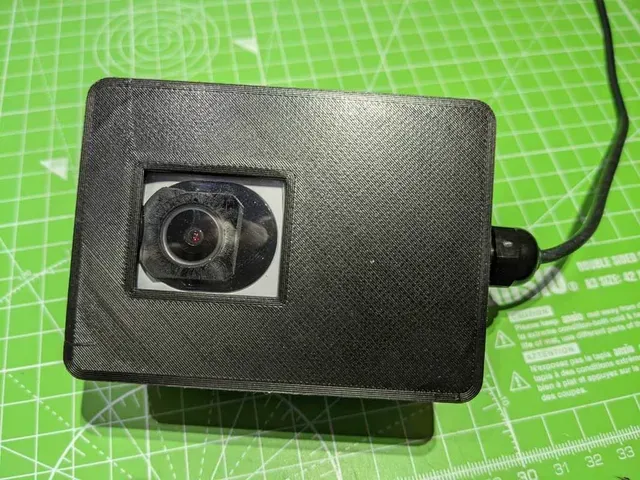
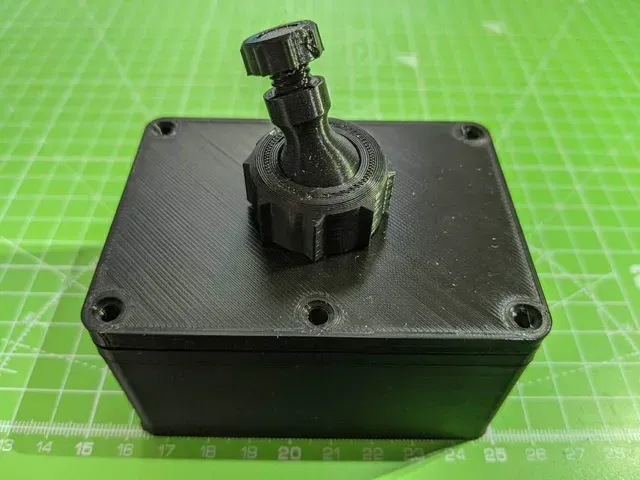


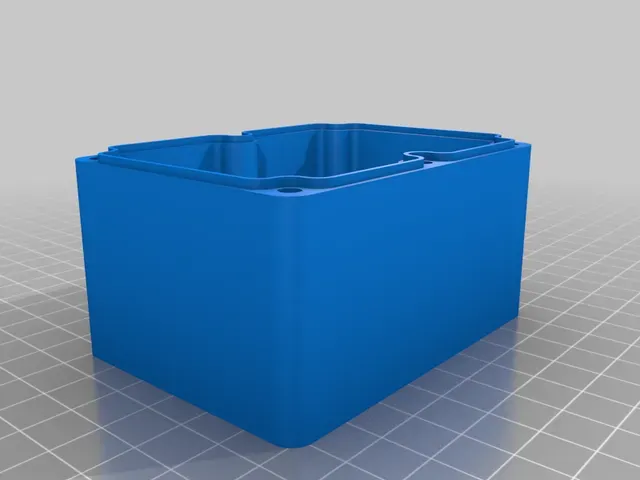
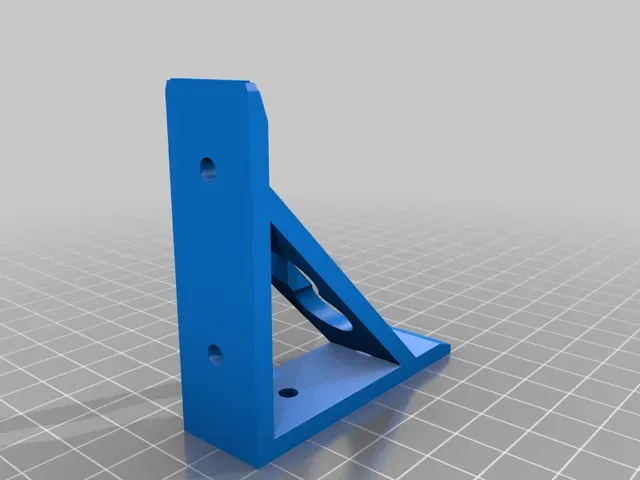
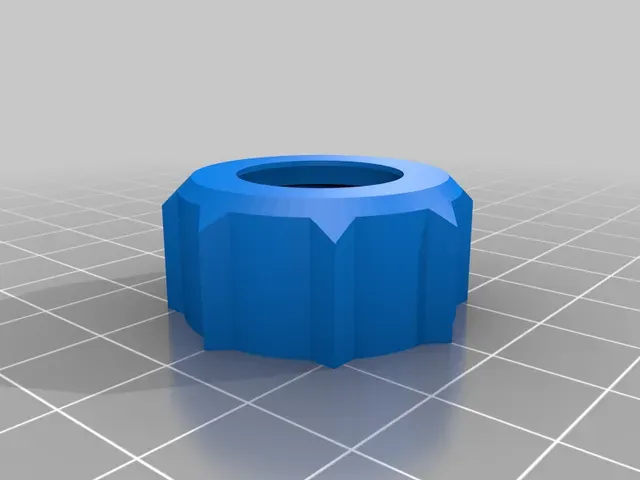
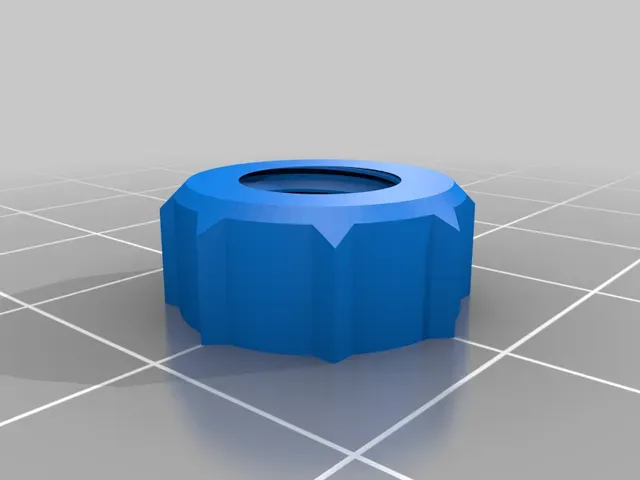
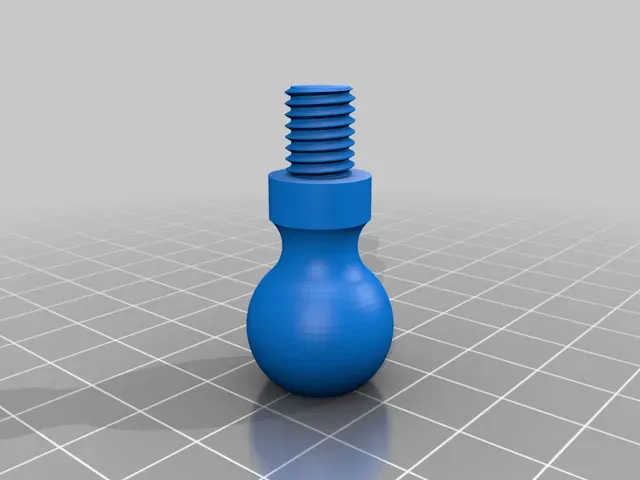

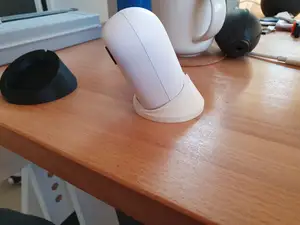
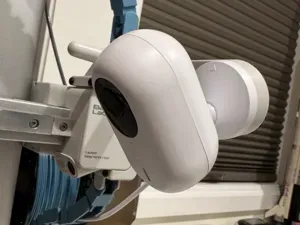
Outdoor Housing for a "Ubiquiti Unifi G3 Instant" Camera.
I created this by remixing three thingiverse designs:
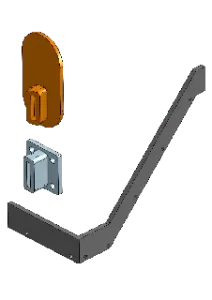
"Stable and waterproof OpenSCAD case" by pbtec "Customizable Ball Joint" by kijja "90° Bracket (Parametarised)" by gineer
Thanks to the authors of these great OpenSCAD designs.
Introduction
The "Ubiquiti Unifi G3 Instant" Camera is a low cost, small 1080p indoor camera for use with A UniFi OS hardware Console together with the UniFi Protect application.
This is my first attempt at making an outdoor housing for it.
Parts to get:
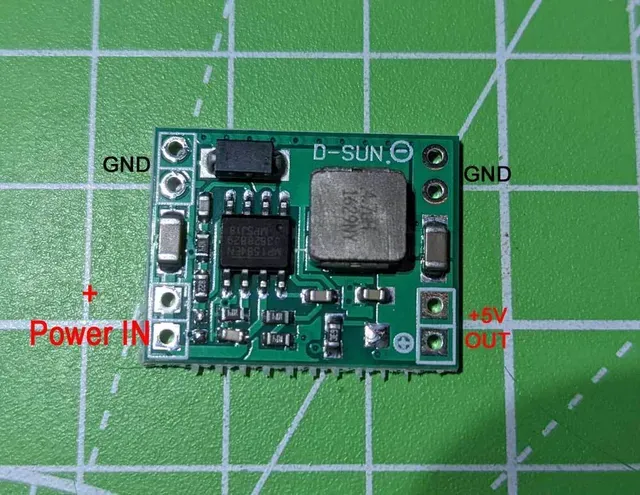
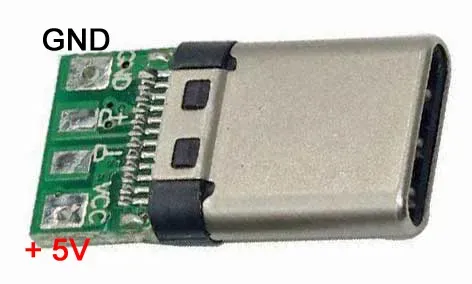
- A small piece of 2mm thick clear Acrylic or "Perspex" plastic sheet for the housing window. - 12mm diameter cable gland for the power cable. - Epoxy adhesive for sealing the housing window etc. - "D-SUN" 5Volt 3A Mini MP1584EN voltage regulator module. - Power lead and power supply. - 6 x M3 bolts (12mm long) & nuts. - USB-C male DIY solder breakout board adapter. - Silicone grease (for sealing around the case lid recess). - Black Rubber plumbing washer (with14mm inside & 24mm outside diameter, 2mm thick) to fit over lens. (to prevent IR LEDs reflection) Step1: Make the Base section.
Open the "Unifi G3 Instant_Case_Base" STL file in Cura.
- Set the Infill Density to 100% (for best water-resistance). - No supports are required for this part. - Slice it and in "Preview mode" make a note of the layer number just before it completes making the pockets for the M3 nuts. - Add a "Post Processing script" to "Pause at height", select "Pause at" and change from height to "Layer number" - then on the next line, enter your noted layer number. (This will pause the print while the nuts are inserted). - After printing, Carefully cut to fit the clear plastic acrylic for the window. (it should measure about 36 x 31 mm). - Glue the window into the case using epoxy (check all edges are sealed). - Check the case around the area where the print paused. ( My printer left a small partial gap in the wall where it resumed). If so, spread a thin line of epoxy along the gap on the outside and inside to help seal the case wall and strengthen it. - Fit the cable gland. Step 2: Make the Top case section
Open the "Unifi G3 Instant_Case_Top" STL file in Cura.
- Set the Infill Density to 100% (for best water-resistance). - Enable supports. - After printing, pull-out the supports and check the water-seal recess is free of debris. Step 3: Make the ball joint
- Print the other three parts of the ball joint. - Check the socket nut screws onto the socket properly. (If not Adjust the "ball nut tolerance" parameter in the case openSCAD file and create a new STL file.) Step 4: Wire-up and fit the camera
The Unifi G3 Instant Camera is normally powered by a 5Volt adapter with a right-angled male USB-C 2M long cable.
Using it outdoors, I needed a much longer cable. I decided to use a Male USB-C solder-able breakout plug adapter. (These are available cheaply from eBay - search for "usb c connector diy"). With a long power cable length, it may drop the 5 Volt supply voltage a bit. It may still work. (I haven't tested it.) I decided to use a 12V 1 Amp mains adapter and a small D-SUN fixed 5V voltage regulator module fitted inside the camera housing. These modules are available from eBay (search for "MP1584EN") NOTE There are versions of this D-SUN regulator that have a variable voltage output. (If you use that type you MUST adjust the output to exactly 5V BEFORE connecting to the camera - otherwise the camera will be ruined!) The regulator and USB-C adapter have to be correctly wired-up and soldered. Any mistake here can cause the wrong voltage or polarity to be applied to the camera - which will ruin it! Double check the regulator output voltage with a meter and check the connections to the USB-C solder pads are correct ( +5V to VCC & GND to GND).
- Trim the rubber washer to fit over the end of the lens without covering the light sensor, IR leds or microphone - (see photo) - Plug-in the USB plug and place the camera into the case without allowing the washer to fall off. Place the regulator PCB into the case recess near the camera. - Temporarily check the case top fits onto the base and holds the camera pressed up against the window. - If all okay, power-on the camera and check it works with your Unifi console. - The status LED can be turned-off in the console if preferred. Step 5: Waterproofing and fitting the case lid
The case has a ridge and groove intended as a water barrier.
The original waterproof case design instructions by pbtec mentions ways to seal this using silicone sealing cord and provides a useful link for more information: [ https://blog.prusaprinters.org/watertight-3d-printing-part-2\_53638/ ]
I didn't have any sealing cord, so I used "No. 2 Silicone Grease" (available from eBay).
I carefully spread it into the groove of the case lid, ensuring none is missed.
Then screw on the lid, fit the ball and attach it all to the 90 degree bracket.
I also put some PVC tape around the lid joint as an extra attempt to keep out the water.
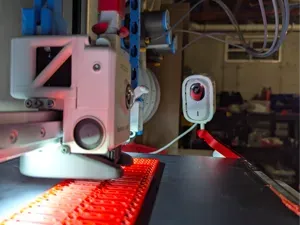
So far it has been working outside for about two weeks - only time will tell if it stays waterproof?
What could be improved?
- The housing prevents the microphone or speaker being used. I don't need these but maybe there could be a way to make the case wall thinner near these to allow sound through? - I used PLA for the housing because I could not get PETG to adhere properly after the pause for adding the M3 nuts. PETG would provide better outdoor weather protection. - Maybe the case could be coated completely with epoxy resin for better weather protection?

Names are used only to indicate the source of a result. Polyzon is not affiliated with the listed sites.