
Free 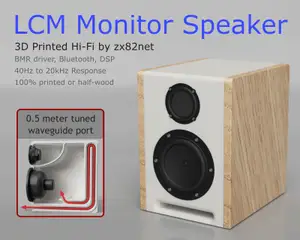
LCM Monitor Speaker - 40Hz waveguide - Bluetooth - DSP
Printables
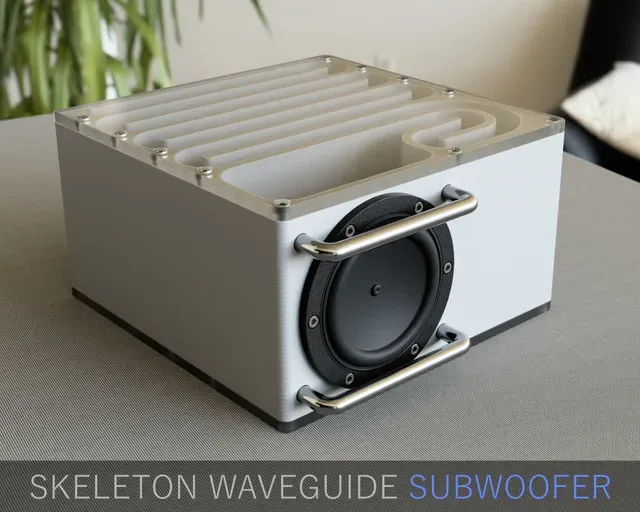
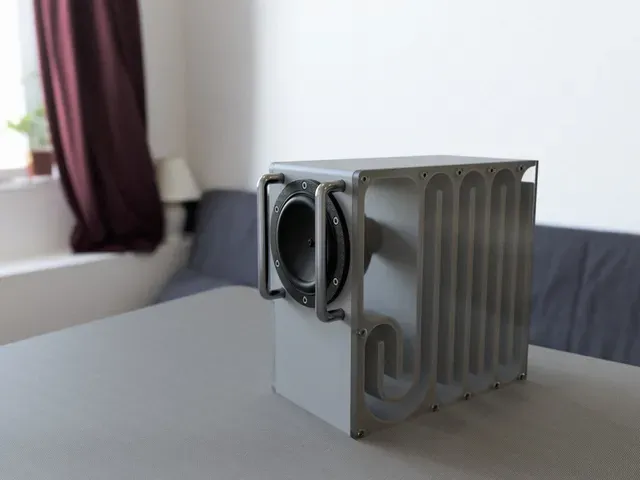
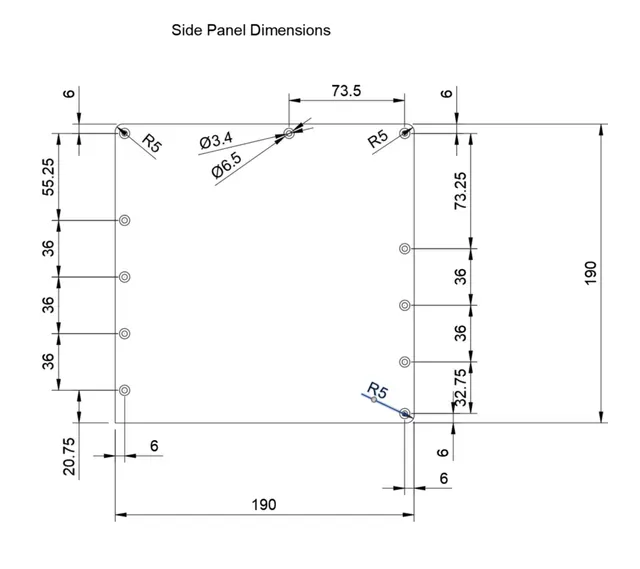
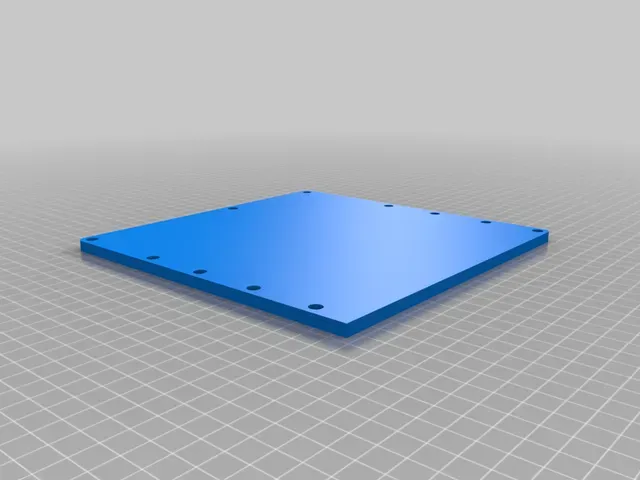

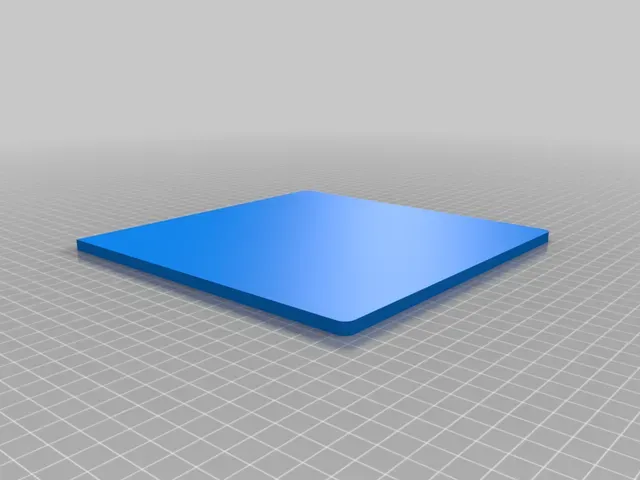
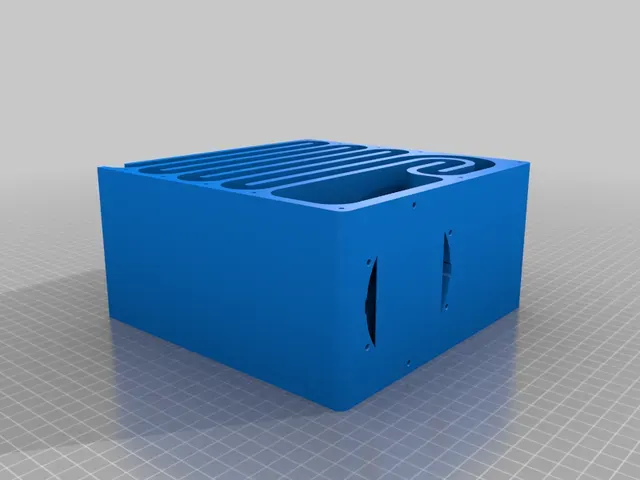
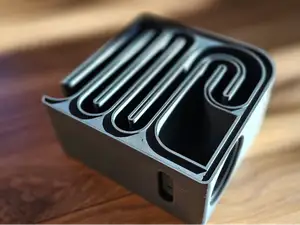
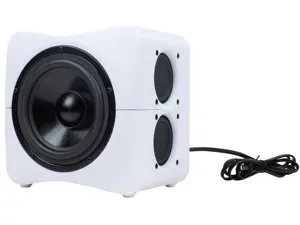
A remix of Hexibase's subwoofer designed for clear side panels, so the cool waveguide is visible. It would also suit wooden sides. It's smaller than the Hexibase version, so it will print on a 19cm x 19cm print bed. I kept exactly the same tuning as the original by changing the aspect ratio of the port. (The port cross-section, port length, and the chamber volume all match the original.) Frequency response 40Hz - 150Hz.
Fusion 360 Archive and STEP file included for your modding pleasure.
This uses the renowned Tang Band W3 1876S 3" subwoofer driver which is available worldwide (links below). The subwoofer will work with just about any low cost 2.1 channel amplifier or home theatre amplifier, but if you are looking for a DIY amp project with Bluetooth and DSP, check out this one: https://www.prusaprinters.org/prints/81129-4-ch-dsp-amplifier-enclosure-for-dayton-audio-sure
I hope you like it, if you do, please hit like.
Also check out my other projects for some cool satellite speakers which work well with this: P-CUBE Satellites:
https://www.prusaprinters.org/prints/50923-p-cube-hi-fi-speakers-with-voxel-subwoofer
Desktop Obelisks: https://www.prusaprinters.org/prints/56671-desktop-obelisk-micro-tower-speaker zx82net Bookshelf Speakers: https://www.thingiverse.com/thing:4128781
Hexibase's original design video
Materials, print options, and driver guards
Driver US source: https://www.parts-express.com/Tang-Band-W3-1876S-3-Mini-Subwoofer-264-909
Driver EU source: https://www.soundimports.eu/en/tang-band-w3-1876s.html
Required materials:
- 1x Tang Band W3-1876S - 6x M3x10 socket head screws to mount driver - Glue for side panels Speaker wire Optional materials:
22x M3x10mm socket head screws for side panels
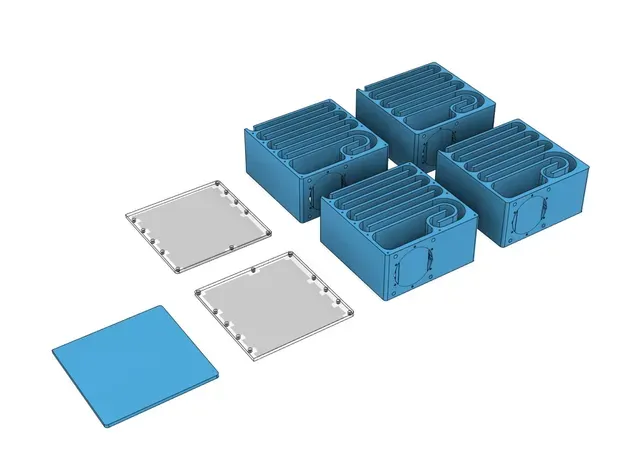
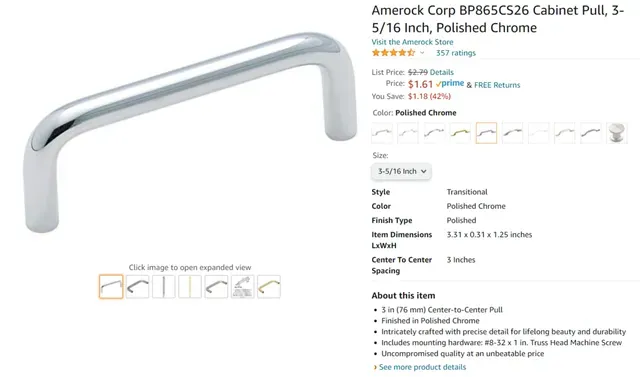
- 92mm steel fan guard - 3" or 3-5/16ths" wire pull handles x2 Printing options with/without spars: I made versions with and without spars on the bottom of the waveguide, to make it less floppy before gluing. Speaker guards: There are also versions with speaker guards, M3 mounting holes for a 92mm steel fan guard or larger holes for 3 inch or 3 and 5/16ths wire pull handles. (Wire pull handles are made to pretty low tolerance and you may need to flex them a little bit to get them in the holes.)
Print settings: I recommend at least 3 perimeters and 30% infill. This will take 600~900g of filament.
Assembly
I figured you might want to put the speaker terminals on different sides depending on how you intend to mount it. So I leave it to you to drill the holes where you want them.
It is very important to have a good seal between the waveguide and the side panel along the entire length. I recommend using glue that has a long working time so you can paint it along the entire length without having to hurry. You can use masking tape on the outer surfaces to avoid glue dribbles. I recommend clear Gorilla Glue (the slow set stuff, not super glue), or 24hr epoxy resin.
Use bluetack or gasket material to get a good seal around the driver and your cable exit.
Category: 3D Printing







Names are used only to indicate the source of a result. Polyzon is not affiliated with the listed sites.