
Free 
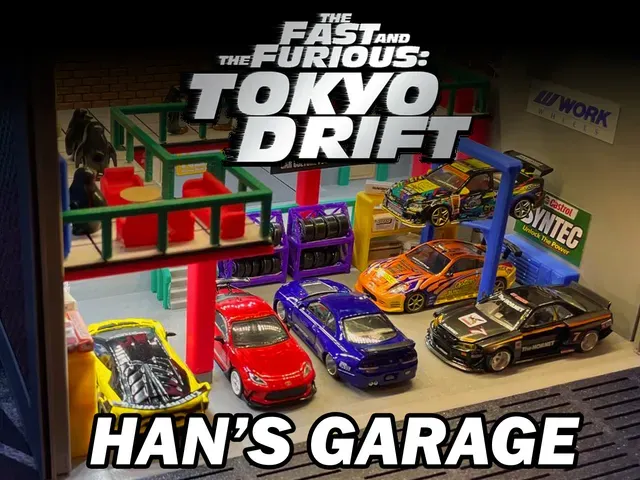
Fast & Furious Tokyo Drift Han's Garage (For Hot Wheels & 1/64 Scale Cars)
Thingiverse


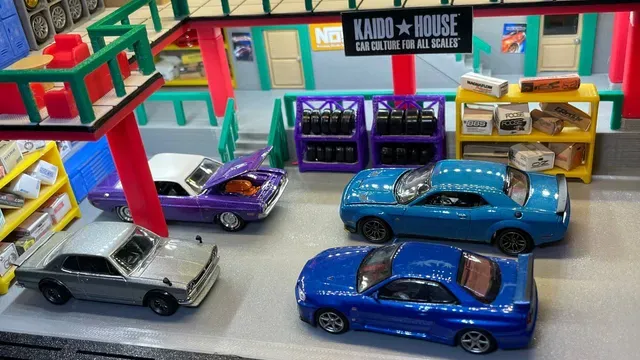

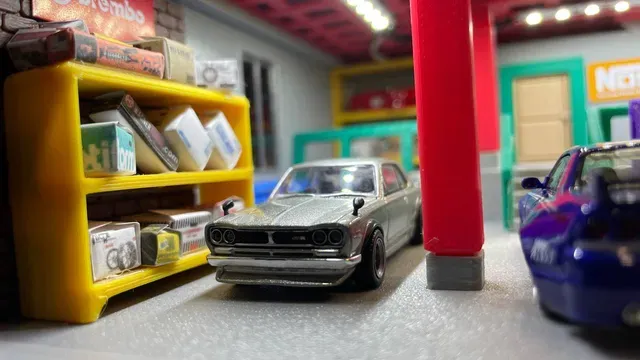

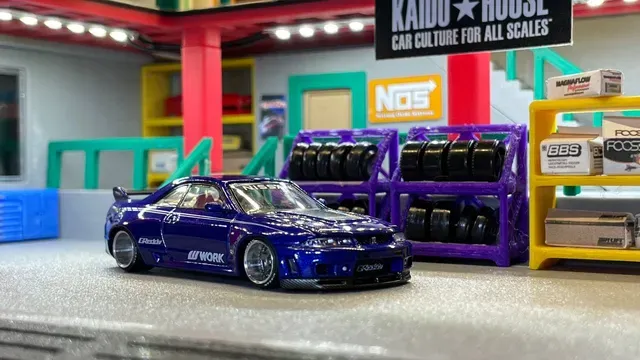

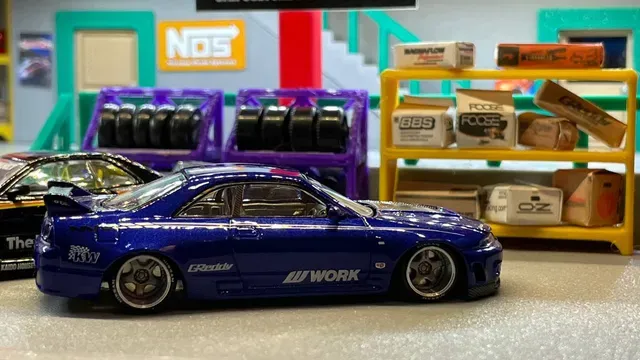


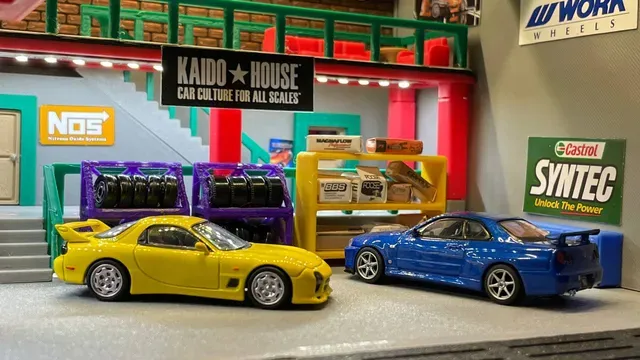
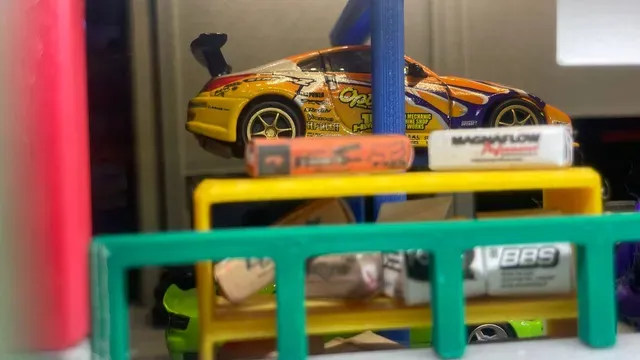
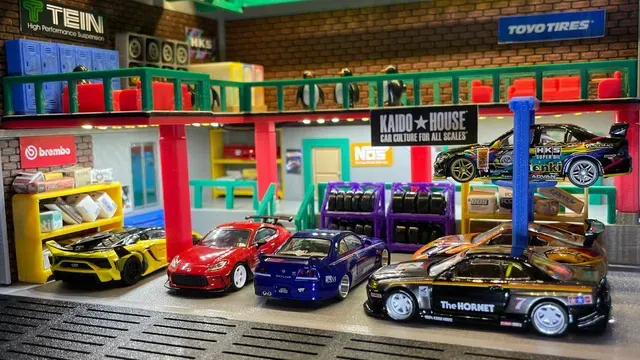
Any suggestion is welcomed! Feel free to join my Facebook group to let me know what you want: https://www.facebook.com/groups/1115757609295068
If you like my work, consider support me through Patreon: https://www.patreon.com/gigapenguin3dprints/posts
Patreon subscription includes all paid designs and more!
Seller license is available at Patreon Seller's Tier
Description
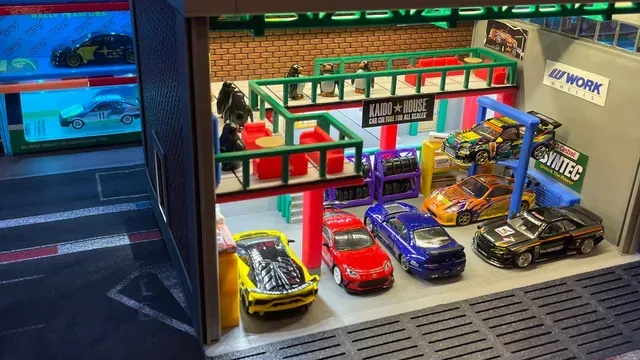
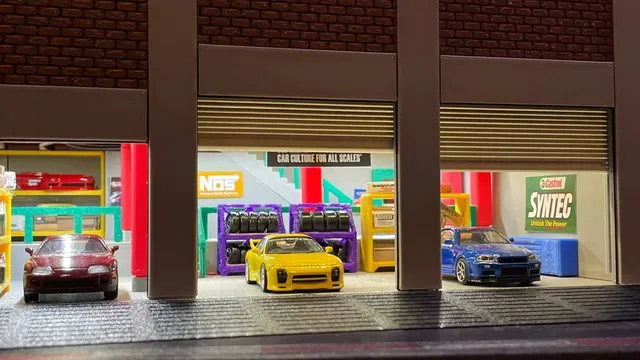
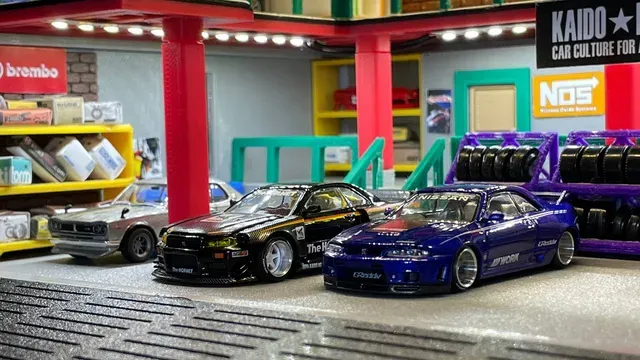
1/64 scale garage diorama based on Fast & Furious Tokyo Drift Han's Garage.
The size is slightly shrunk to make it easier to print and fit into Funko Rides protector box. The parts are too big for standard printer size but I have included split variant that will fit standard printers but those files are untested.
Checkout my showcase video:
The diorama is separated into multiple parts for easy printing. All files are packed into a zip files and arranged in folder as follow:
Pick either “a” or “b” based on your printer size:
- “a” - Large Printers, 320x320 Minimum - “b” - Split, Small Printers, 220x220 Minimum All colours listed is based on my own build and it is tagged as reference when watching the assembly video.
1a) Base:
- Base - Rides - Grey.STL - Floor - Grey.STL 1b) Base:
- Base - Pt1 - Grey.STL - Base - Pt2 - Grey.STL - Floor - Tiles - Pt1 - Multi Colour.STL - Floor - Tiles - Pt2 - Multi Colour.STL 2) Platform:
- Platform - Grey.STL - Platform - Stairs - Grey.STL - Platform - StairsHandrail - Green.STL 3a) Main Walls:
- Back - No Brick - Grey.STL - Front - Grey.STL - Left - No Bricks - Grey.STL - Pillar - Grey.STL - RightV2 - Grey.STL 3b) Main Walls (Split):
- Back - Left - No Brick - Grey.STL - Back - Right - No Brick - Grey.STL - Back - Pillar - Grey.STL - Front - Left - Grey.STL - Front - Right - Grey.STL - Left - No Bricks - Grey.STL - Pillar - Grey.STL - RightV2 - Grey.STL 4a) Second Floor:
- Staircase - Grey.STL - StaircaseHandrail - Grey.STL - TopFloor - Pillar - Long - Red.STL - TopFloor - Pillar - Short - Red - Print x4.STL - TopFloorV2 - White + Black + Red.STL - UnderStairsWall - Grey + Green.STL 4b) Second Floor:
- Staircase - Grey.STL - StaircaseHandrail - Grey.STL - TopFloor - Pillar - Long - Red.STL - TopFloor - Pillar - Short - Red - Print x4.STL - TopFloorV2 - Pt1 - White + Black + Red.STL - TopFloorV2 - Pt2 - White + Black + Red.STL - UnderStairsWall - Grey + Green.STL 5) Interior:
- Back Brick Patch - Black + Brown.STL - Back Brick Patch - Left - Black + Brown.STL (For Split Walls, “b”) - Back Brick Patch - Right - Black + Brown.STL (For Split Walls, “b”) - Door - Under Stairs - Brown.STL - DoorFrame - Green.STL - DoorSide - Right - Brown.STL - Handrail - Green.STL - Left Brick Patch - 1 - Black + Brown.STL - Left Brick Patch - 2 - Black + Brown.STL - Platform - Handrail - 1 - Green.STL - Platform - Handrail - 2 - Green.STL - Platform - Handrail - 3 - Green.STL - Second Floor Handrail - Green.STL 6a) Roof:
- Ceiling - Black.STL - Ceiling - Frame - Cross - Green - Print x3.STL - Ceiling - Frame - Green - Print x5.STL - RoofCover - Grey.STL - RoofV2 - Grey.STL 6b) Roof (Split):
- Ceiling - Pt1 - Black.STL - Ceiling - Pt2 - Black.STL - Ceiling - Frame - Cross - Green - Print x3.STL - Ceiling - Frame - Green - Print x5.STL - RoofCoverHalf - Grey - Print x2.STL - Roof - Front - Grey.STL - Roof - Side - Grey 7a) Ext Deco Wall:
- FrontDeco - Black + Brown + Grey.STL - LeftDeco - Black + Brown + Grey.STL - RightDeco - Black + Brown + Grey.STL 7b) Ext Deco Wall:
- FrontDeco - Left - Black + Brown + Grey.STL - FrontDeco - Right - Black + Brown + Grey.STL - LeftDeco - Black + Brown + Grey.STL - RightDeco - Black + Brown + Grey.STL - SeamHide - Grey.STL 8) Garage Door:
- GarageDoor - Silver.STL - GarageDoor2 - Silver - Print x2.STL - Guide - V3 - 55 - Silver.STL - Guide - V3 - 77 - Silver - Print x2.STL 9) Props:
- CarLiftSimplified - Leg - Blue - Print x2.STL - CarLiftSimplified - Top Bar - Blue.STL - GarageBox3.STL - Locker.STL - OilBarrel.STL - RimRack.STL - RoundTable.STL - Shelf.STL - Sofa - 1 Seats.STL - Sofa - 2 Seats.STL - Sofa - 3 Seats.STL - BedThing - Holder.STL - BedThing.STL - New Shelf.STL - New Shelf2.STL - New Shelf3.STL - Poster - Small - V4.zip - Ramp.STL - Table.STL Print Settings
Nozzle size = 0.4 mm Layer height = 0.2 mm
Ext Deco Wall
Filament change layer for colours on “FrontDeco” 1) Start (Bricks gap line, mine is in black) 2) Layer 5 (Bricks colour, mine is in brown) 3) Layer 8 (Outer pattern colour, mine is in grey)
Filament change layer for colours on “LeftDeco” & “RightDeco” 1) Start (Bricks gap line, mine is in black) 2) Layer 4 (Bricks colour, mine is in brown) 3) Layer 7 (Outer pattern colour, mine is in grey)
Interior
Filament change layer for colours on "Back Brick Patch" & “Left Brick Patch”: 1) Start (Bricks gap line, mine is in black) 2) Layer 4 (Bricks colour, mine is in brown)
Second Floor
Filament change layer for colours on "TopFloor" (This is printed with the tiles face sticking on bed) : 1) Start (Tiles colour, mine is in white) 2) Layer 3 (Tiles gap colour, mine is in black) 3) Layer 11 (Second floor beams colour, mine is in red)
Filament change layer for colours on "UnderstairsWall": 1) Start (Wall colour, mine is in grey) 2) Layer 75 (Door frame colour, mine is in green)
Assembly
The car is just placed on the diorama, there are no holes to tie the cars down by wire.
It is recommended to use glue or double sided tape for this build.
Check out my assembly video to give you a better idea on how the build supposed to go:
Others





Names are used only to indicate the source of a result. Polyzon is not affiliated with the listed sites.