
Free 
AeroHGXtruder NX for ARTILLERY SIDEWINDER X1/X2
Printables
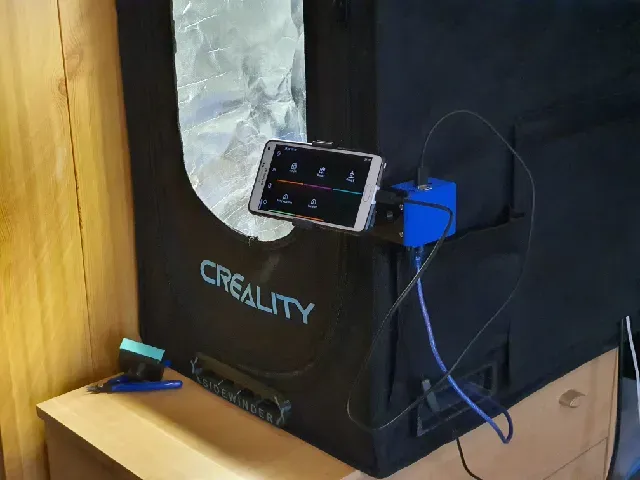
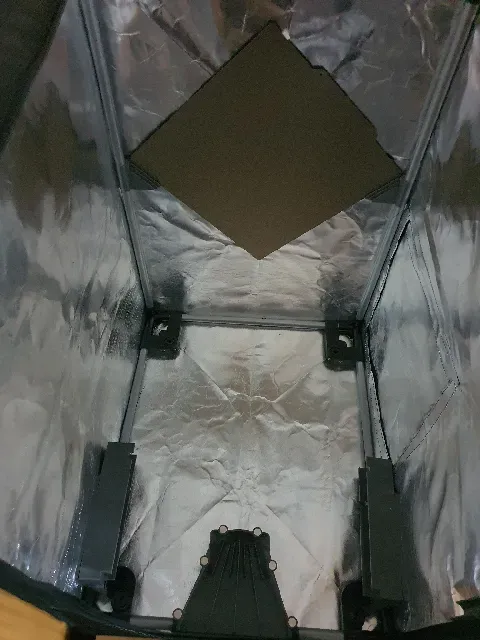
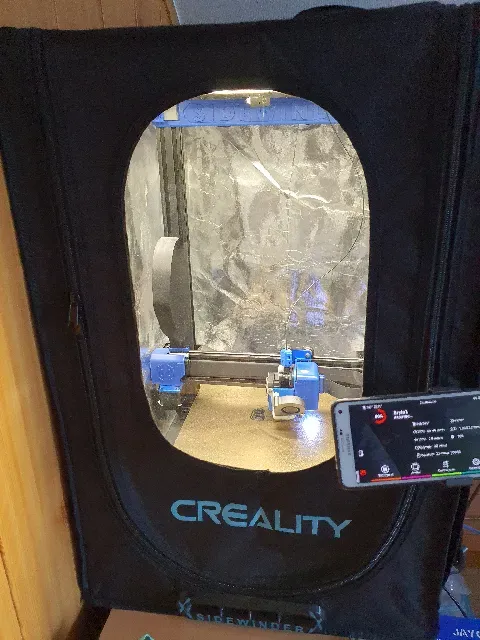
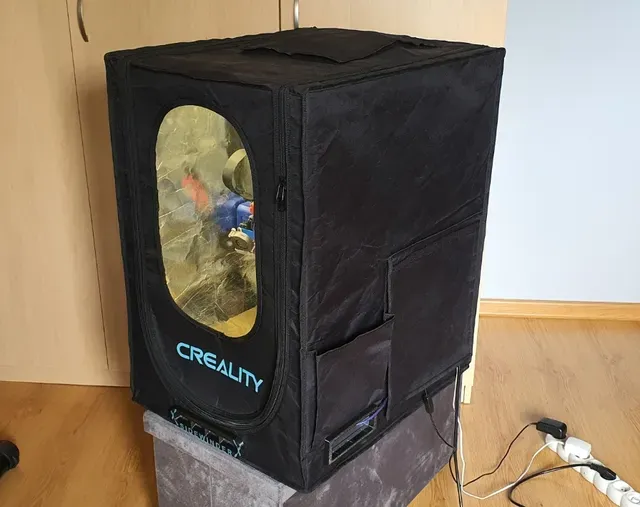
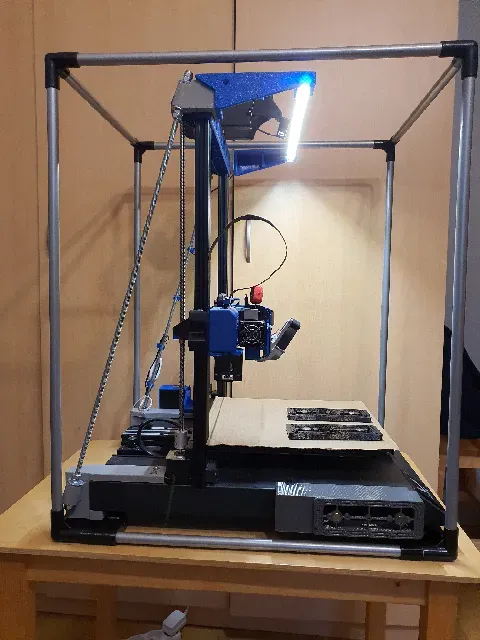
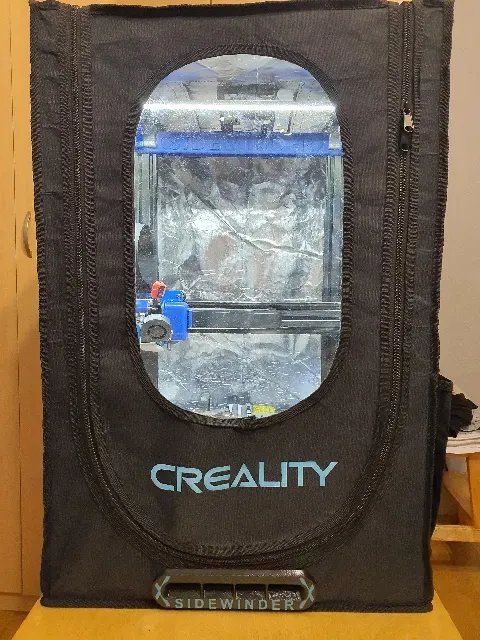
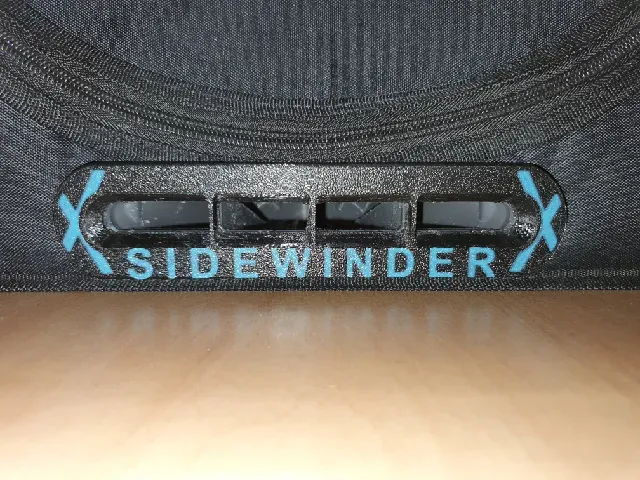
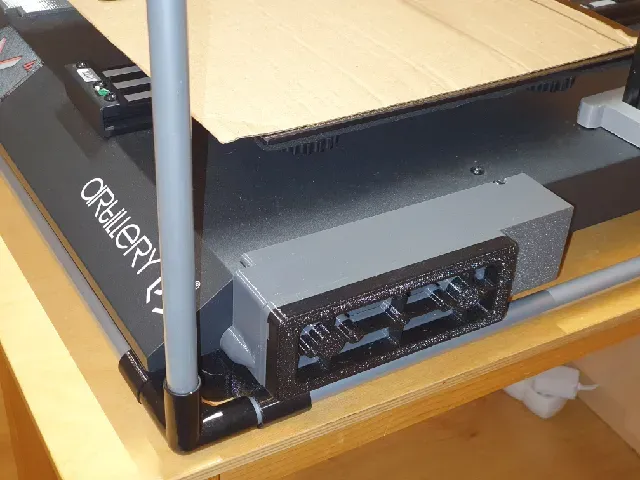
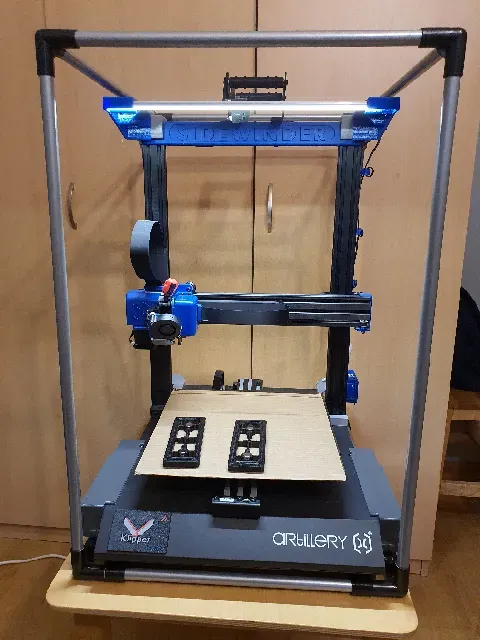
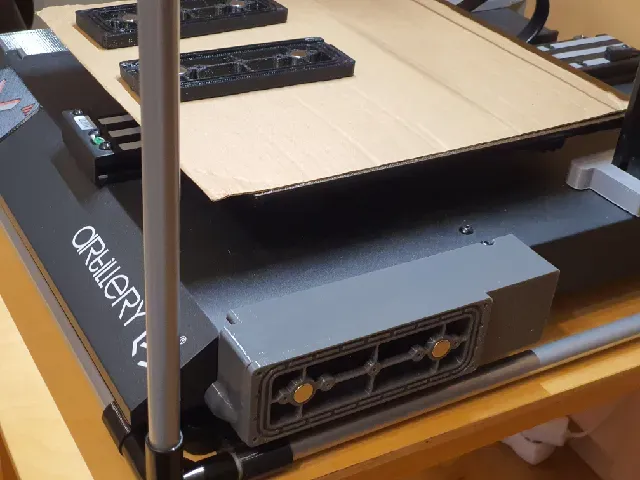
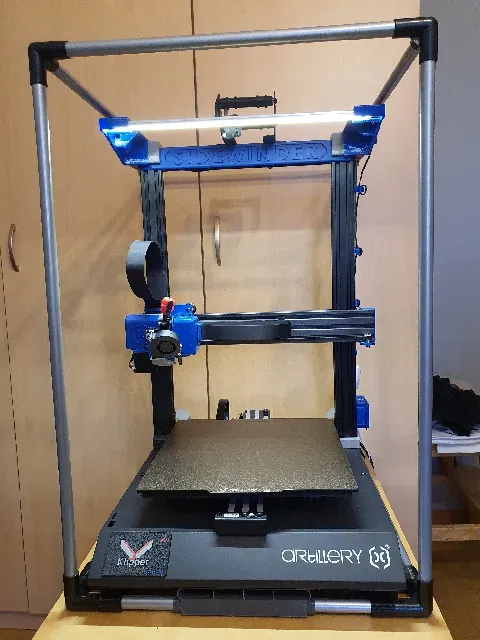
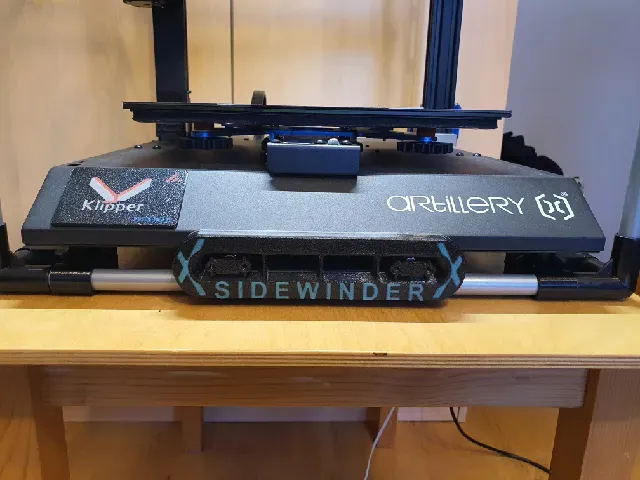
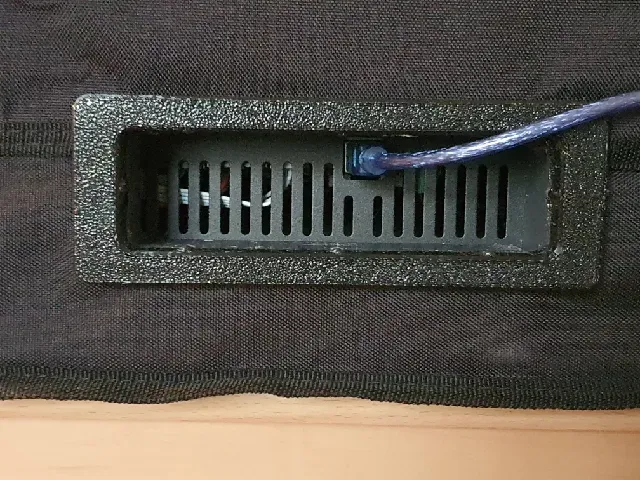
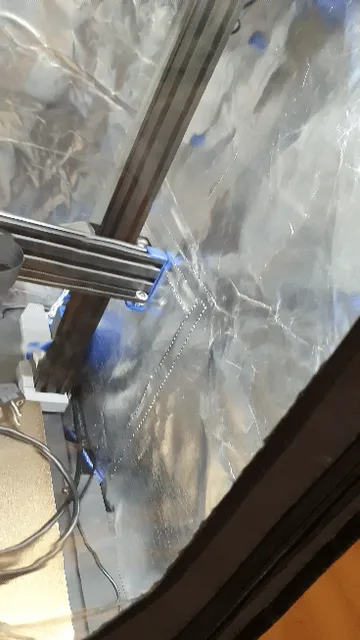
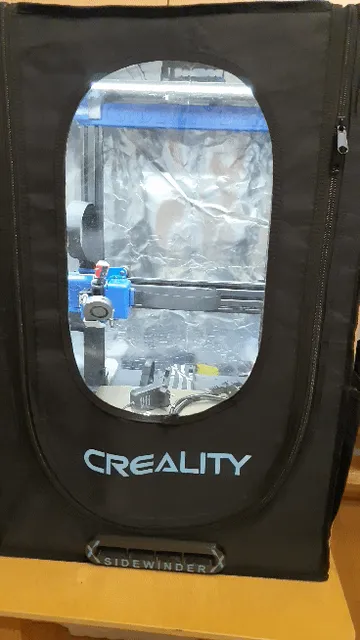
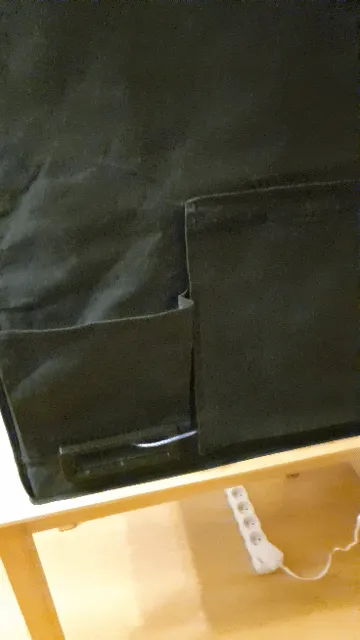
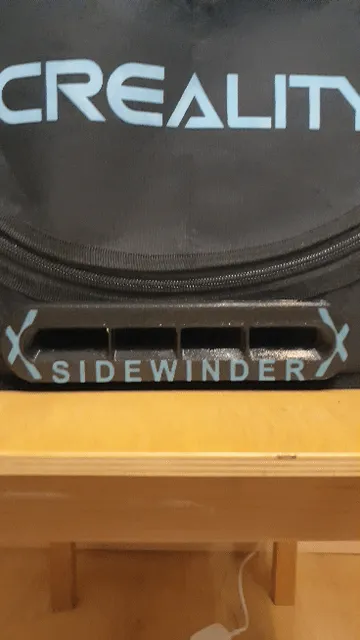
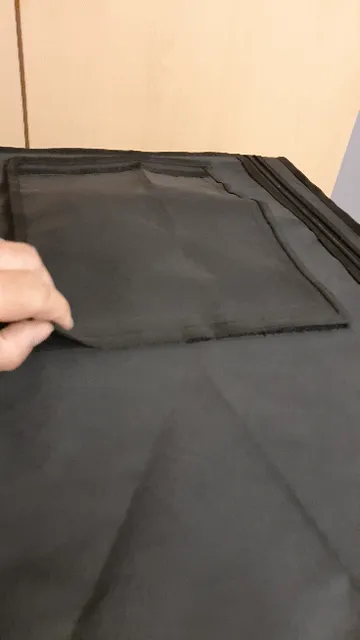
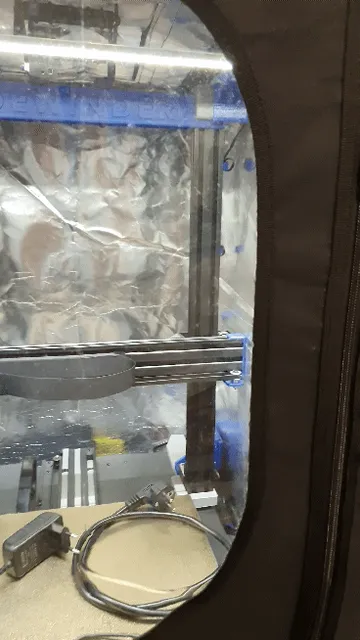
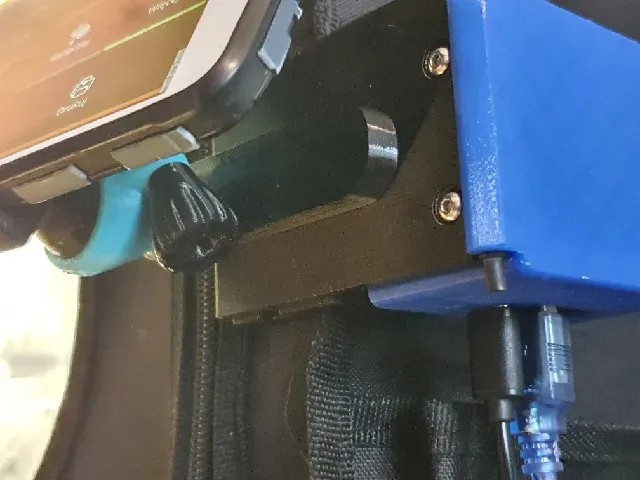
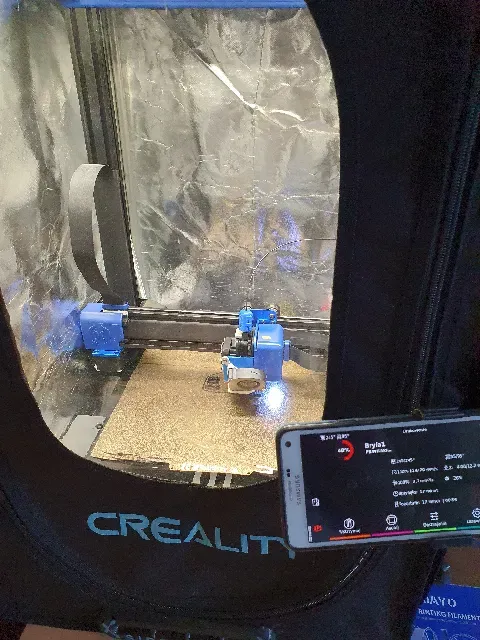
If you have a Sidewinder X1 or X2 and would like an enclosure for it but don't have room for a large enclosure. This project is for you!!!
The project involved modifying the original enclosure so that the electronics had their own air circulation, isolated from the warm air in the chamber. During several hours of printing, the temperature of the printer's main board did not exceed 38oC at a room temperature of about 23oC.
The temperature in the chamber reaches 40oC when printing ABS/ASA - 245oC hotend, 100oC bed.
This is a modification project adapting the original Creality Enclosure S (480x600x720mm) (affiliate link) for the Artillery Sidewinder X2 printer.
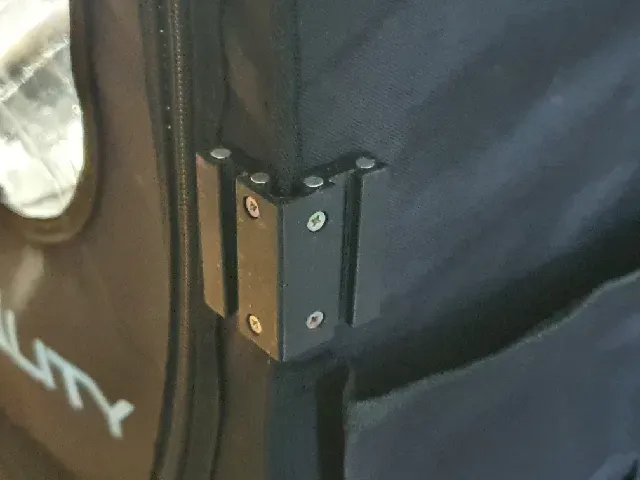
The design is based on printed parts that are bolted or joined together using neodymium magnets. The parts of the base as well as the frames of the ventilation ducts are bolted together for better stability. To make disassembly and assembly easier, the ventilation channels are attached to the printer with magnets without interfering with its structure. The frames of the side ventilation ducts are connected to the ventilation ducts by means of appropriately positioned pairs of magnets; the frame of the central duct also has two magnets, which are connected to the sheet metal casing of the printer.
My assumptions for the case design for my Sidewinder X2 printer (order is important):
- Price.
- Minimum size of the case in order not to enlarge the already large dimensions of the printer. In addition, the minimum volume of the chamber makes it possible to achieve a higher temperature in the chamber when printing ABS, ASA or PA without using an additional heater.
- Possibility of making or adapting an existing enclosure using mainly 3d printing.
- Protecting the printer from dust.
- An enclosure that does not restrict the cooling of the printer's electronics.
- An enclosure that allows printing with filaments that require an insulated chamber.
Due to lack of time to complete the full project, I divided the work into stages:
- Fabrication of the bolt-on components that allow the printer to sit on the metal tube frame of the housing >>>COMPLETED<<<.
- Closing the hole left by an unused LCD display. >>>COMPLETED<<< , I used my old design. https://www.printables.com/pl/model/877536-artillery-sidewindergenius-lcd-screen-cover-with-k
- Lighting of the printer bed >>>COMPLETED<<<, I used my old design. https://www.printables.com/pl/model/705216-brackets-for-the-led-strip-for-artillery-sidewinde
- Making the ventilation ducts integrated into the printer as well as into the shell of the case, connected by snaps or neodymium magnets >>>COMPLETED<<<.
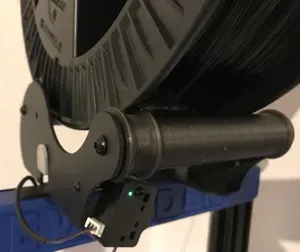
- Making a filament spool holder inside the housing - >>>COMPLETED<<< (update 17.12.2024)
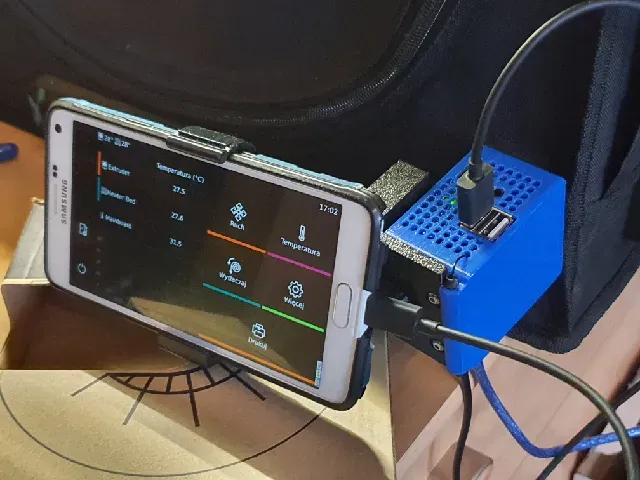
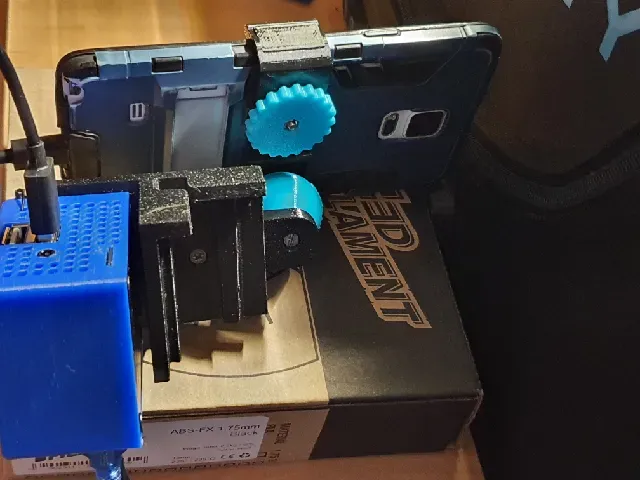
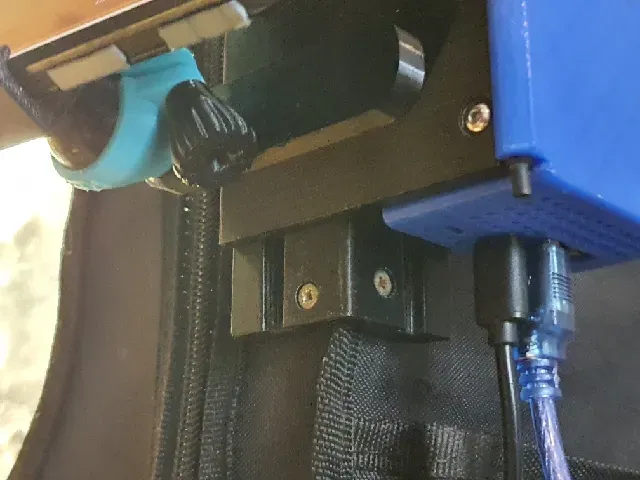
- Making an external bracket for mounting the phone with Klipperscreen, Orange Pi Zero 3 with Klipper >>>COMPLETED<<< (update 17.07.2024).
- Design a holder for internal temperature and humidity measurement >>>COMPLETED<<< (update 28.07.2024).
- Design a holder for additional 310x310mm PEI plates (3pc) >>>COMPLETED<<< (update 28.07.2024).
- Making a PEI sheet alignment bracket cover for the Artillery Sidewinder X2, X1 bed. - >>>COMPLETED<<< (update 24.03.2025).
I have included the instructions and parts lists needed for assembly in a pdf version.
To visualise the Artillery Sidewinder X2 in enclosure, I used the model from:
https://grabcad.com/library/artillery-x2-1
NOTES.
- The design is my idea of using Creality Enclosure S for my printer.
- This is not a certified solution dedicated to the Artillery Sidewinder X2 compliant with VDE, IEC or similar standards.
- Any printer enclosure made by yourself increases the risk of fire.
- Never leave the printer on unattended
- Use at your own risk.
-----------------------------------------------------------------------------------------------------
And as always with functional rather than decorative prints I recommend calibrating the prints on the printer using the advice of @SteveHanov, I recommend the link:
https://www.printables.com/pl/model/683647-calibration
CONCLUSION
💚💚💚If you enjoyed the project please like it.💚💚💚
Post your makes and let me know how it works out for you.
If anyone has any comments about them - I'd be happy to listen and improve the models.
☕☕☕
Did my project bring you joy, save you time or solve your problem? Share it with me and make me happy - buy me ko-fi .




Names are used only to indicate the source of a result. Polyzon is not affiliated with the listed sites.
Comments 0
Loading comments…