
Free 
Wemos D1 mini & Max7219 Clock
MakerWorld
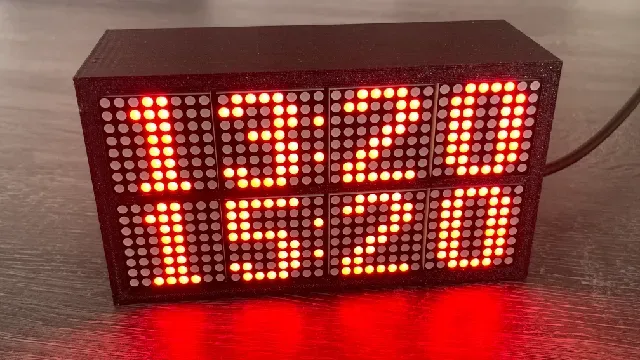


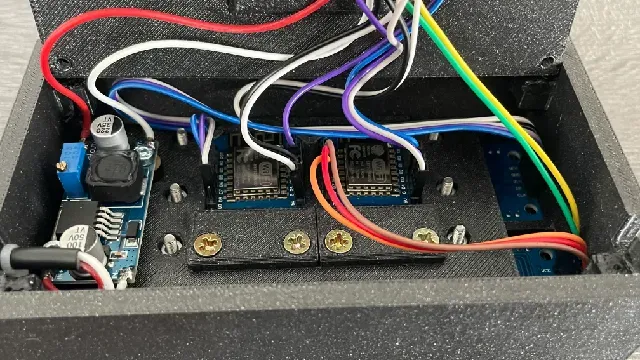

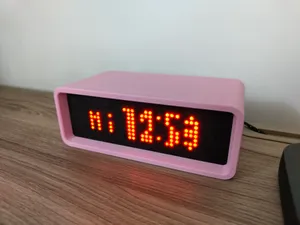
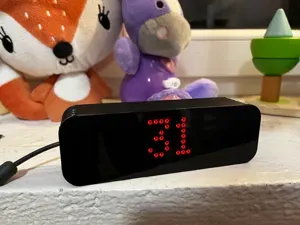
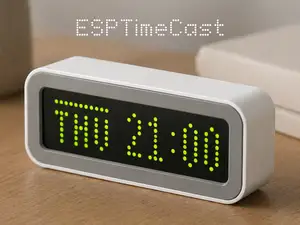
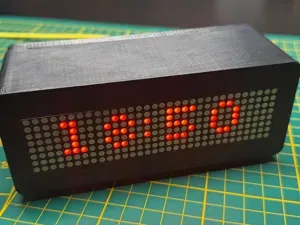
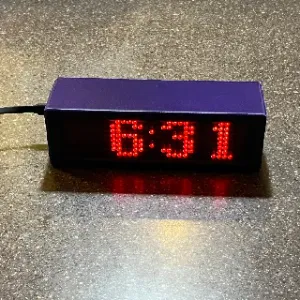
This is a clock project using Wemos D1 mini and Max7219 LED matrix display. And all this twice, so that I can monitor the time in both UTC and CET time at the same time. The whole project requires programming via the Arduino IDE (the code is in the link below, UTC or CET is not a condition, other time zones can be defined in the code. Of course, 3D printing is needed :D and a little soldering. A DC-DC converter is not needed, then the hours connects to 5V. Using the LM2596, a source from 4.5V to 40V can be connected to the clock.
I used this project to power my clock. But this is not a requirement and you can choose from many other projects or create your own. https://github.com/ammerscm68/LED-Matrix-Rolling-Clock-with-ESP8266
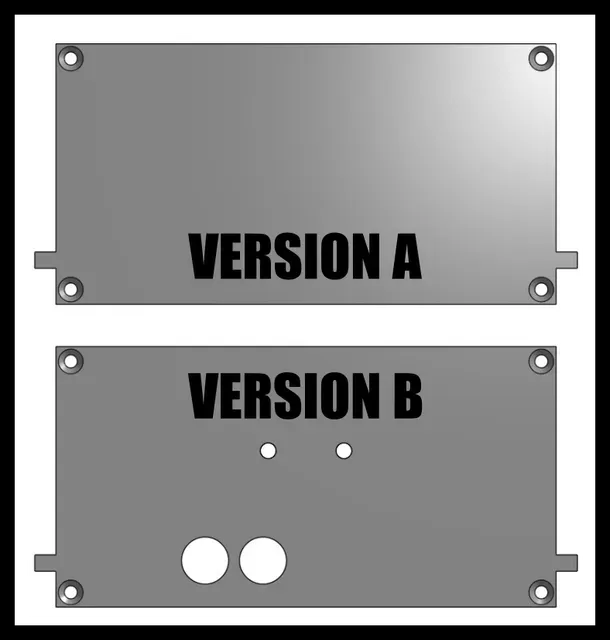
Version A: This version has a body cover without modifications and therefore does not allow the use of a microswitch. I recommend printing version B.
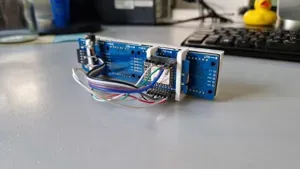
Version B: This version has extra holes on the body cover to insert two M4 nuts (nuts are inserted during printing). These nuts make it possible to mount the clock anywhere. It is also necessary to solder two micro switches and a cable strip to a universal PCB board 20x80 mm. Everything can be seen on the photo in the gallery.
Parts needed Quantity
Wemos D1 mini 2x
Max7219 8×32 2x
Micro switches 2x
DC-DC LM2596 1x
Jump wire
Wiring diagram:
Printing with supports, Infill: 25%, Material: PLA or PET-G
Share your printed model.



%2Fhttps%3A%2F%2Ffbi.cults3d.com%2Fuploaders%2F40317270%2Fillustration-file%2Fc2faa9db-9102-4f33-9e49-4f340a9ec5fc%2Ffoto_3_frente_numeros.jpg&w=300)
Names are used only to indicate the source of a result. Polyzon is not affiliated with the listed sites.