
Free 
Nozzle Brush with Klipper Macros (Parametric)
Printables


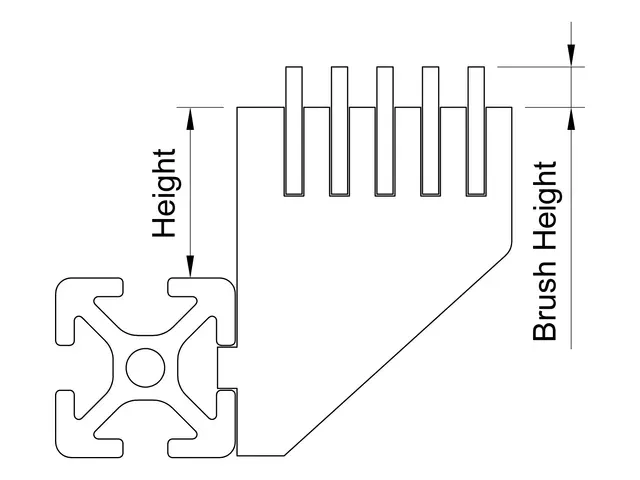
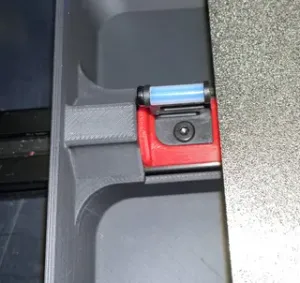
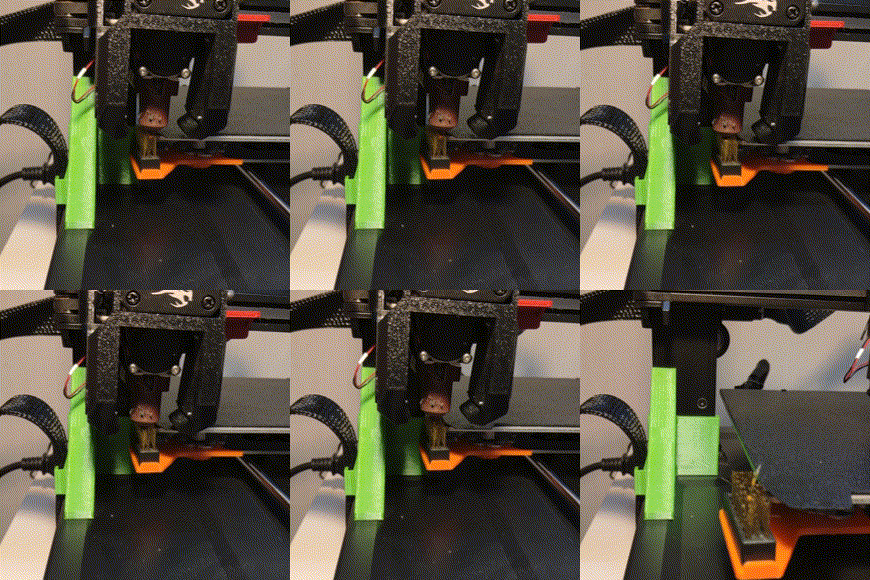
DIY, non-abrasive silicone brush and the included Klipper macro let you fully automate nozzle cleaning. The design mounts to the side of a bed extrusion and is not symmetric, but you can mirror it in your slicer to shift the mount orientation.
The brush/wiper mounts to 2020 or 1515 extrusion. I tried to have a compact design while still allowing for large variations in height so that the mount can hopefully fit a wide range of printers.
Supplies
- Silicone mat (one strip approx 10 mm x 75 mm to make five wipers)
- Scissors and a sharp hobby knife
- (1) M3x30 screw
- (1) M3 square nut, or (1) M3x5x4 heatset insert
For mounting, you will need:
- (1) M5x10 screw and (1) M5 nut for 2020 extrusion, or
- (1) M3x8 screw and (1) M3 nut for 1515 extrusion
Silicone Brush
This design uses pieces cut from a silicone mat to make the brush. The silicone wipers should squish into the slots for a snug fit. They are easily replaced and should never wear a nozzle.
I modeled a template for sizing and cutting the silicone wipers. Insert the silicone piece in the gap in the middle. Then trim so that it sits flush against the two exposed edges to get the correct height and width. Next, use a hobby knife and the two vertical slots at the top to cut bristles into the wiper. Please be careful to avoid cutting yourself.
The cutting template also has a hole for the M3 screw that holds the pieces of silicone in place. Use a drill (or other pointy object) to poke a hole. Note that silicone will be very spongy and the hole will likely end up undersized. This is not a problem, and actually helps the wipers to securely grip onto the M3 screw.
Parametric Design
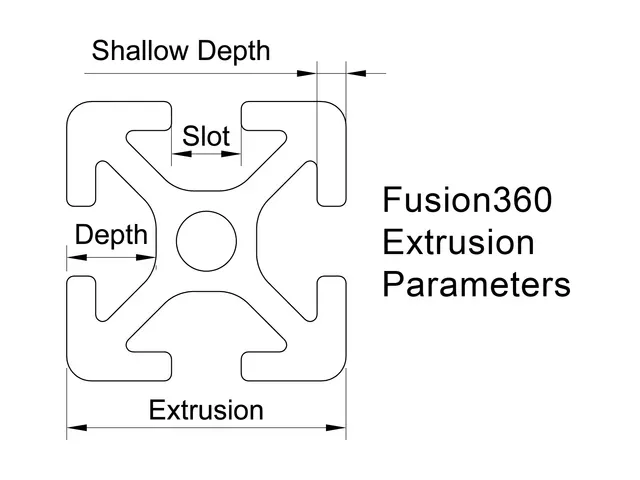
These are the user parameters in the Fusion360 design file that I recommend editing:
Parameter
General tolerance
tol
Silicone mat thickness
silicone_th
Silicone brush height
brush_h
Mount height
height
Note that Overall height = Mount height + Brush height . You can try your luck with more modifications, but I do not guarantee that the design will resolve.
STL
I also include stl files that should work with Voron-style beds mounted on aluminum extrusion. Models are bundled into a 3mf to reduce the number of files. Overall height for 2020 extrusion is 21 mm mount height + 4.5 mm brush height = 25.5 mm . Overall height for 1515 extrusion is 19 mm mount height + 4.5 mm brush height = 23.5 mm . The silicone mat thickness ranges from 1.0 mm to 2.6 mm.
Klipper Macro
Always be careful copying and pasting someone else's code into your config files! Below is a template for the Klipper macro that I use. I intentionally left the position variables with unusable values, which will cause Klipper to error out. Why? It is not possible for me to know safe values for your printer.
You need to manually move the toolhead into position and note X, Y, and Z values that work with your combination of toolhead, brush mount, and other obstacles (like an endstop pin or klicky mount).
[gcode_macro BRUSH_NOZZLE] # heat nozzle for best results variable_x1: 9999 # left of brush <<<edit this value>>> variable_x2: 9999 # right or brush <<<edit this value>>> variable_y1: 9999 # y value <<<edit this value>>> variable_z1: 9999 # nozzle height <<<edit this value>>> gcode: M400 ;wait for buffer to clear {% if "xyz" not in printer.toolhead.homed_axes %} G28 ;home axes before travel moves {% endif %}
G90 G0 Z5 F3600 ;ensure nozzle is above endstop pin G0 X{x1} Y{y1} ;left position G0 Z{z1} ;move down, ready for brushing
M117 Brushing Nozzle G0 X{x2} F5000 ;move right G0 X{x1} ;move left G0 X{x2} ;move right G0 X{x1} ;move left G0 X{x2} ;move right G0 X{x1} ;move left G0 X{x2} ;move right G0 X{x1} ;move left G0 Z5 F3600 ;raise nozzle when done M117 Nozzle Cleaned After you have tested the macro, simply add it to your print start routine. I brush before I use the calibrate_z plugin, and once again right before printing.
Safety
The silicone brush and mount are going to be used next to printer parts that get very hot . The mount will be close to a heated bed (up to 100° C for common filaments) for extended periods of time. The silicone brush will be touching a heated nozzle (up to 300° C for common filaments) for a brief amount of time. You need to choose materials that can safely withstand these temperatures.
Thanks for visiting, and enjoy!
Minor update: I added stl files that I hope have wide compatibility.




Names are used only to indicate the source of a result. Polyzon is not affiliated with the listed sites.
Comments