
Free 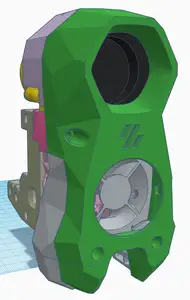
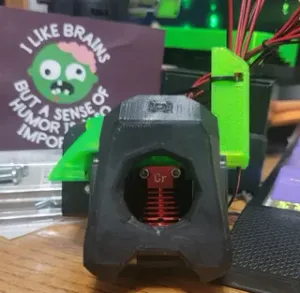
Stealthburner Beta: MGN12H, CR-Touch, Creality Spider
Printables
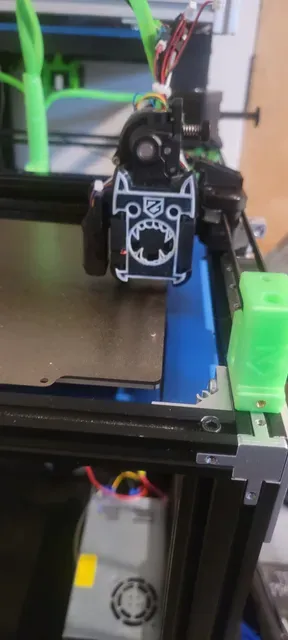
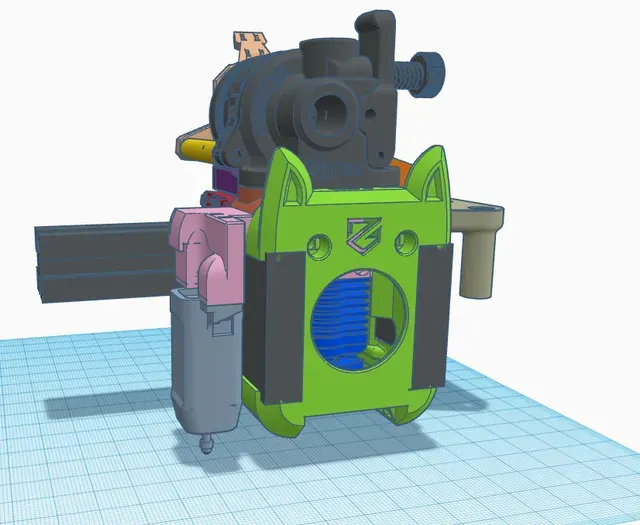


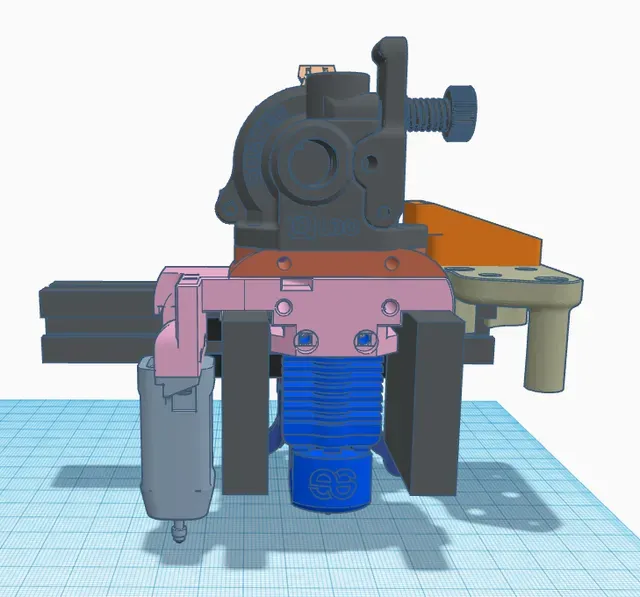


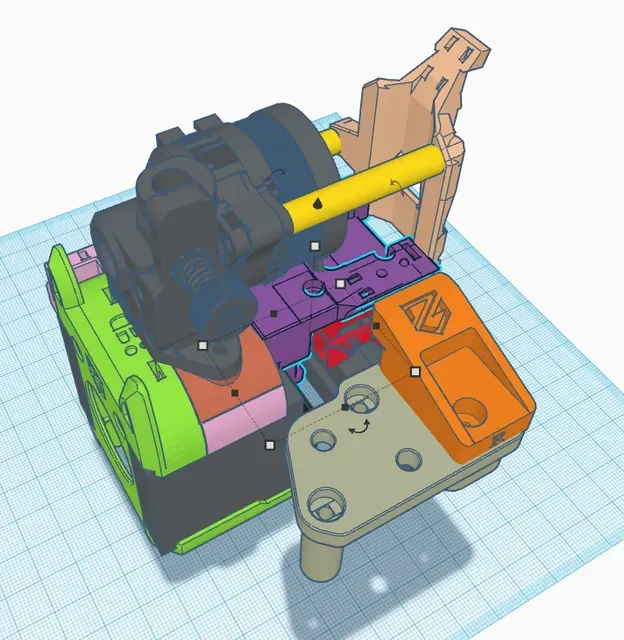

Edit: added zero-g diffuser for the cowl with the logo. based on the voron diffuser, all measurements match.
printed and tested, let me know if there's any issues and I'll fix asap.
------------------------------------------------------------------------------------
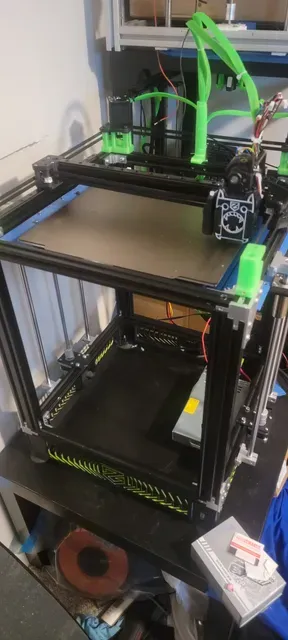
I wanted to go with the Dragonburner for my Zero-G mod on my Ender 5 pro, And all I had was an mgn12h rail (but the model was for an mgn9c iirc). So I created and tested quite a few variations before ending on this setup.
Most files use the thin m3 nuts similar to the ones at this link https://www.amazon.com/dp/B07G9TTZDB?psc=1&ref=ppx_yo2ov_dt_b_product_details - I've included the cat and regular cowls, as well as untested x-axis mounts that would use the regular heat inserts. Some of the original files had the slots for the square nuts, and I prefer them to the heat inserts as I've had them pull out too often.
The x-axis mount should work with any variant of the Dragonburner, as I did my best to make sure it lined up with all the stock mounting points.
I modded the Cowl mount to have the Cr-touch probe mount built onto it, the Orbiter 2 mount I kept unchanged (used a thin one that I found, included in files).
As for the cowls, I edited out the default Voron marks and put the Zero-G logo instead. There's a regular, cat ears, and cat ears w/ teeth edit.
------------------------------------------------------------------------------------
Now for the fun part.
When doing the mod for my Ender 5, I found that the default height with the x-axis mount sat a bit too high, so that when the bed was raised up it would come within about 1/2mm of coming off the z screws. Which is why there's 2 versions of the x-axis and mid section/cowl mount sections.
The lowered ones make the Dragonburner setup sit 5mm closer to the build plate (located in the “parts to make body and probe sit closer to bed plate” folder. The stock height parts are in the main folder.
Also included in folders are modded cable strain reliefs (ugly but functional). The cable strain relief tubes still use the m3 inserts (2 each for a total of 4). Couldn't come up with a way around that. The size works for the 5mm drop or default height, will need to print 2 of them (unless you go with a different cable relief setup, then you won't need them)..
As for the x-axis mount, I made it so the endstop sits directly on the mount, and designed a “stop” to mount directly onto the Zero-G bracket that's used for the x-axis bar, you just need a slightly longer screw.
I made the cap to hold the belts in place thicker, as the stock ones were too flimsy imo. I also split the cap in half for easier mounting when belts are already measured out and in place (again, personal choice but I like it and it doesn't interfere with anything - plus I designed this after having the eva3 set up and in place).
All edits done in Tinkercad as usual for me. Some cad files (like the mgn12h, cr-touch, and orbiter 2) are from Grabcad so that the measurements were kept as accurate as possible.
If you want access to the Tinkercad files, let me know and I can share them so you can step back through my edits and see the mess that I made while doing this. That being said, no I don't have the step files accessible. One day I'll learn Fusion360 or something similar, but for now it is what it is.
Let me know if you need help assembling this, or any questions/comments in general.
Thanks for looking!




Names are used only to indicate the source of a result. Polyzon is not affiliated with the listed sites.