
Free 
AngryRatCam - Case Camera for RatRig V-Core 4
Printables

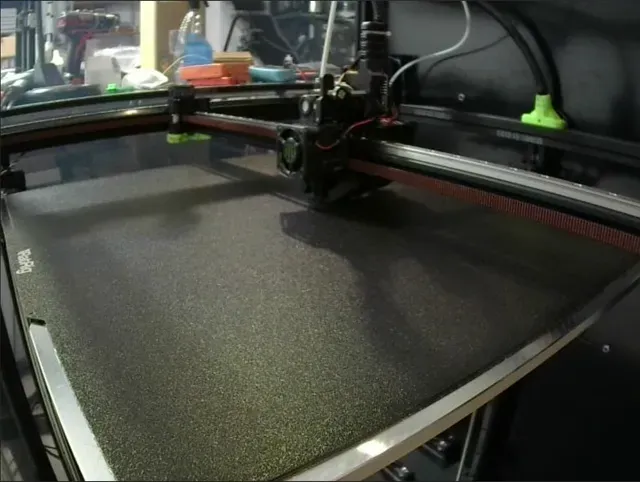
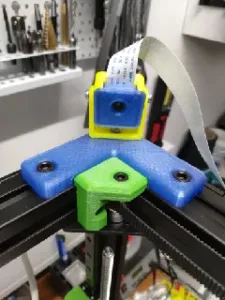
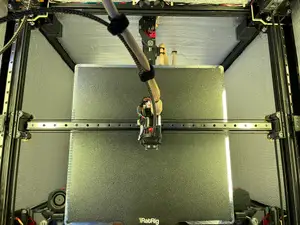
This is a chamber camera housing for RatRig V-Core 4 (and 3 with open-front mod/enclosure 2.0). Camera module is off BambuLab X1 Carbon (which can be purchased from their web site). I originally designed this around the largest model - 500, but should fit and function well on 400 and 300 sizes as well.
Camera comes with a tiny connector at the end of the cable - cut that off and replace with a set of male Dupont connectors (2x 2-pin, so the connectors can later be tucked in the 3030 extrusion slot). You'll need an USB-2 cable to run to the back of the printer all the way where your Raspberry Pi is. Cut the “B” connector from it and crimp on set of female Dupont connectors. Connection is easy as camera wire colors are the common ones for USB - red and black are power, white and green - data - simply connect 1:1 with the crimped ends of the USB cable.
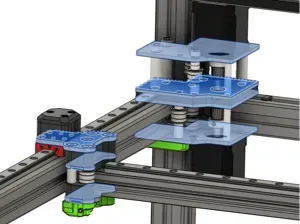
The module is made of two printed components - bracket that bolts on the front right extrusion right above the tensioner (V-Core 4) using one M6-12 socket head bolt with a 3030 M6 T-nut, and a camera housing module which holds the camera PCB using the original two self-tapping screws from BambuLab's set, and bolts to the bracket using 4x m3-6 socket heads screws (the 2 on the side could be longer if you're out of 6mm ones but front should be no longer than 6mm (5 or 4mm would do fine too). Bracket uses 4 heat inserts, RatRig size (M3-4.6x4).
Mount the bracket first with the M6x12/T-nut combo, then slide the housing on top of it and bolt it on. You will need to loosen and move up the magnet holder for the front door of the printer to slide in the housing in place. Once camera module is assembled, move the magnet holder back to its original position so it can engage properly.
All that is left to do is to plug the USB cable, tuck in the cable with the connectors inside the 3030 extrusion slot and secure with some 3030 brackets (same as what RatRig provides for securing other cables around). Finally - plug the other end of the cable into the Pi and make sure camera is added to Mainsail. Crownsnest default config works well, I found switching resolution to 800x600 and mode to camera-streamer renders better results with FPS and pic quality.
A note when printing the housing - add tiny support under the studs for the camera bolts.




Names are used only to indicate the source of a result. Polyzon is not affiliated with the listed sites.